
Phew, I managed to find time to get a
tutorial together! Unbelievable...
I'm down to the last 20 odd sets of
these Desert Insurgents and considering retiring the mold already.
The range will be expanded but I can't really keep the same sets in
production indefinitely, catch em while you can they might be out of
stock for a while. Email me (sales at miniaturesofthenorth.com), £15
a set.
I've used a variety of paints and inks
here so I'll keep the naming conventions simplistic (along with my
basic commentary).
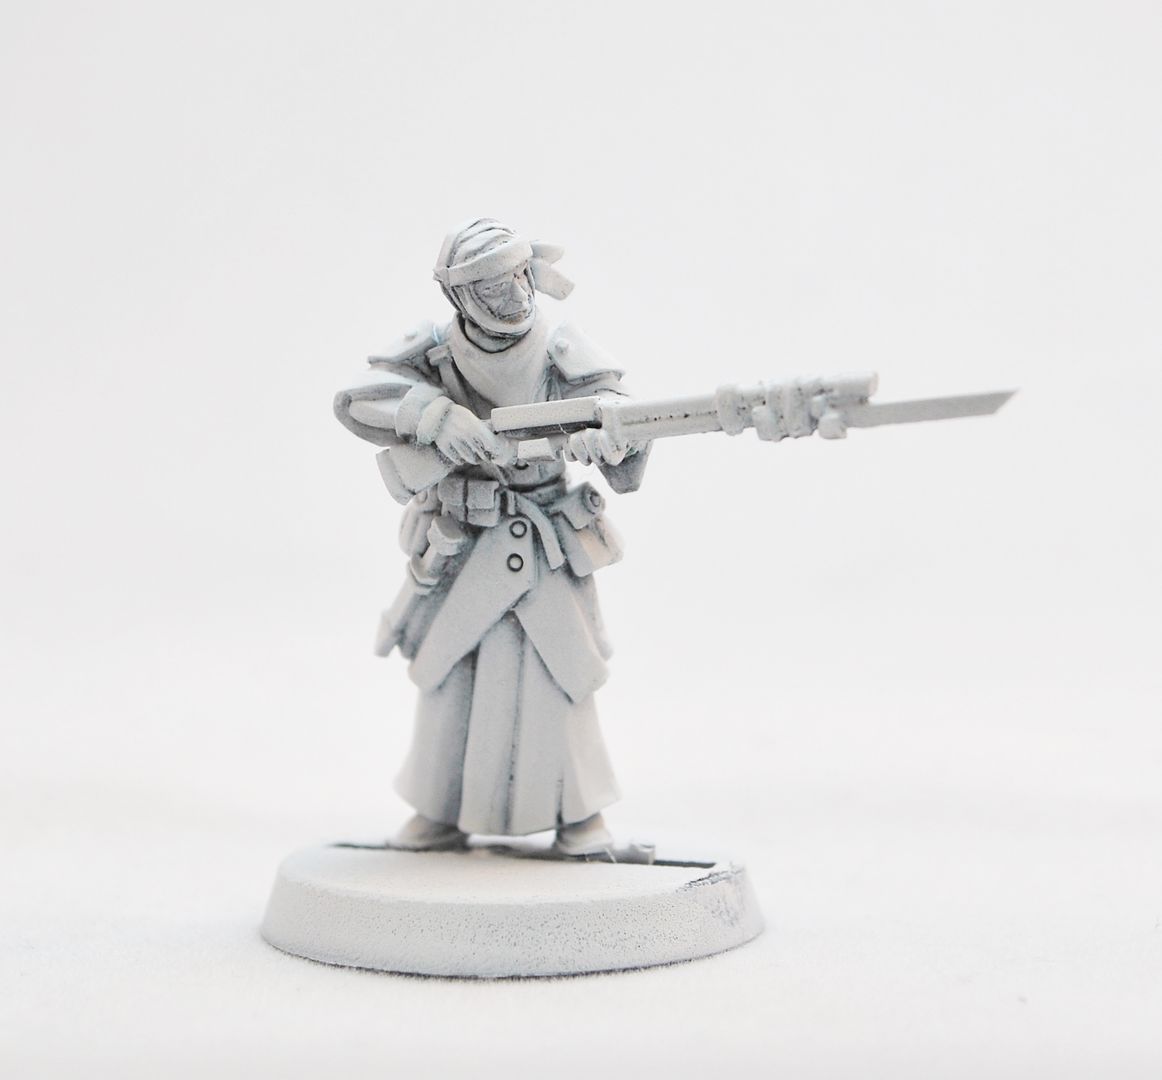
1.Preparation
Wash these things in soapy warm water
with an old toothbrush to remove the mold release powder, then once
dry clean them up with files and a hobby scalpel – standard
procedure.
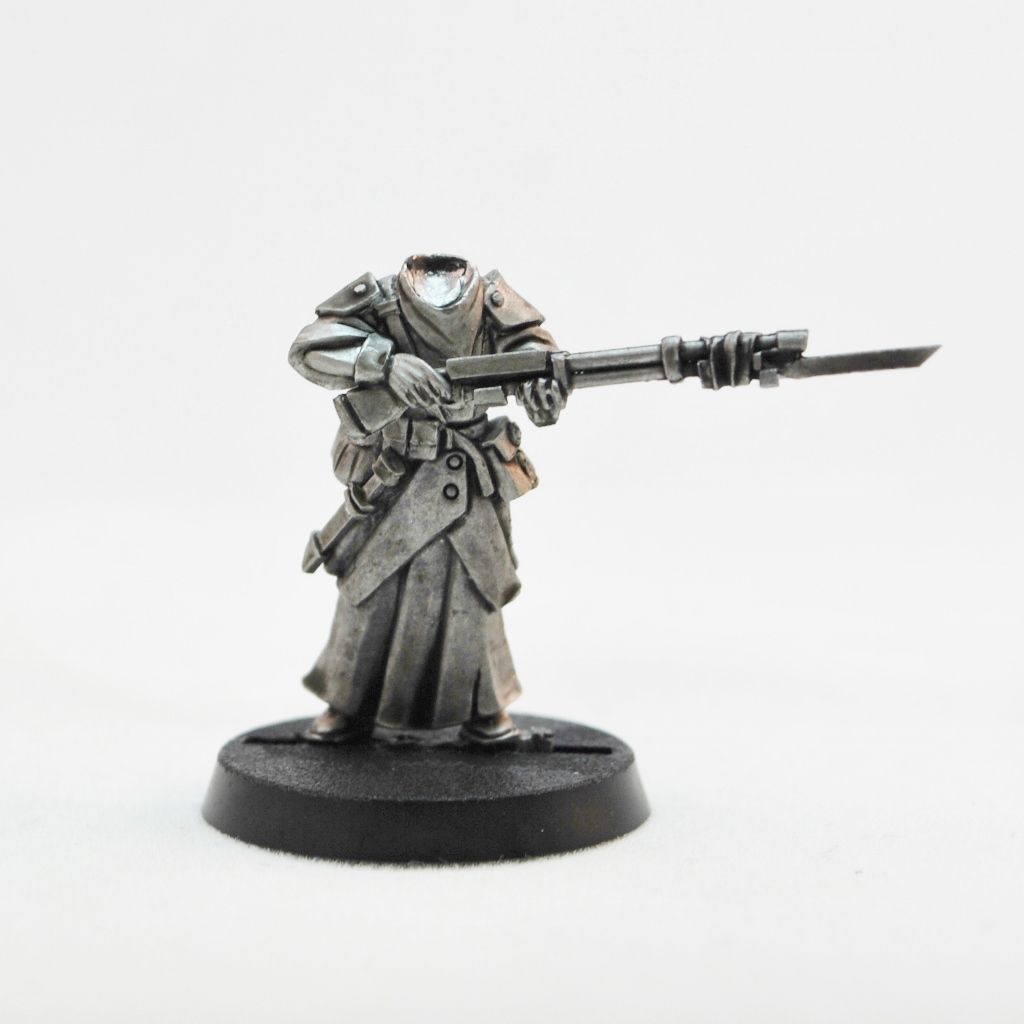
Here's the metal (with an ink wash so
the detail shows up). They can be assembled perfectly fine without
any green stuff, and I'm surprised the fittings all line up as good
as they do after molding, but I like to stick a little putty over the
wrist joints and into the ball fitting of the neck for the sake of
it.
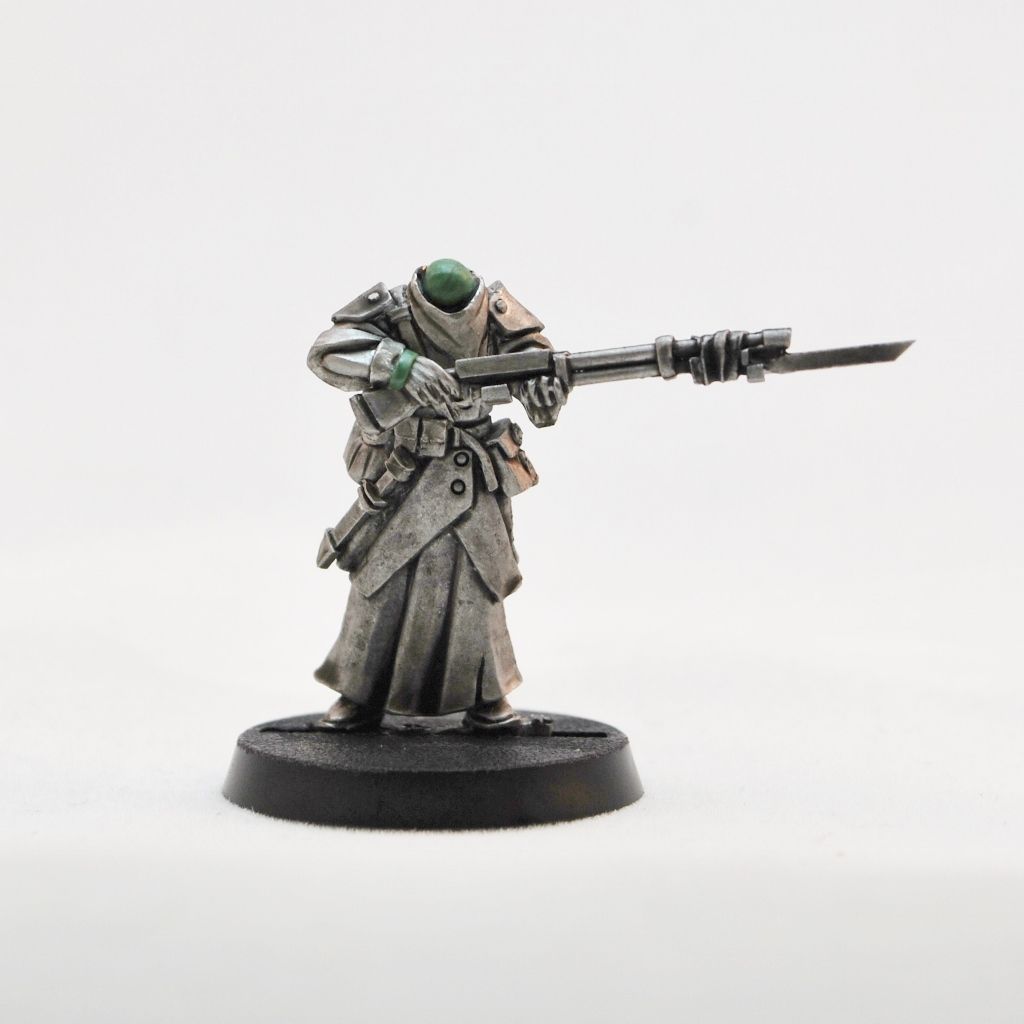
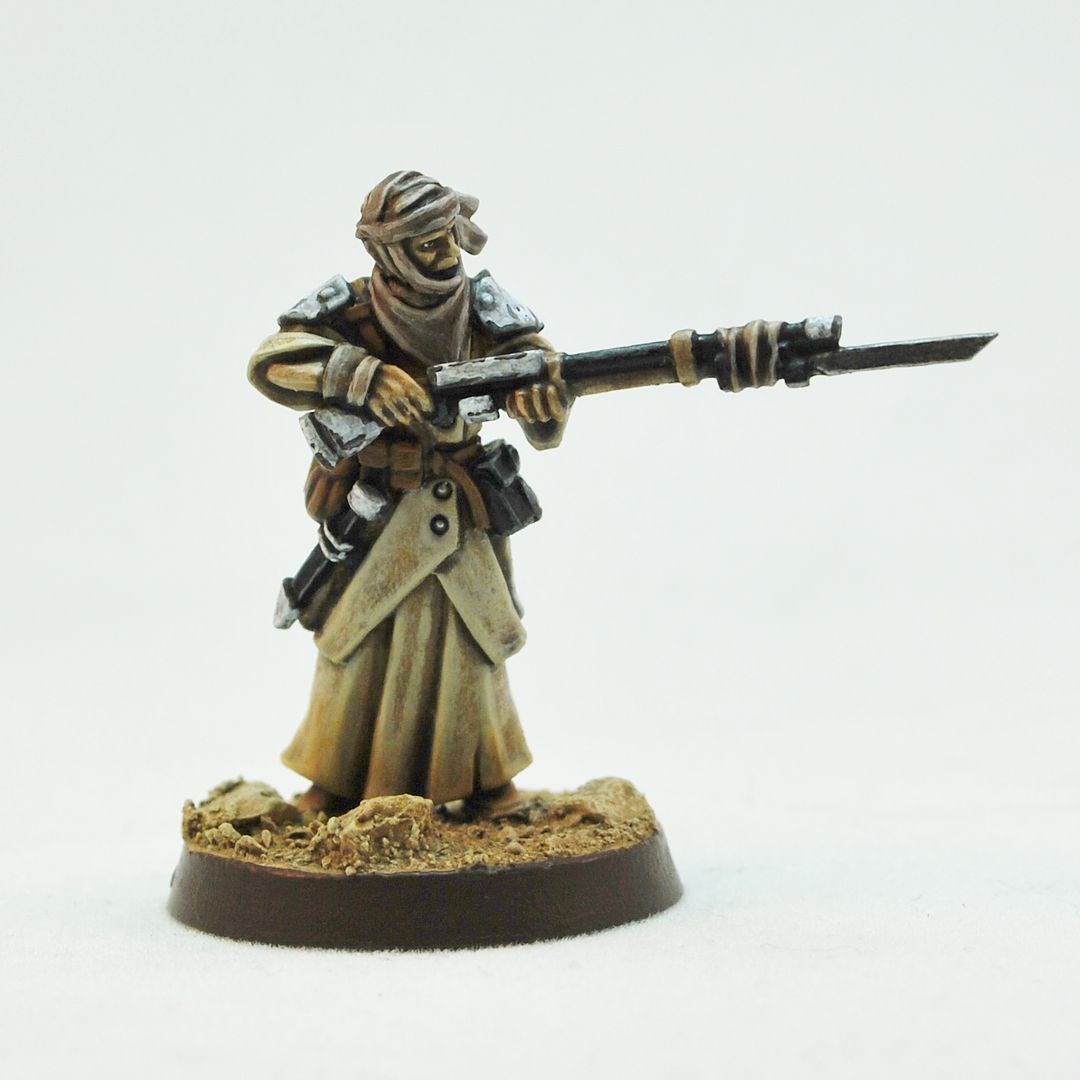
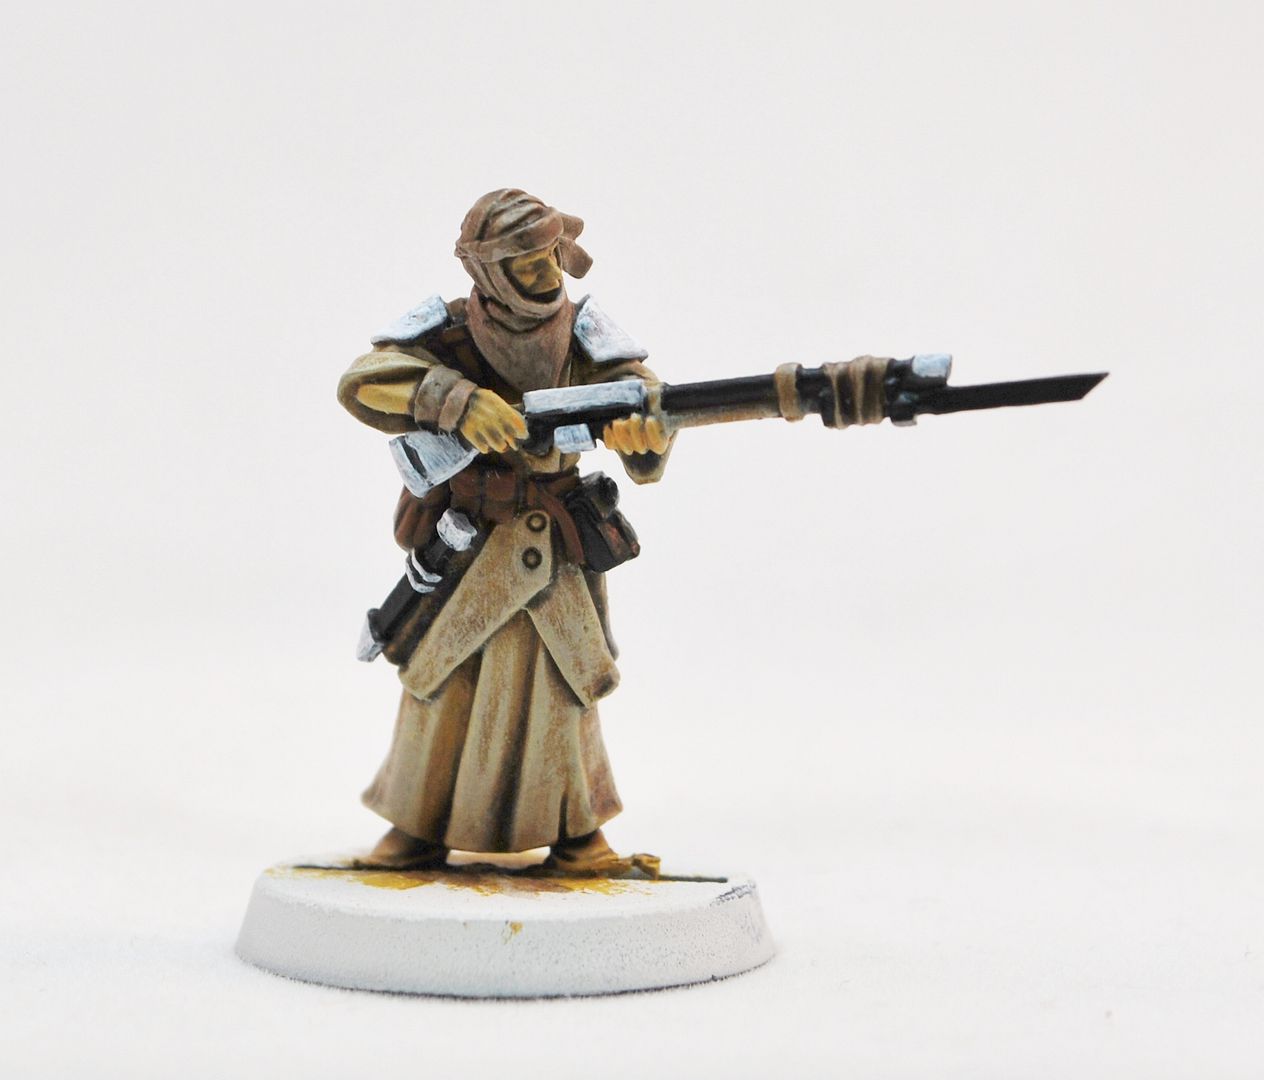
2.Undercoat - White spray
3.Colour blocking – Give this guy two
coats of ochre.
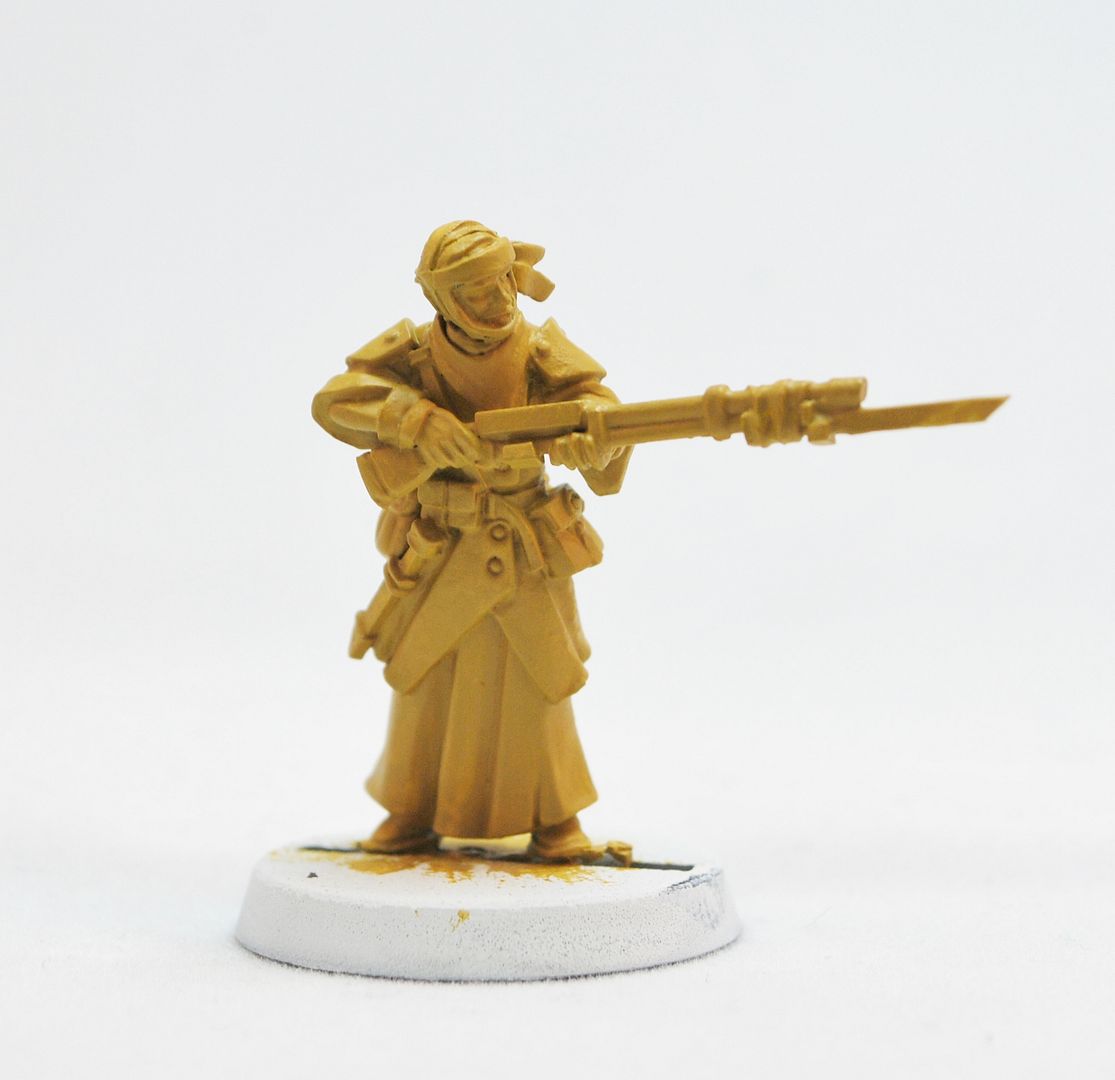
4.Washing – Use a suitable “earthy”
wash or water down brown paint.
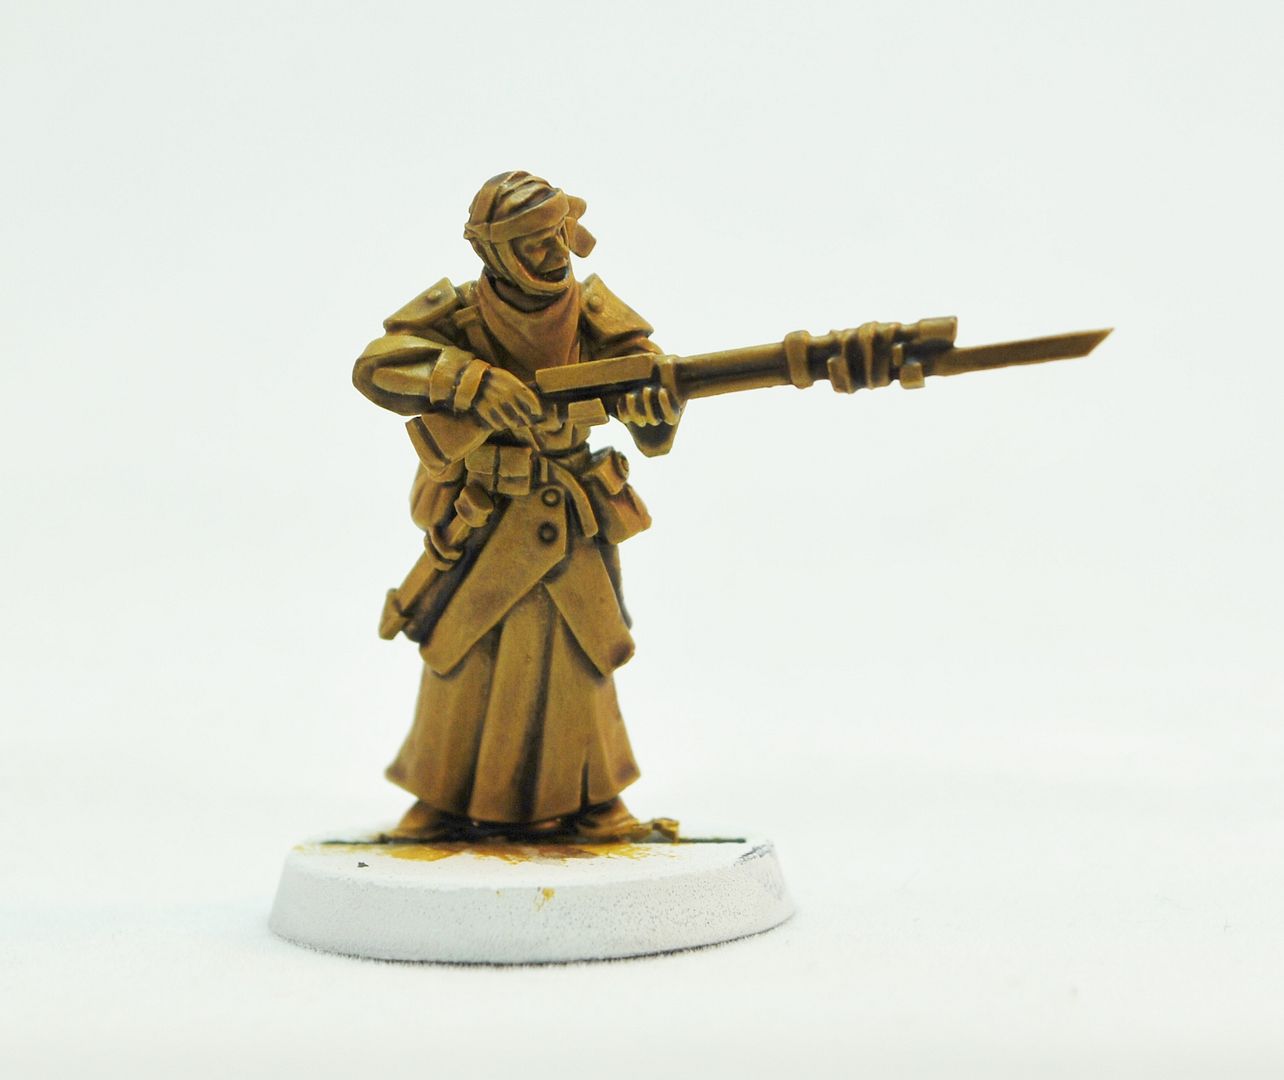
5.Drybrush – Get in about the mini
with a light drybrush of Bone.

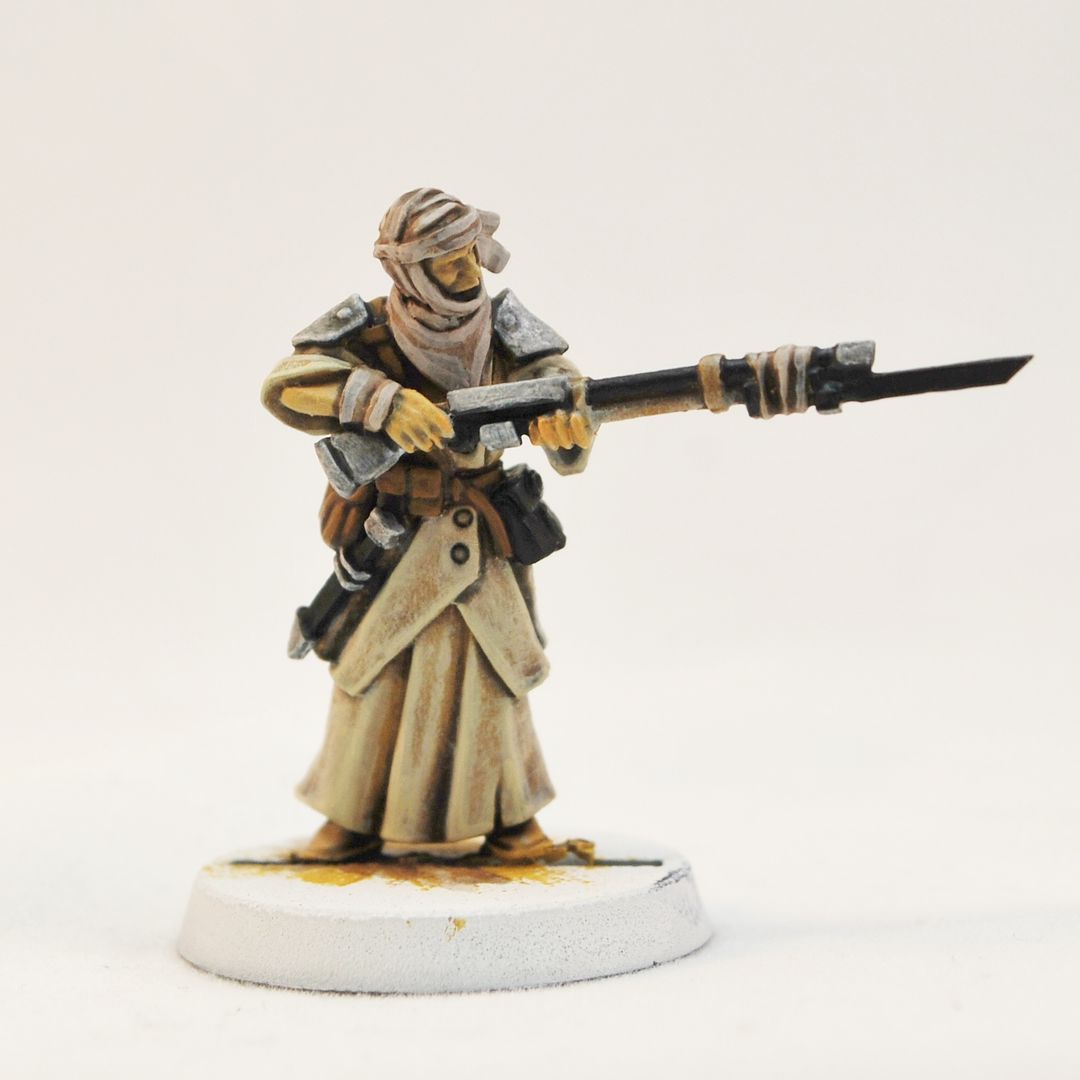
6.Colour Blocking –
Wrappings and scarves: Sandstone
Rifle: Black
Casings and shoulder pads: Dark Grey
Pouches and belts: Dark Brown.
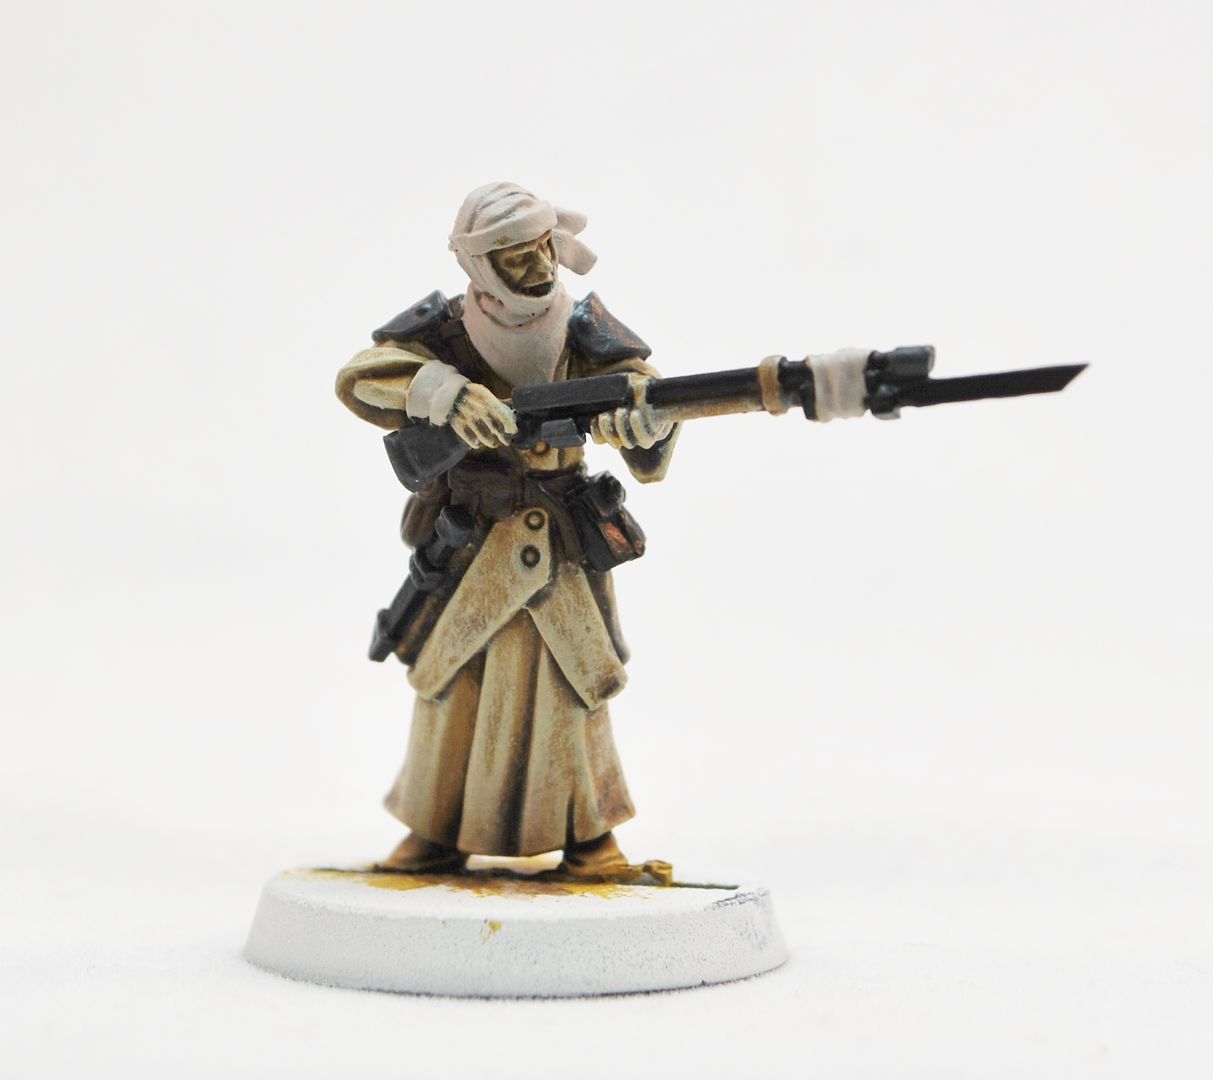
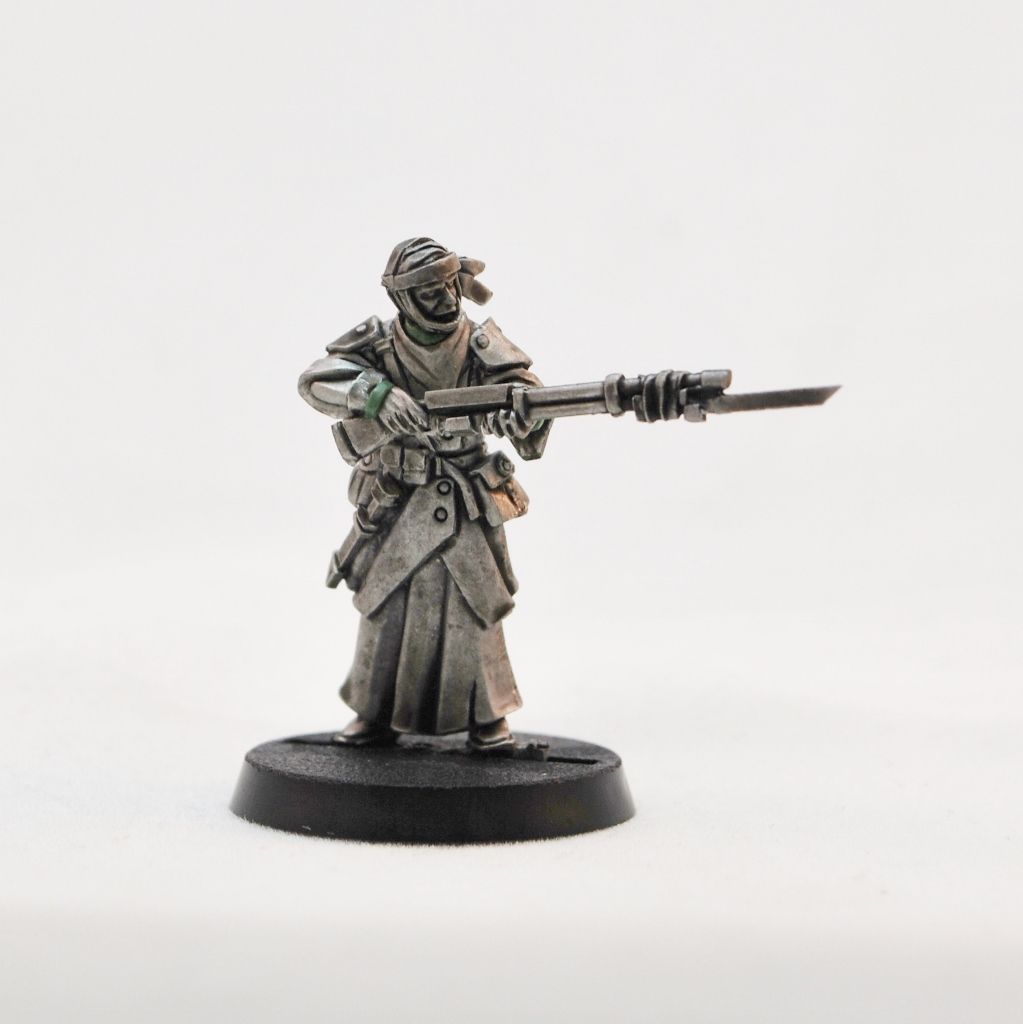
7.Colour Development-
Wrappings and scarves: Wash with
“earth” or watered down brown.
Casings and shoulder pads – Roughly
layer on pure white. Make it streaky and rough.
Robes – Extreme highlight with Bone.
Skin – err, skin colour.
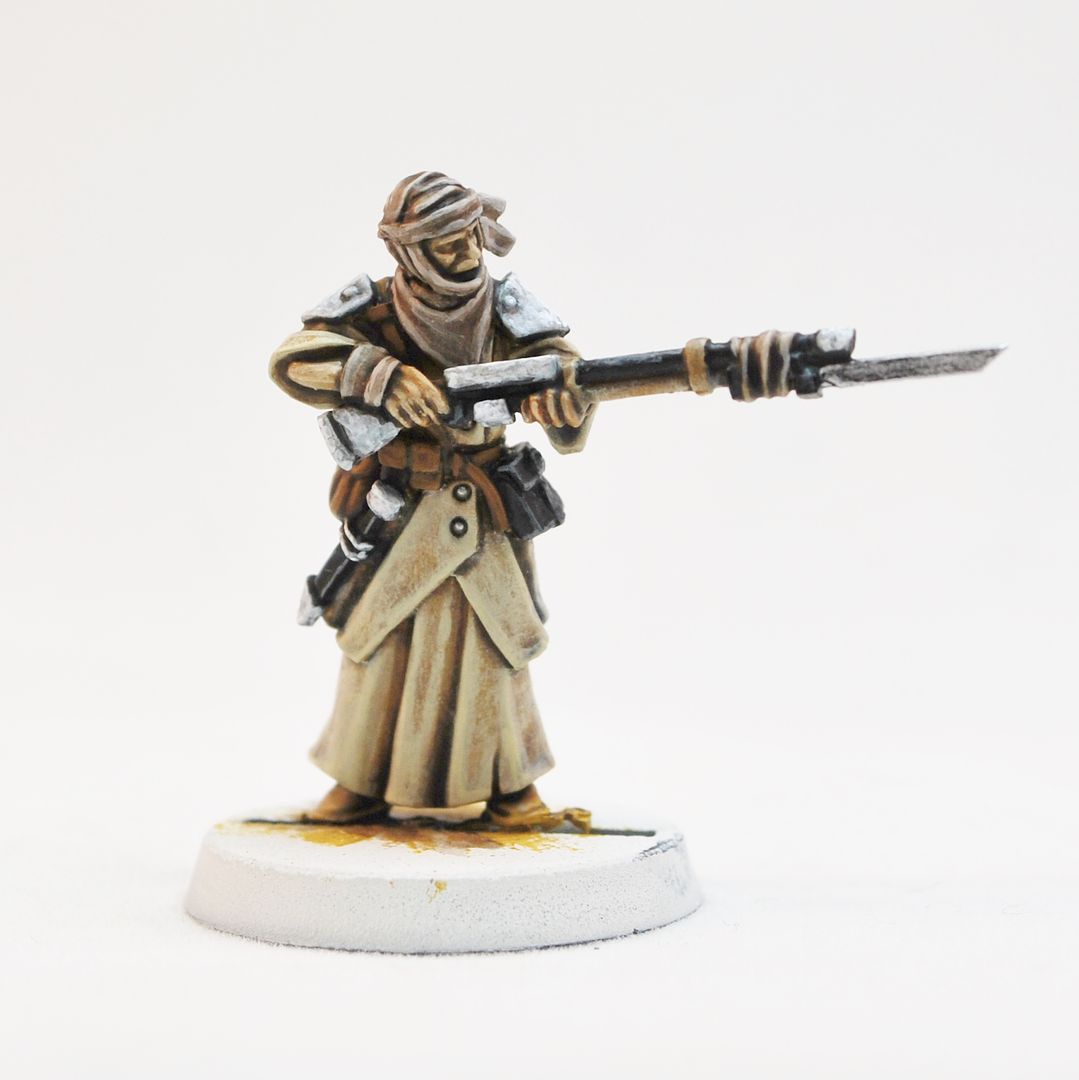
8. Colour Refinement-
Wrappings and scarves – Highlight
with the original Sandstone, for final highlights mix in a touch of
white to the Sandstone.
Casings and shoulder pads – Wash with
watered down black, then do a final highlight with pure white.
Rifle – Extreme highlights with Grey.
Pouches and belts – Highlight with a
lighter brown, wash with brown ink then extreme highlight in the
lighter brown again.
Skin – Wash with
“earth” and then highlights with a touch of white to the original
skin colour.


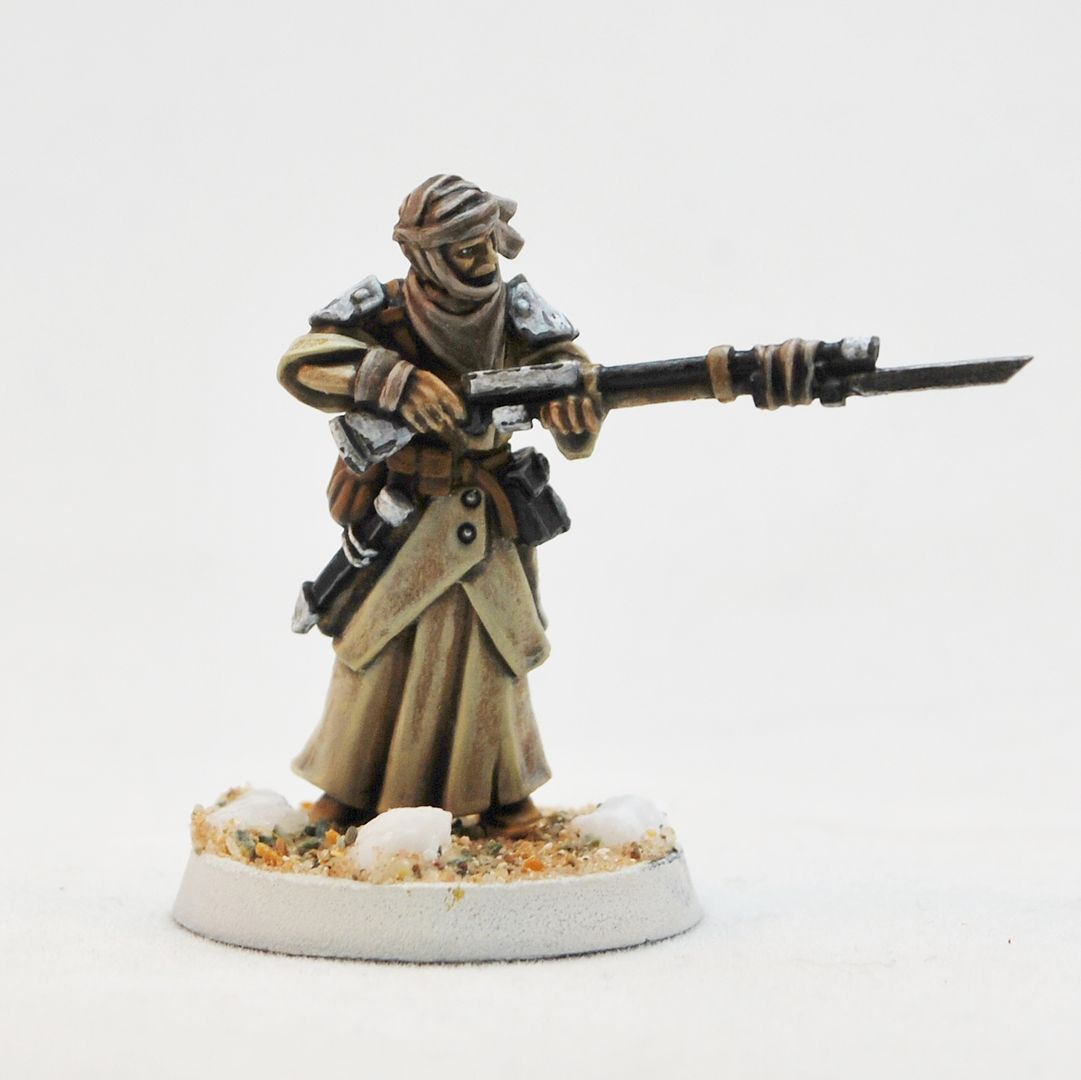
9. Detail-
Battle Damage – Paint scratches and
chips to the edges of the Casings and shoulder pads with dark grey,
then a tiny thin line of light grey in the centre of it(leaving dark
grey at either side of the scratches and chips). LESS IS MORE.
Buttons and buckles – Simply silver
metallic washed with black, highlighted with a lighter metallic.
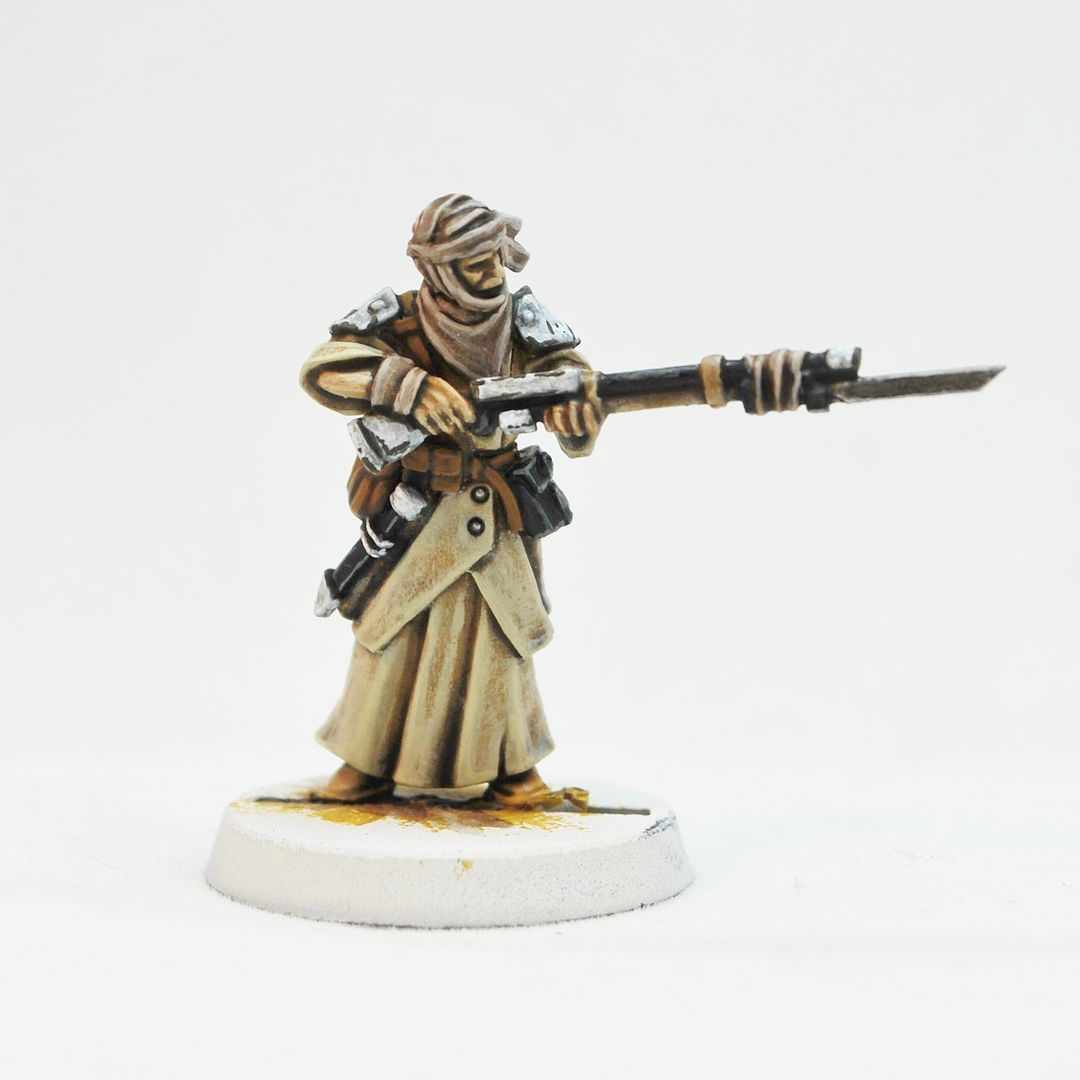

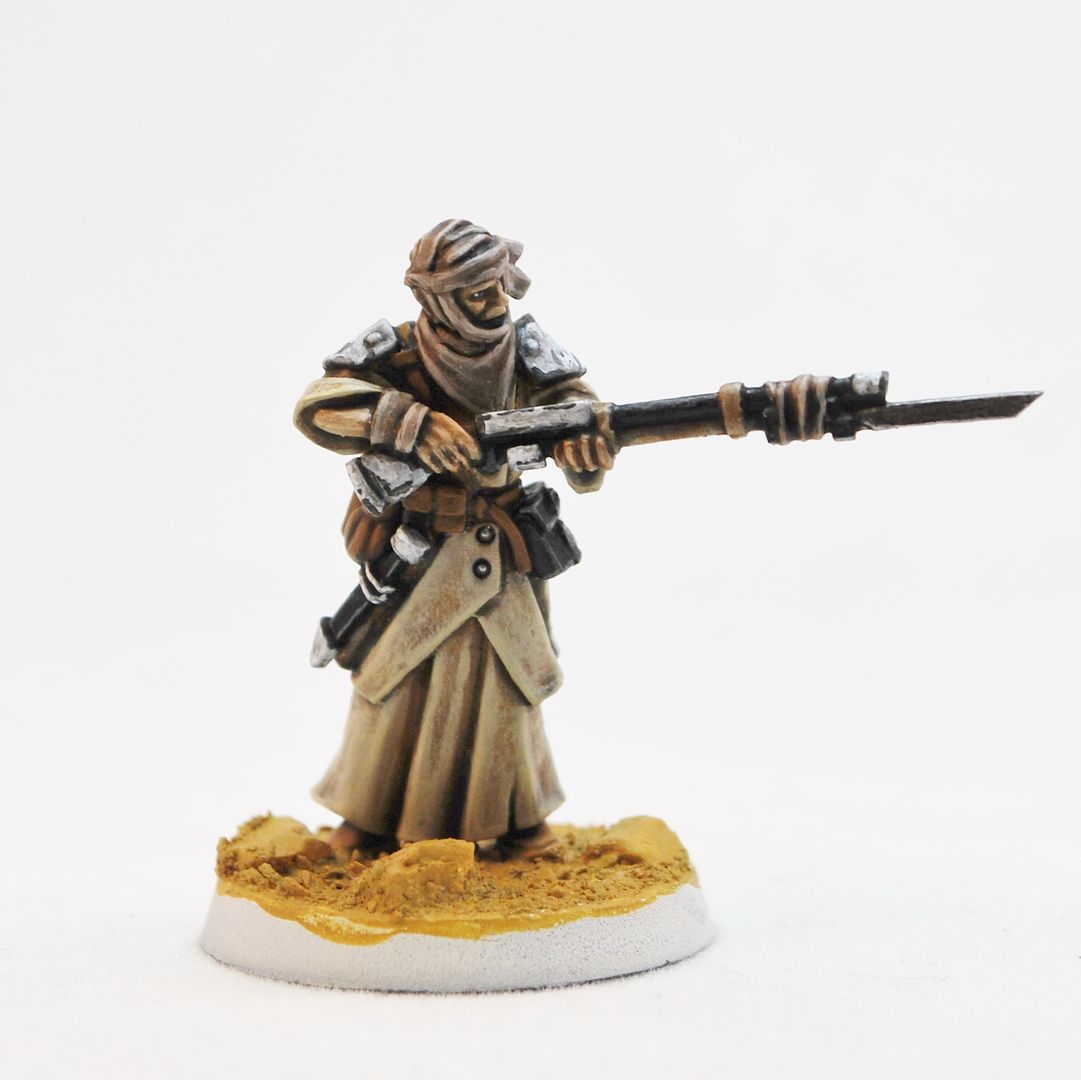
10. Basing-
Easy – Sand and stone glued in place.
Paint it with Ochre (same as the original mini colour blocking), wash
it with “earth” or watered down brown then highlight it with
Bone. Paint the edges of the base Dark Brown.
Nice tutorial, always interesting to see other peoples painting techniques and colour schemes, especially when its the sculptor's :)
ReplyDeleteThanks Ed. I wish I had more time to do stuff like this!
Delete