
I present here the quick method for a dirty and battered paint job that takes just over an hour to complete. When I do the rest in batch painting that time per mini will be reduced; most of it was spent waiting for washes to dry!

1. Undercoat
White spray all the way. Make sure you've modeled and textured your bases before undercoating.

Simple as pie, leave the white until last - this is to touch up all the mistakes you've made, there will be plenty, were speed painting!


- Weapons and pipes: Skavenblight dinge
- Fatigues: Baneblade Brown
- Gun sight: Mechrite Red
- Backpack: Leadbelcher
- Pouches: Skrag Brown
- Touch ups: White Scare (DO THIS LAST!)

3. Wash
Nuln Oil all over the mini!


4. Colour Development
Go back to your base colours from stage 2 Colour Blocking and now use them as highlights. Keep it simple and loose, mud and damage will come later.
Paint the base Steel Legion Drab.
The visor is just Chaos Black.


5. The Devlen Mud stage
Get the trusty Devlan Mud out and wash:
- the base
- the metal on the backpack
- the leather pouches
(I almost forgot, highlight the gun barrel with Leadbelcher and the gun with Mechanicus Standard Grey)


6. Battle damage
Paint some chips and scuffs on the edges and corners of the white armour. Some streaks and scuffs on larger flat faces of the armour is also all right. I over did this here so will tone it down on all other mini's, make the damage super thin and small!!
- First use Skavenblight Dinge
- In the middle of that paint a thin sliver of Leadbelcher
- On the outside of the Skavenblight Dinge paint a small highlight in white - this adds depth to the damage and suggests the paint is flaking off.

7.1. Mud
Drybrush the base with Steel Legion Drab. Make sure you get some on the boots and legs... I also dabbed some all over the mini in random places. Make sure this is super subtle, even less than a normal drybrush.

7.2 Mud development
Drybrush the base with Baneblade brown, get the boots and legs and other parts of the mini too. Same routine as 7.1 except even less paint, make it more subtle.

7.3 Mud finale
Get some Terminus Stone (or Bleached Bone) and do a final sparse drybrush picking out features on the base.
Finish the side of the base, I chose Chaos Black but Baneblade Brown or Dryad Bark would have also worked.
There you go, less than an hour and decent tabletop gaming quality! The detail on these things means they almost paint themselves.


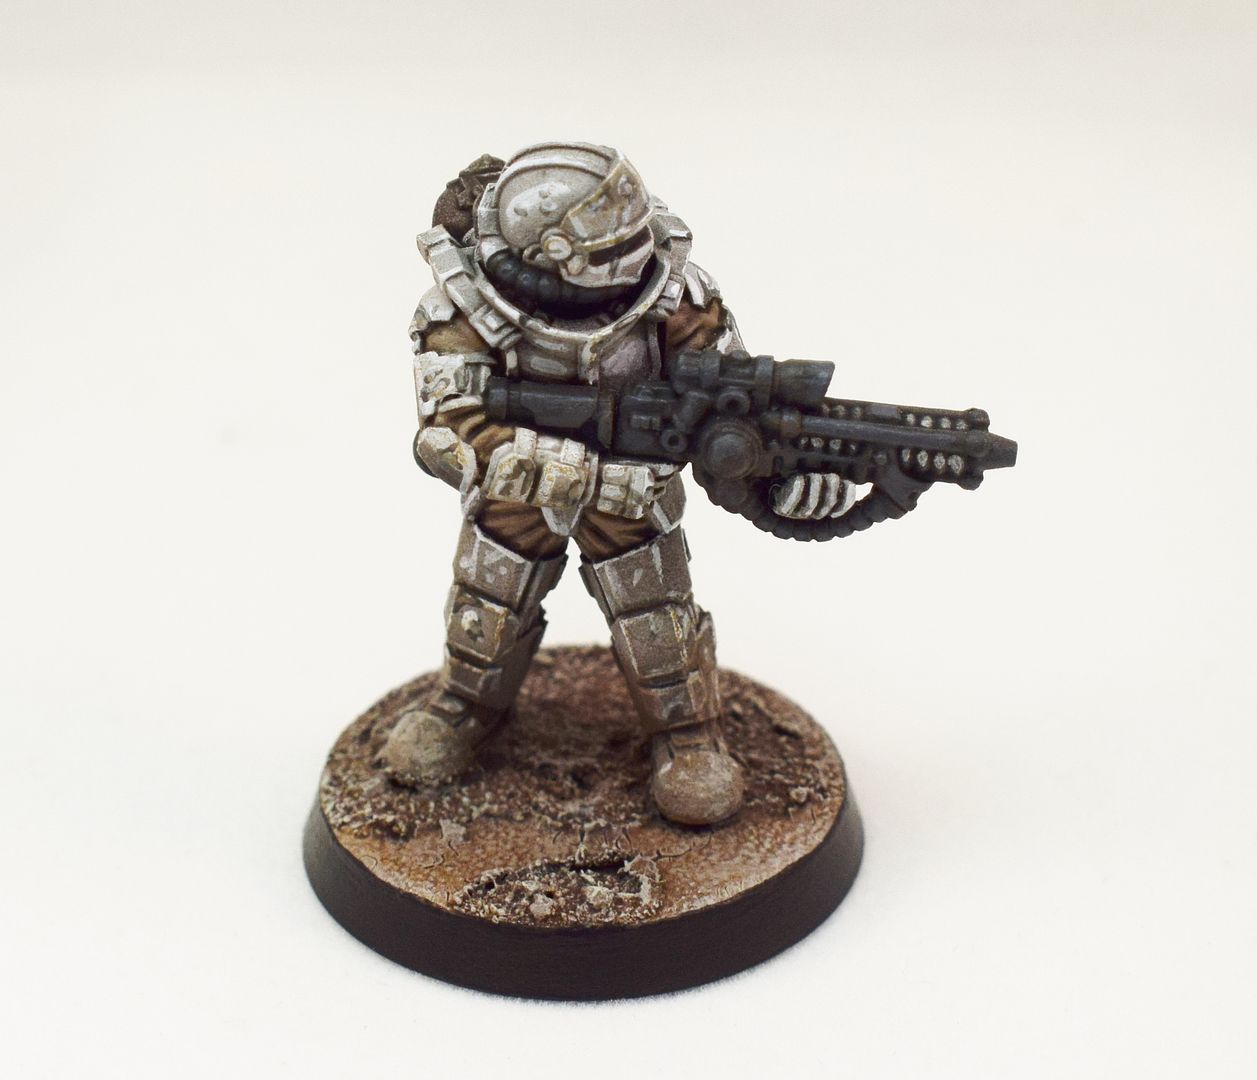
Great minis Anvil!
I loved your tutorial. I made a squad much like this, just a few differences.
ReplyDeleteI had difficulties highlighting the white after washing it with a little cocktail of strong and weak tone with medium.
I think you did a better job. Please keep posting these tutorials, you have a wonderful knack!
I used ulthuan grey instead of white.
DeleteThank you for the feedback! I enjoy doing these tutorials so will definitely do more in future.
ReplyDelete