Showing posts with label Painting Tutorial. Show all posts

Saturday, 4 July 2020

Tox Trooper Paint Tutorial


Here's a speed paint tutorial for my Tox Troopers. Quick and easy and only 9 steps start to finish.


1. Assembly. 

I always texture the base prior to painting, the barb wire is simply two thin metal wires wrapped around each other for effect. The rest is beach sand affixed with PVA glue.

2. Undercoat. 

Do 2-3 light coats of Black undercoat spray, once dry do a thin wash of Chaos Black (is it still called that?) to cover all the recesses the spray missed.
3. Colour Blocking.

All colours here are from Citadel:

  • Stormvermin Fur - for the grey coat and sleeves
  • Ushabti Bone - for the helmets face place
  • Rhinox Hide - for the gloves, boots and pouches on the models belt
  • Steel Legion Drab - for the shoulder pad straps, the boot gaiters and the soil on the base
  • Leadbelcher - for all the metal areas on the model
  • Mephiston Red/Skull White - for the shoulder pad markings

4. Black Wash.

Nuln Oil - wash the entire mini, only avoiding the boot gaiters and the base.


5. Brown Wash

Agrax Earthshade - wash the base, the boot gaiters, all the metal areas, the faceplate and should pad straps
6. Colour Development

Go back to all the base colours and paint the raised areas/avoid the recesses - the wash has created the shading. This stage is most evident on the coat and face plate. This effect here should be subtle, the next stage will build upon it....
7. Highlights

  • Dryad Bark - paint fine edge highlights on the gloves, boot caps and belt pouches
  • Baneblade Brown - paint fine edge highlights on the boot gaiters and the shoulder pad straps
  • Leadbelcher - fine edge highlight all the metal areas, and then scratches on all the black armour areas (I went overboard here, as usual - subtle is always better)
  • Stormvermin Fur 70% mixed with Ushabti Bone 30% - highlight the raised edges on the coat. You can even paint thin vertical streaks at the edges to suggest fraying and damage.
8. Lens Detail

  • Paint the entire lens Black
  • Paint the bottom 50% of the lens with Mephiston Red
  • Within that red area, paint a further 25% of the lens with Evil Sunz Scarlet
  • Paint a final tiny streak of Wild Rider Red in the extreme bottom corner of the lens
  • In the opposite top left corner of the lens, paint a tiny streak of white 
9. Base

  • Drybrush the entire base with Baneblade Brown
  • Paint a further drybrush of the entire base with Terminatus Stone
  • Daub the metal wire on the base with Skrag Brown
  • Paint the edge of the base with Steel Legion Drab
  • Dead field grass was applied in patches with PVA glue


Tuesday, 27 September 2016

Painting tutorial: Afterlife C-48 Warden Autonomous Mech


Here I'll go through the steps I take to achieve these rough and quick paint jobs!


1. Undercoat

I used Uniform Grey spray from the Army Painter


2. Colour Blocking

In this order based on layers and physical depths (to minimise mistakes):


  • Skavenblight Dinge for rings and washers.
  • Leadbelcher for metal areas, including features on the base
  • Ceramite White for the armour plating
  • Mechrite Red for the eye lenses


3. Wash

Nuln Oil over everything, even the base!


4. Highlight (the make it pop stage)

Fine edge highlights for this stage, I sometimes call this 'mechanical' painting - it's all straight lines.


  • Ceramite White for the armour plates, and a little dot at the top left of the eye lenses
  • Russ Grey for the main casing of the Mech
  • Evil Sunz Scarlet for the bottom right half of the eye lenses
  • Runefang Steel for all the exposed metal areas


5. Battle Damage - OPTIONAL STAGE

You can skip this if you want! I use this step to add character to miniatures, and to tidy up any mistakes I've made along the way.


  • Skavenblight Dinge - Paint some chips and scuffs. Pick out the edges and the corners: areas where the paint will get chipped off during a stumble in a concrete warzone, or where stray bullets make contact.
  • Runefang Steel - Paint thin streaks of silver on the Skavenblight Dinge, leaving the dark grey showing around the edges.


6. Finish it! (Base)

Before we do the base paint a tiny dot of Macharius Solar Orange in the bottom right of the lenses.

  • Drybrush the base texture with Adeptus Battlegrey.
  • Drybrush the metal base features with Snakebite Leather.
  • Do a final drybrush on the base texture with Ulthuan Grey (see the final note regarding line dynamics on this).
  • Chaos Black for the bevel edge of the base.

DONE!


Appendix. Line dynamics

If you look at the light grey drybrushed lines below you'll notice that they generally follow the direction of travel or attention of the miniature.


  • On the left one, less noticeable, the selective drybrushing conveys a forward movement - the light grey runs parallel on either side of the right foot touching the ground. 
  • On the miniature on the right, there's a very clear light grey line that runs parallel to the gun arm taking aim. This line is so pronounced it could be a pavement or road marking.

Either way, there's a method to the highlight - it's selective in such a way that complements the miniature and suggests action and direction!


The Crane Corporation. I'm pretty sure Anvil Industry are expanding this faction next year...


Monday, 15 August 2016

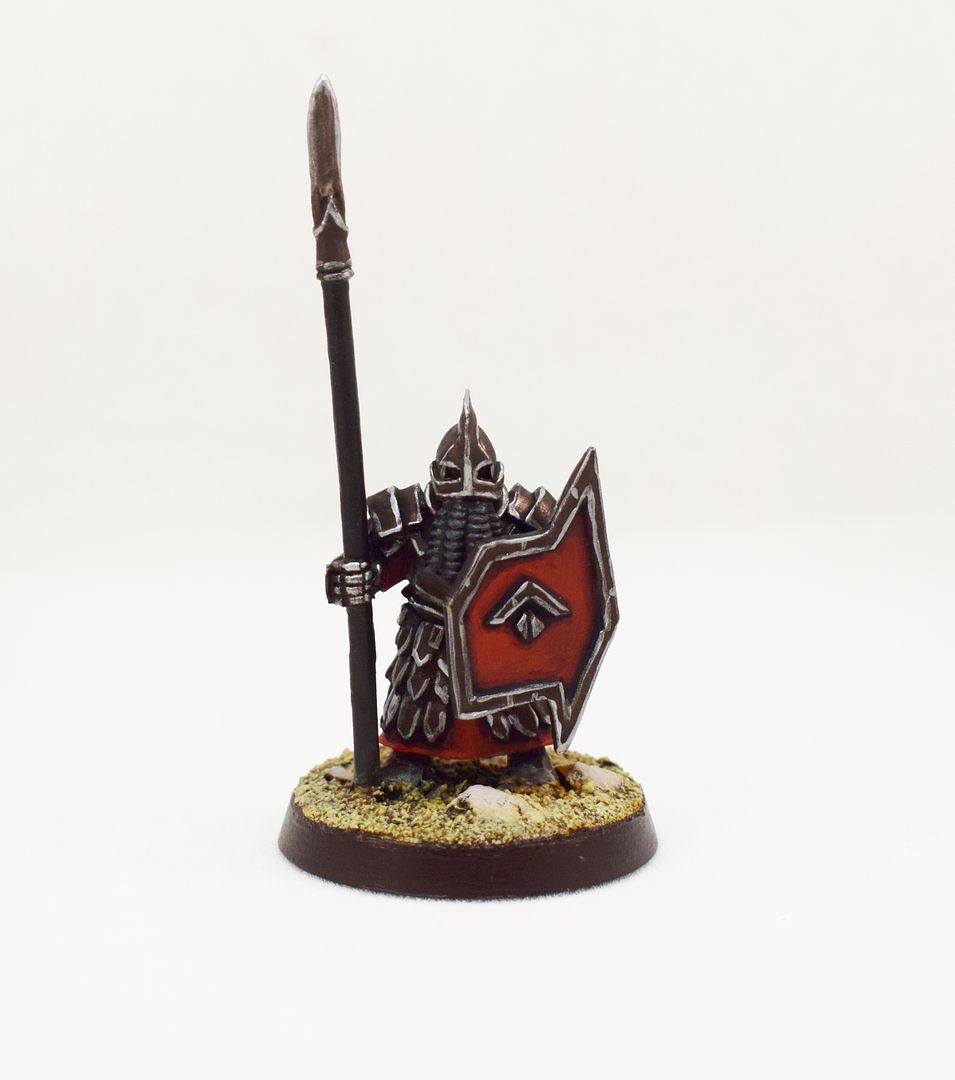
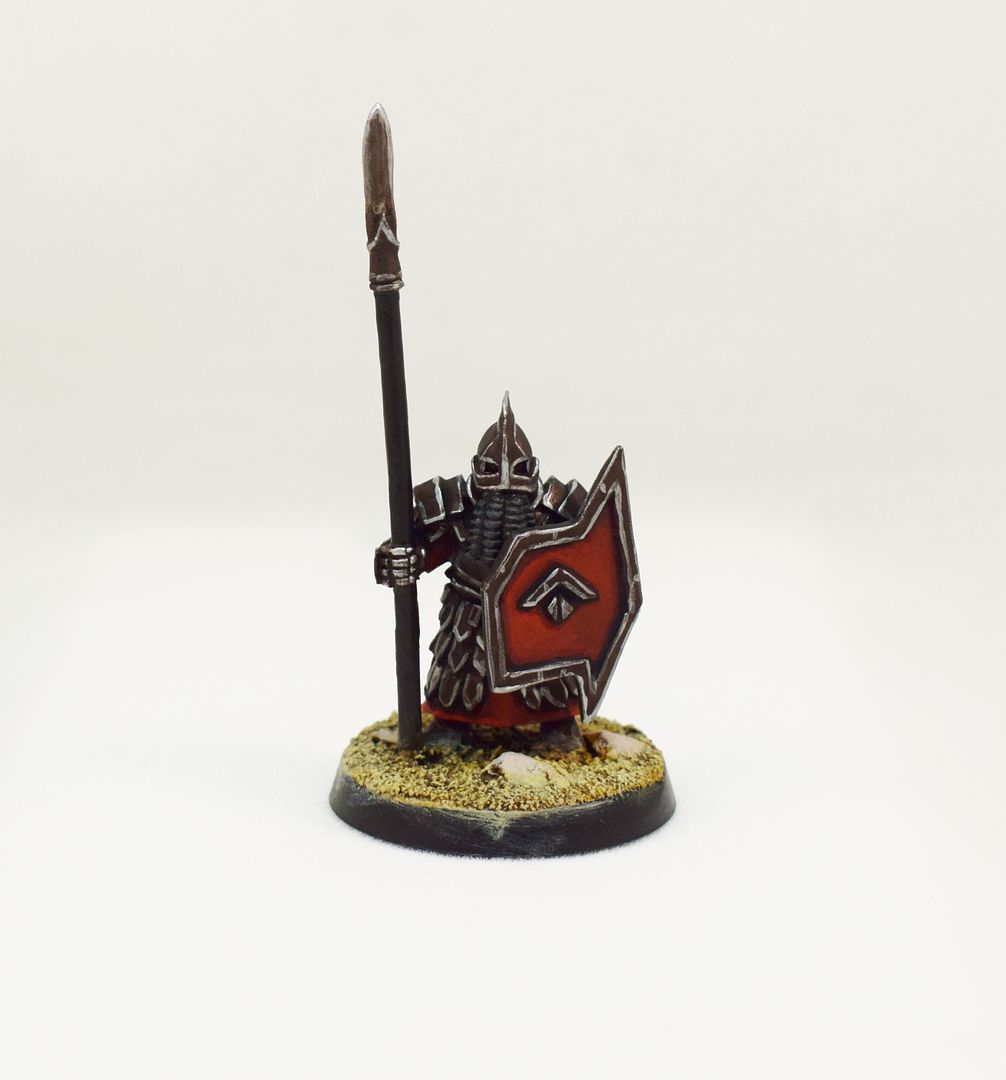
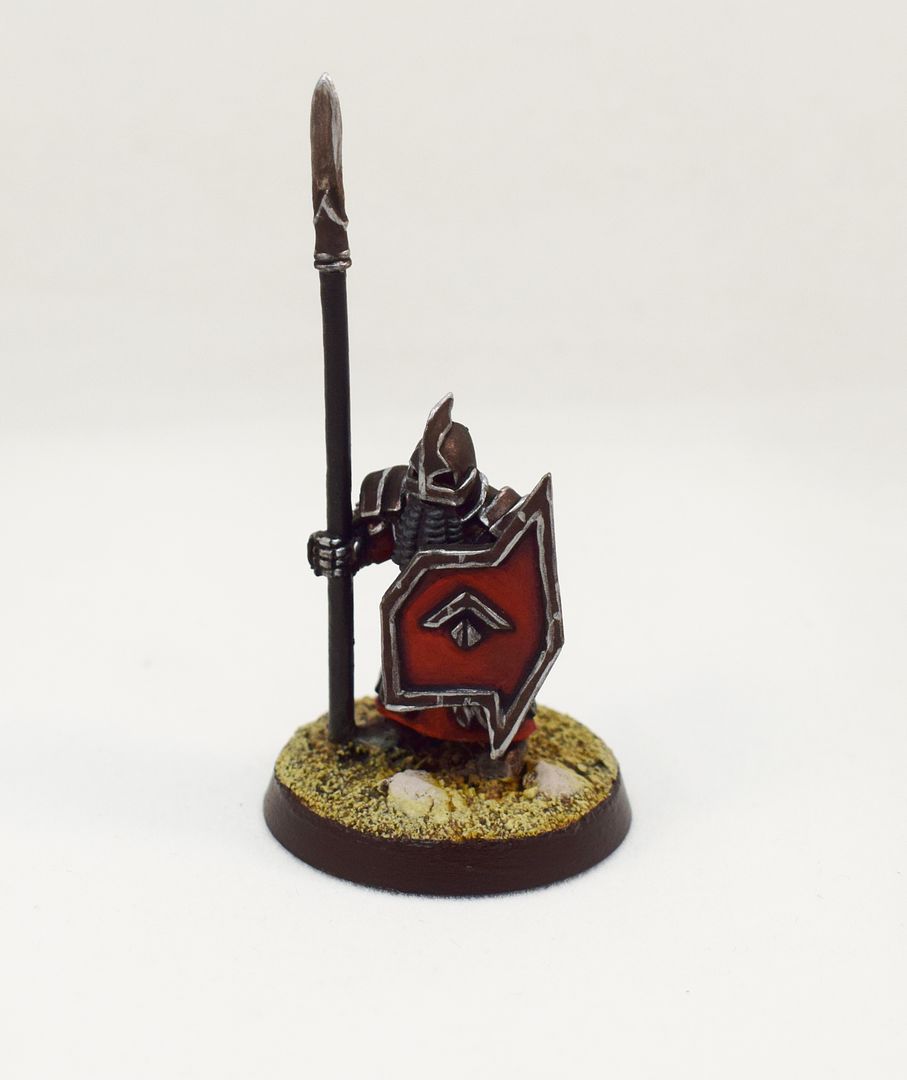
Speed paint tutorial - Fallen Dwarves

I had such fun doing yesterdays speed paint tutorial that I decided to do another today!

I'm gearing up to paint 24 Dwarves (the wave 2 release) so thought I'd do a basic spearmen to get back into the swing of the technique.

Now, my chosen technique is not the fastest, I still managed this miniature in just over an hour, BUT a drybrush instead of a my fine line approach on the armour might be a better idea.


1. Prep

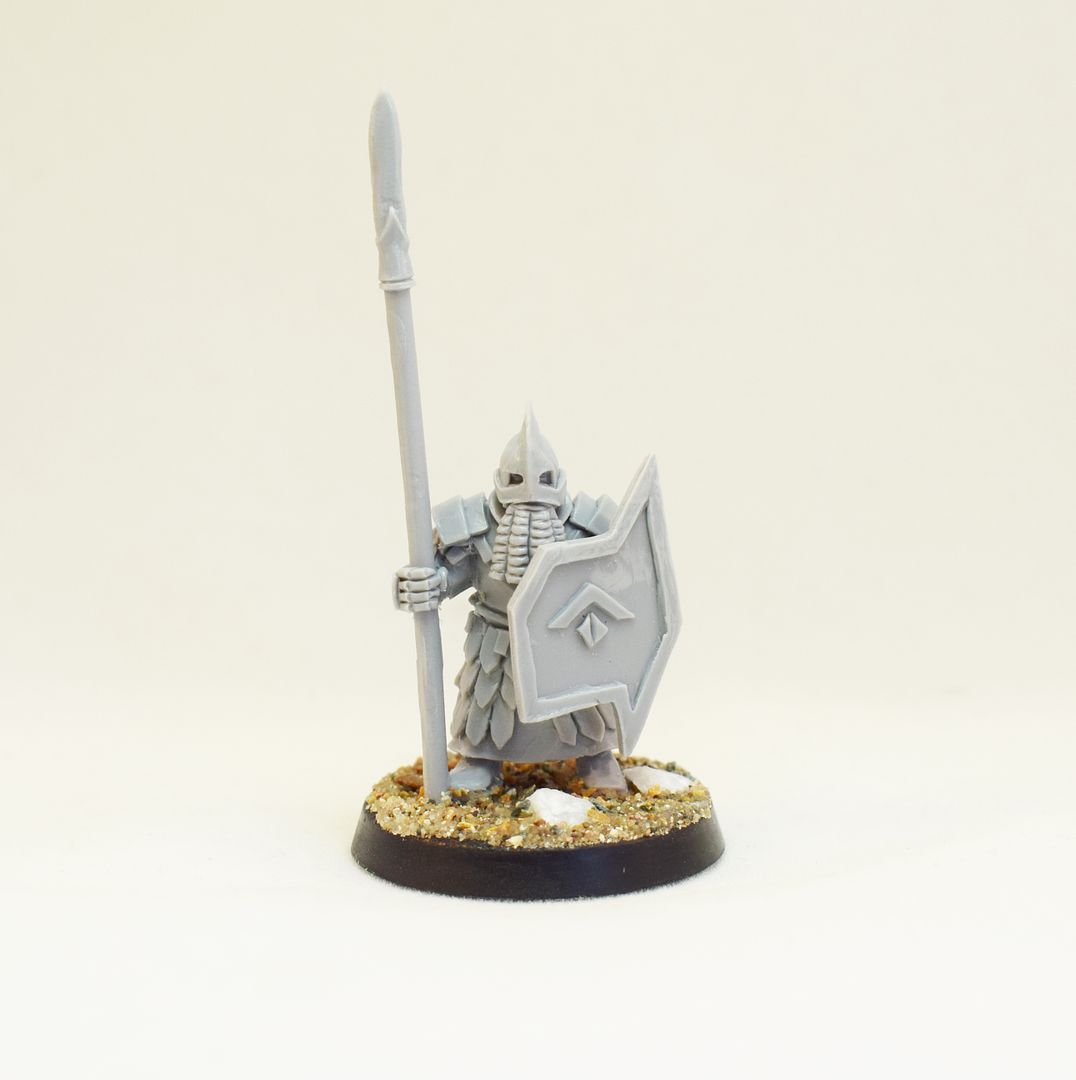
Anvil Industry casts rarely need flash removed. Give them a little clean with soapy water, glue the shield in place and use PVA to stick some sand to the base.

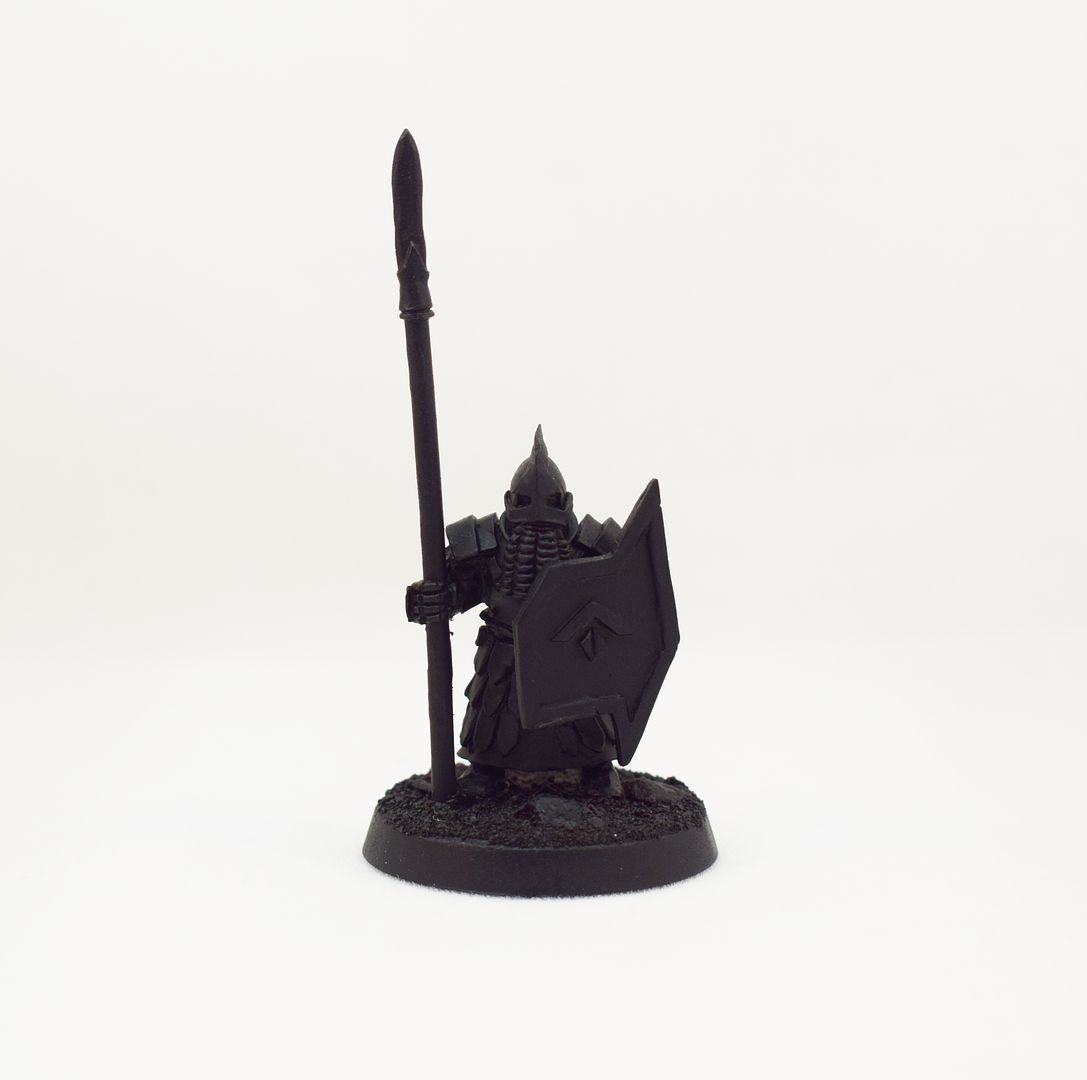
2. Undercoat

Black spray is the best undercoat for metallic paints... which comes next.


3. Colour Blocking

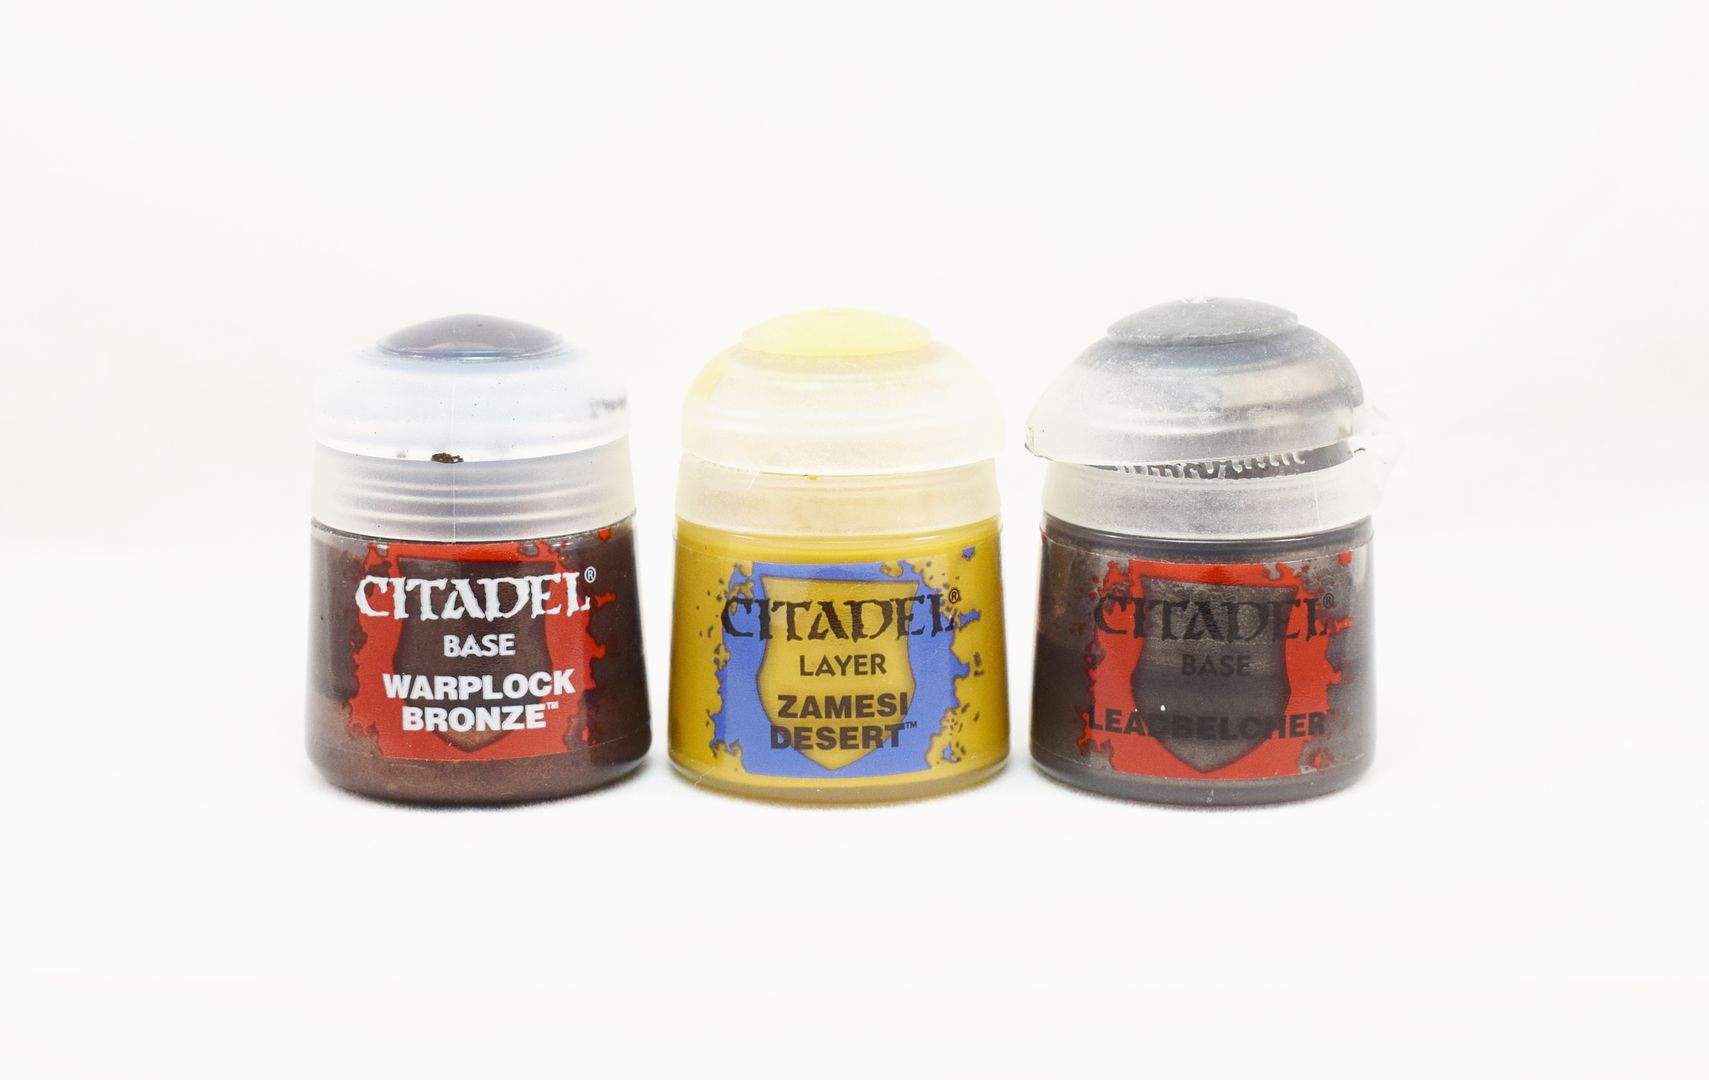
  • Get a big brush and cover the mini with Warplock Bronze
  • Use Leadbelcher for the spear tip
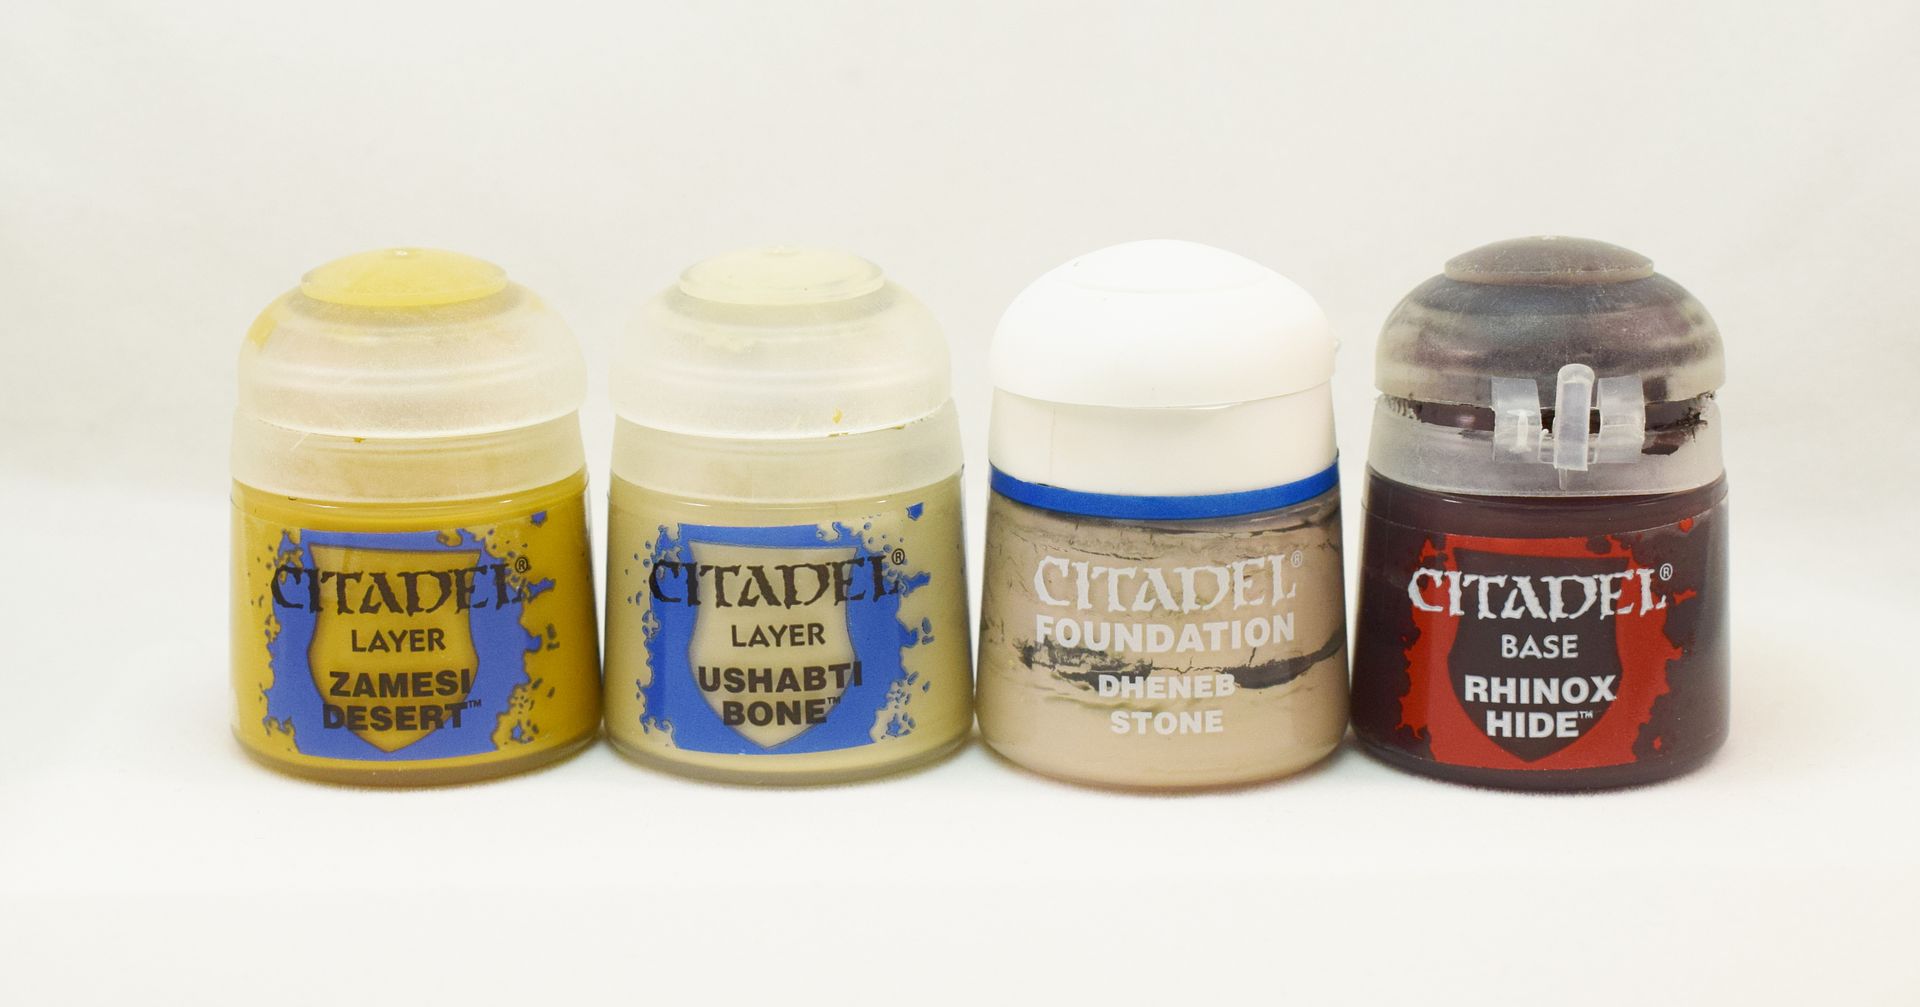
  • For the base use Zamesi Desert


4. Wash

Wash everything with Agrax Earthshade, even the base!


5. Colour block

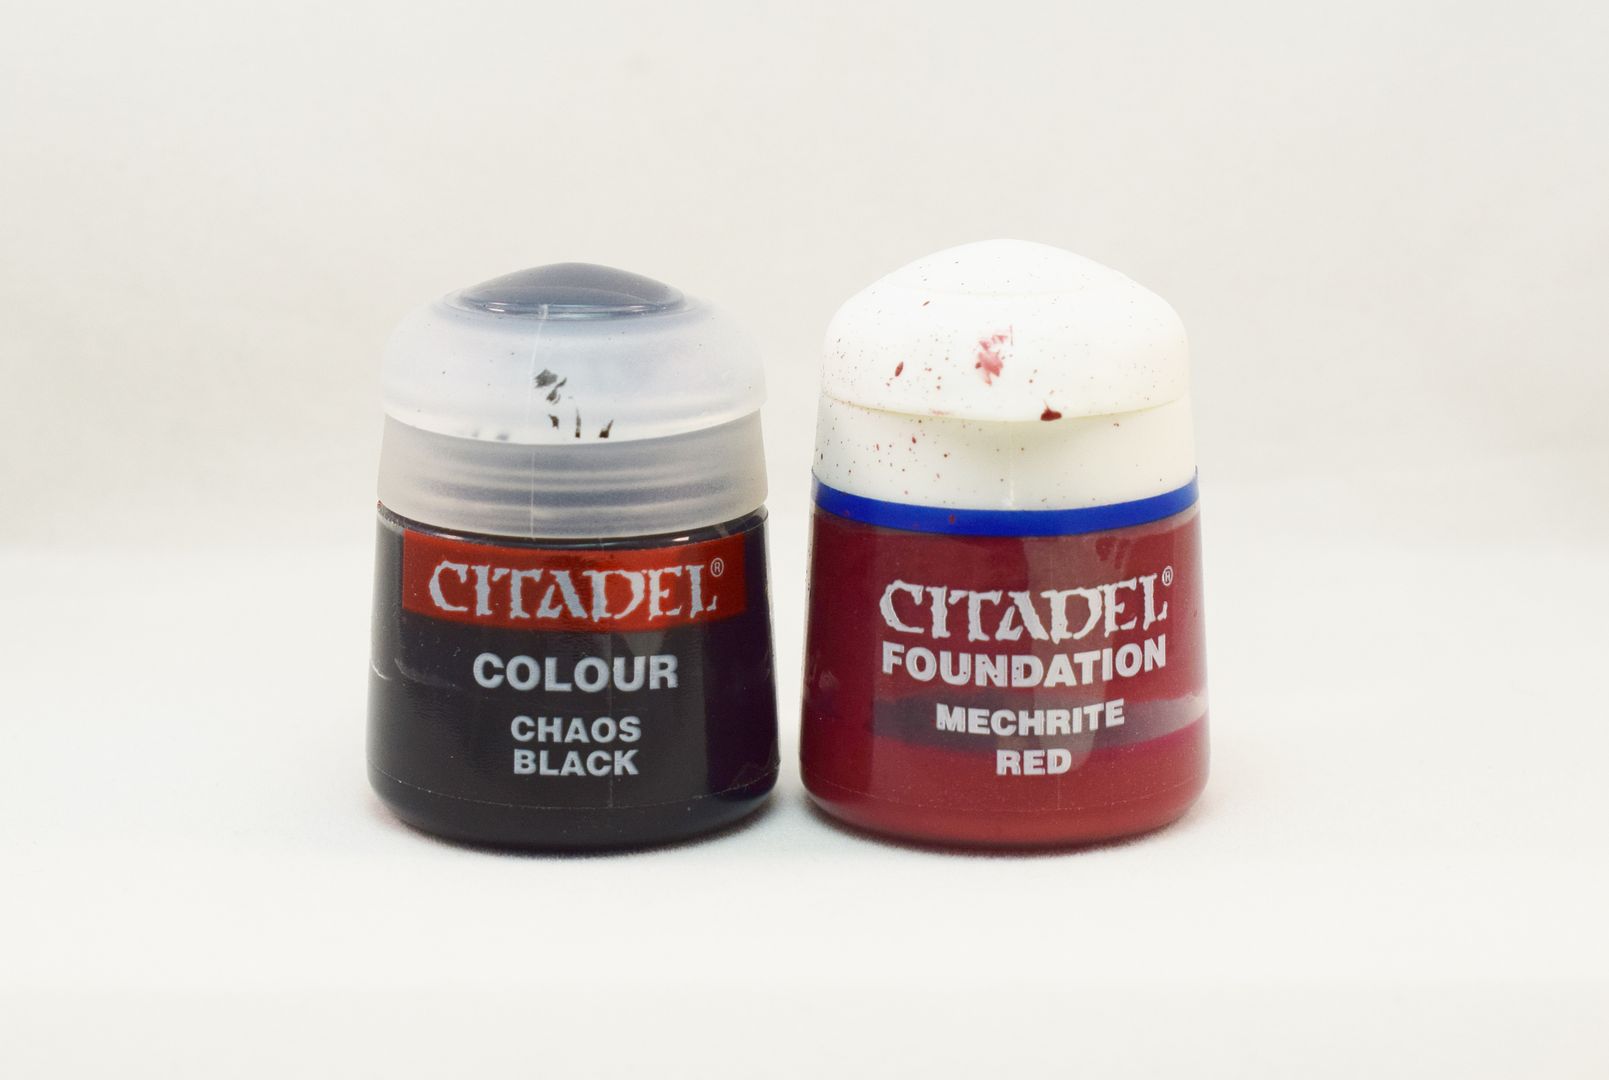
  • Paint the shield and all cloth Mechrite Red
  • Chaos Black for the beard and the spear shaft


6.Wash

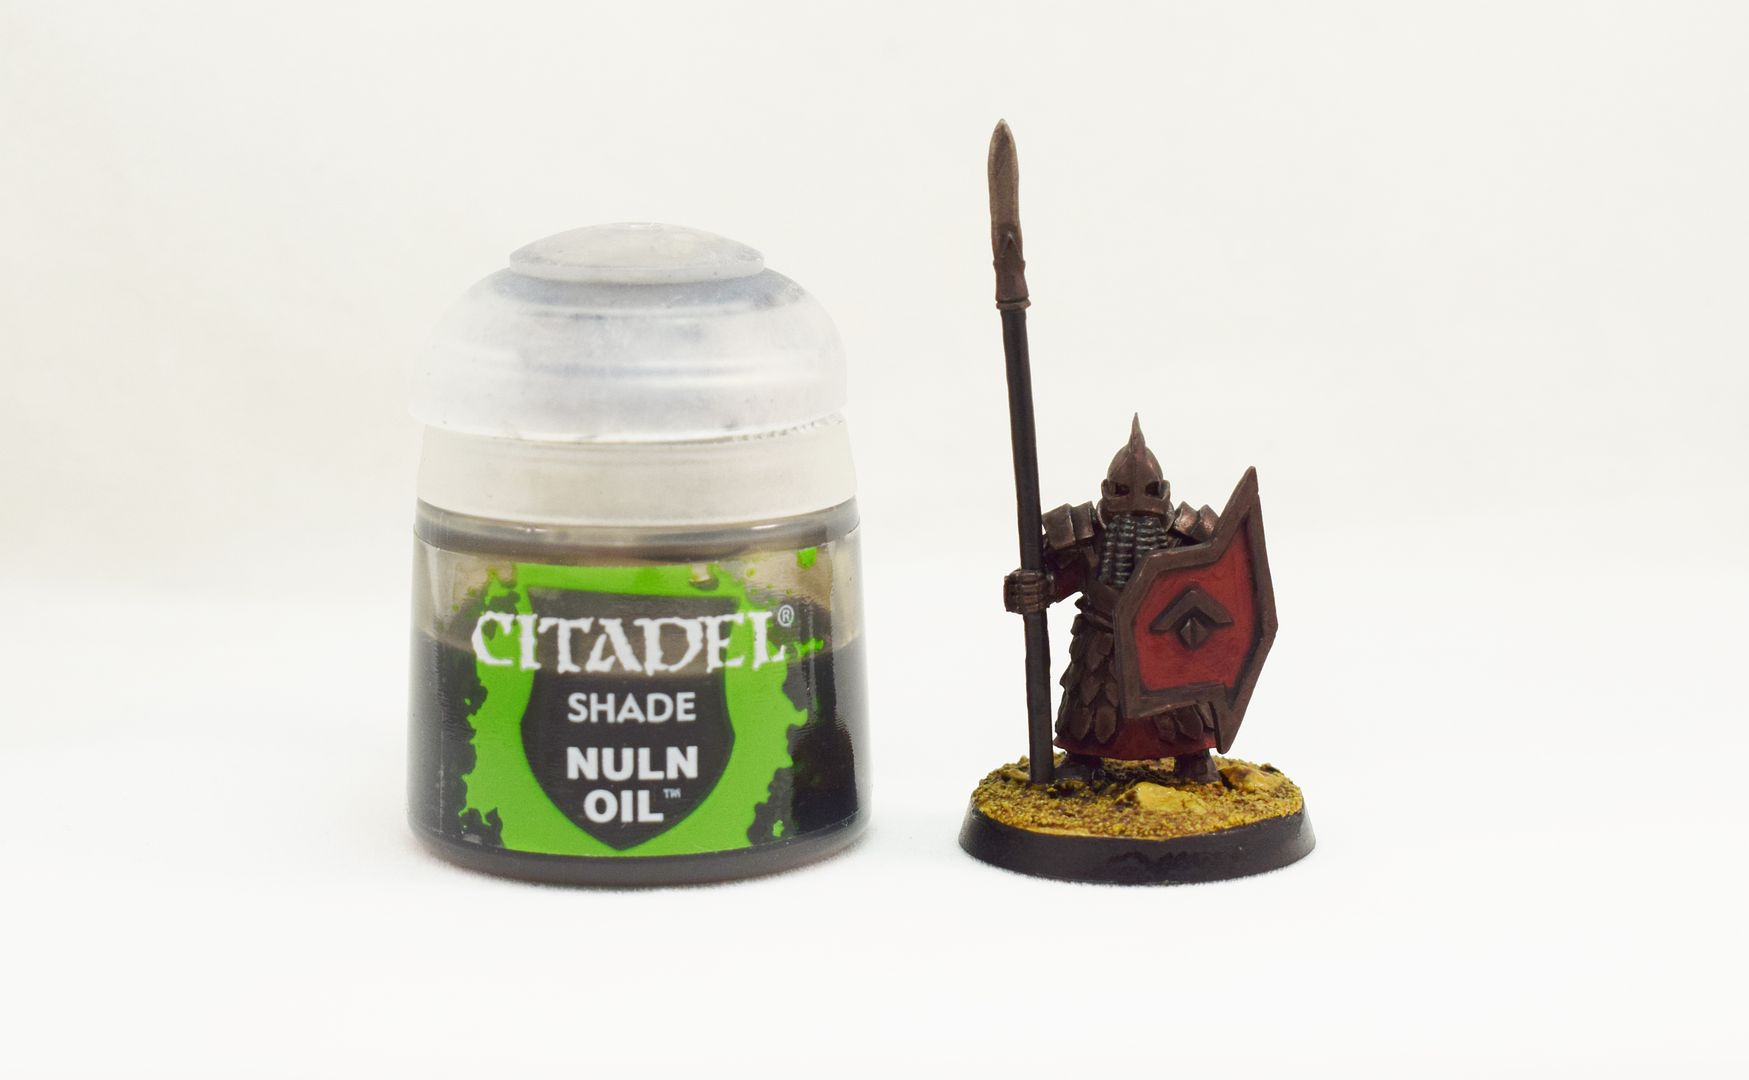
Nuln Oil on all the red areas please!


7. Colour Development

Here's where it pops...
  • Highlight the armour edges with Mithril Silver.
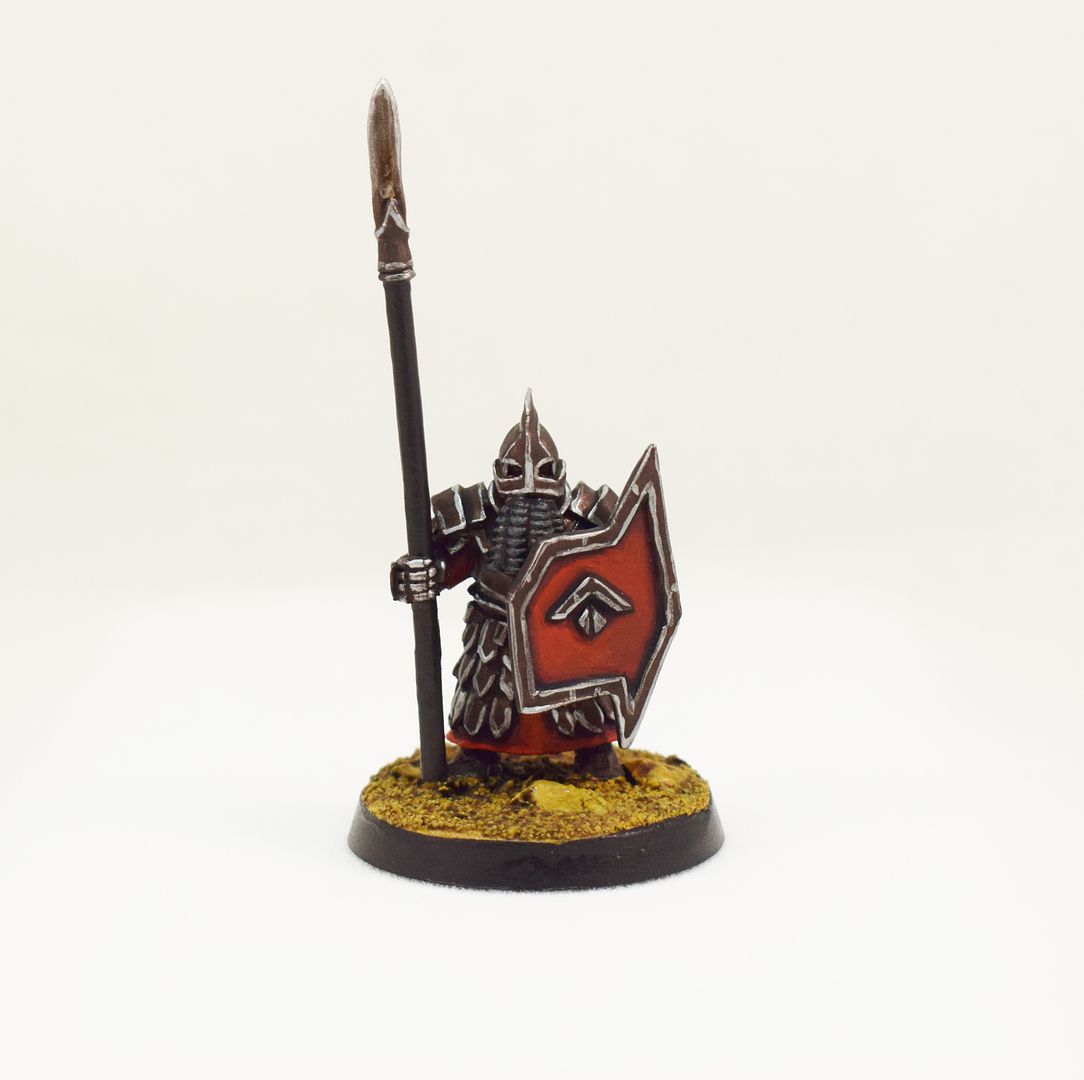
  • Use Evil Sun Scarlet as a highlight for the red cloth and shield. I applied it on the shield like a glaze, don't go near the recesses.
  • Drybrush the beard with Adeptus Battlegrey


9. Base

Drybush the base with Zamesi Desert (the original colour block)


9.1 Base development

  • Drybrush the base with Ushabti Bone
  • Drybrush  Dhened Stone on the ...stone, or rocks, whatever you've stuck on the base. It just adds a bit of variety to the base colour.


10. Finish

Use Rhinox Hide for the side of the base.


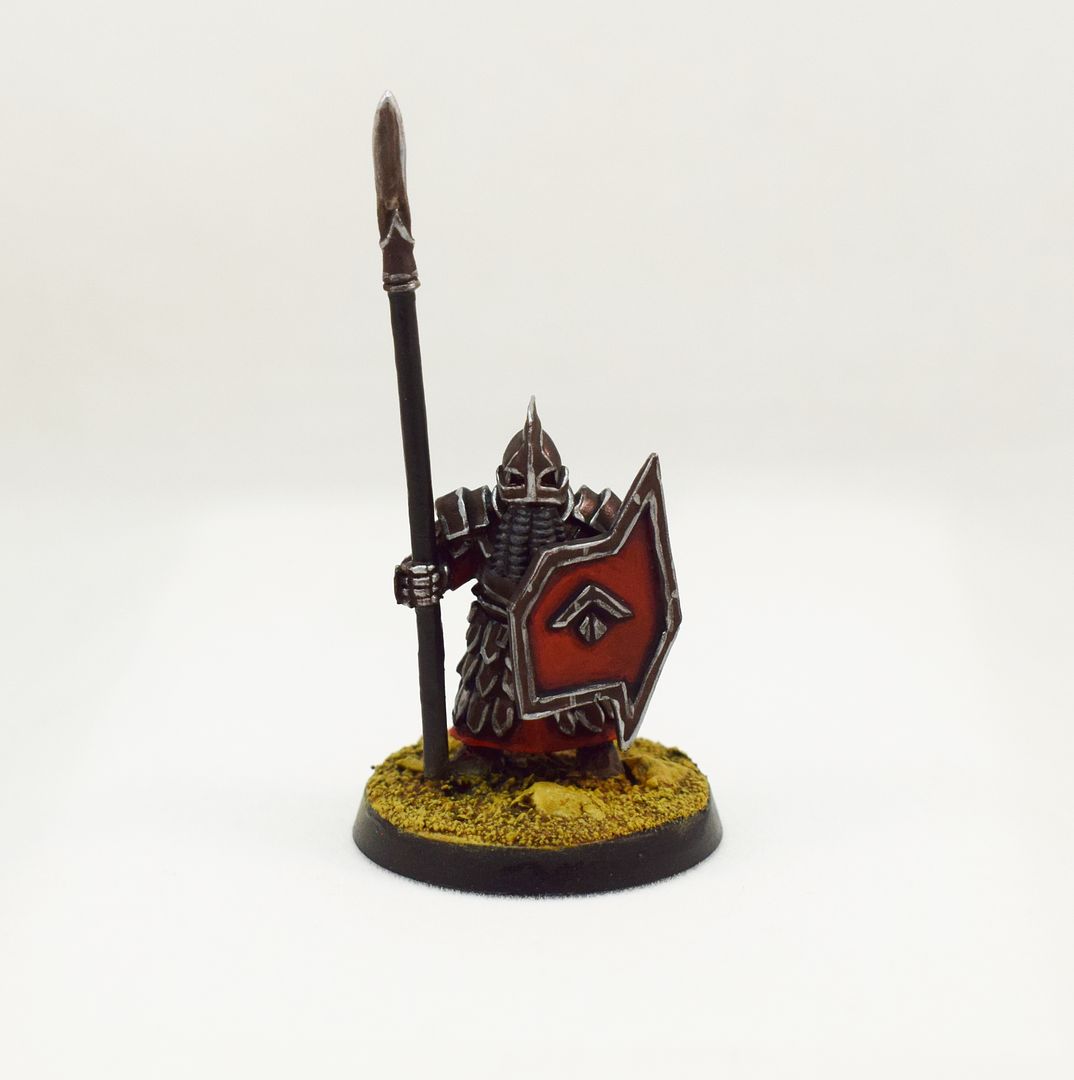
One more dwarf ready for the Phalanx!


I designed and sculpted this range, pick them up here https://anvilindustry.co.uk/Fallen-Dwarves


Wednesday, 19 February 2014

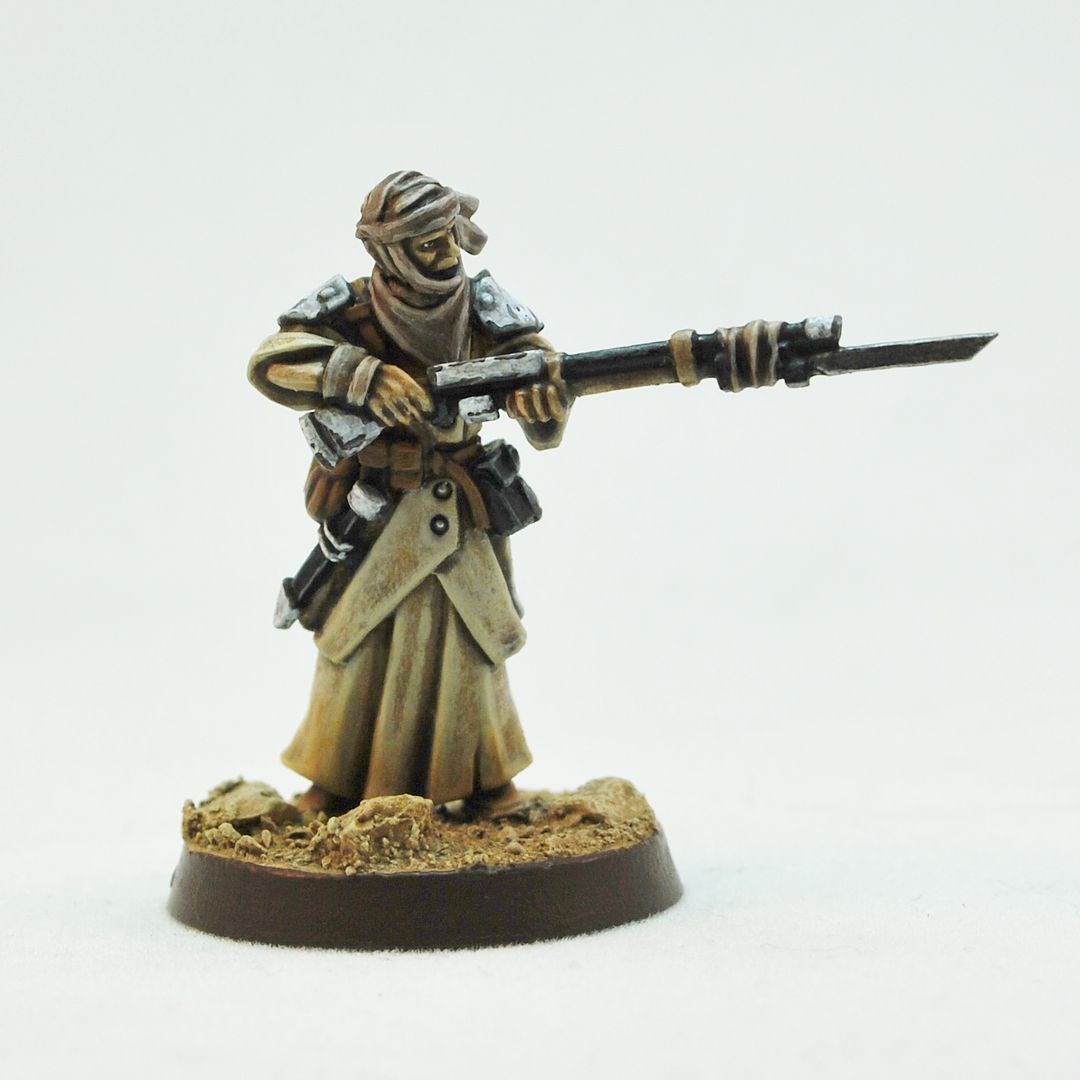
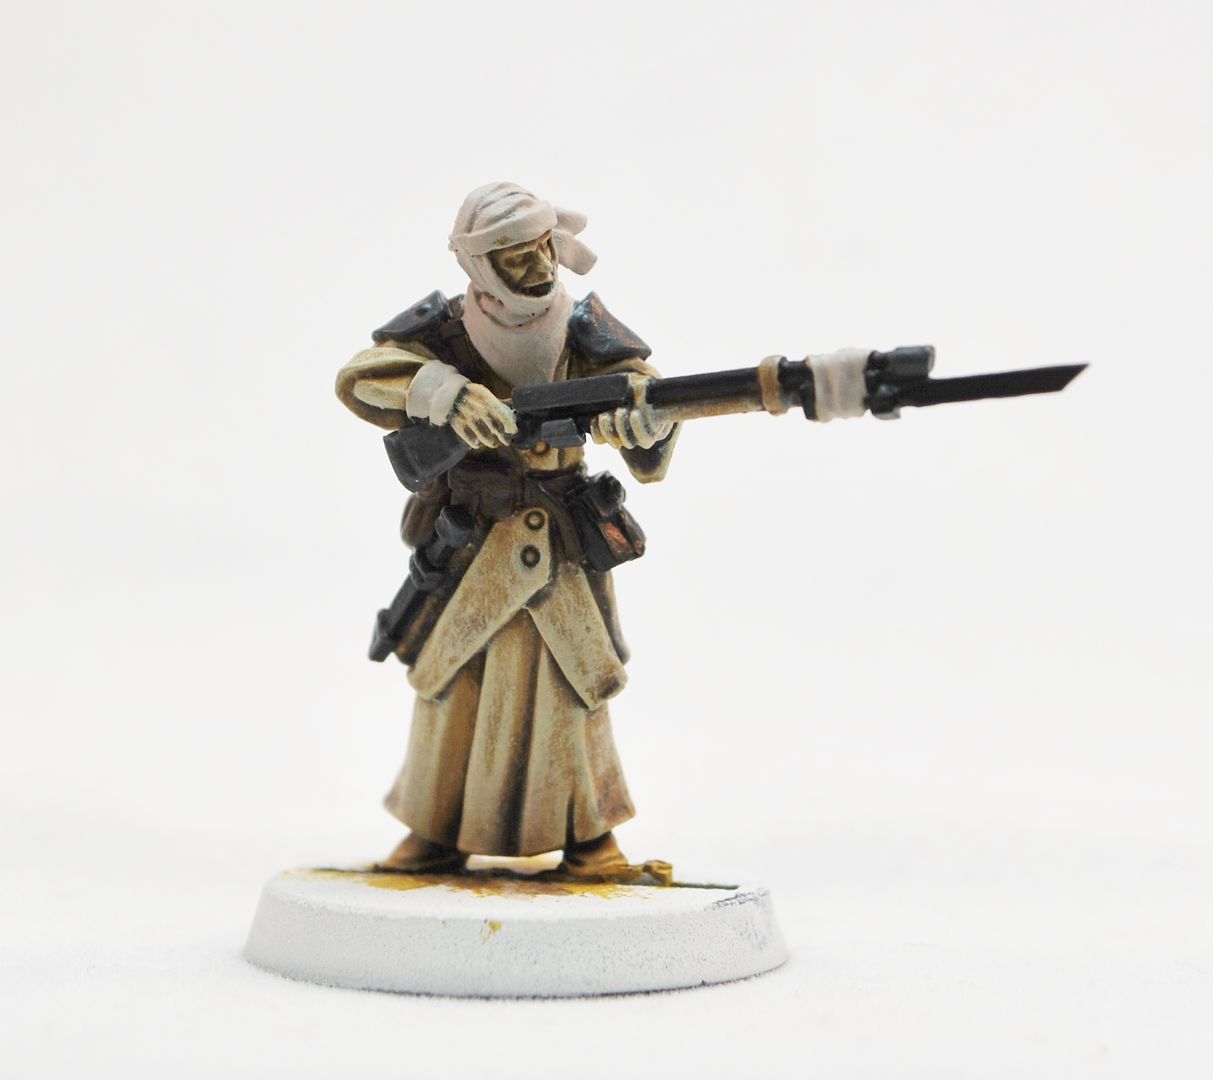
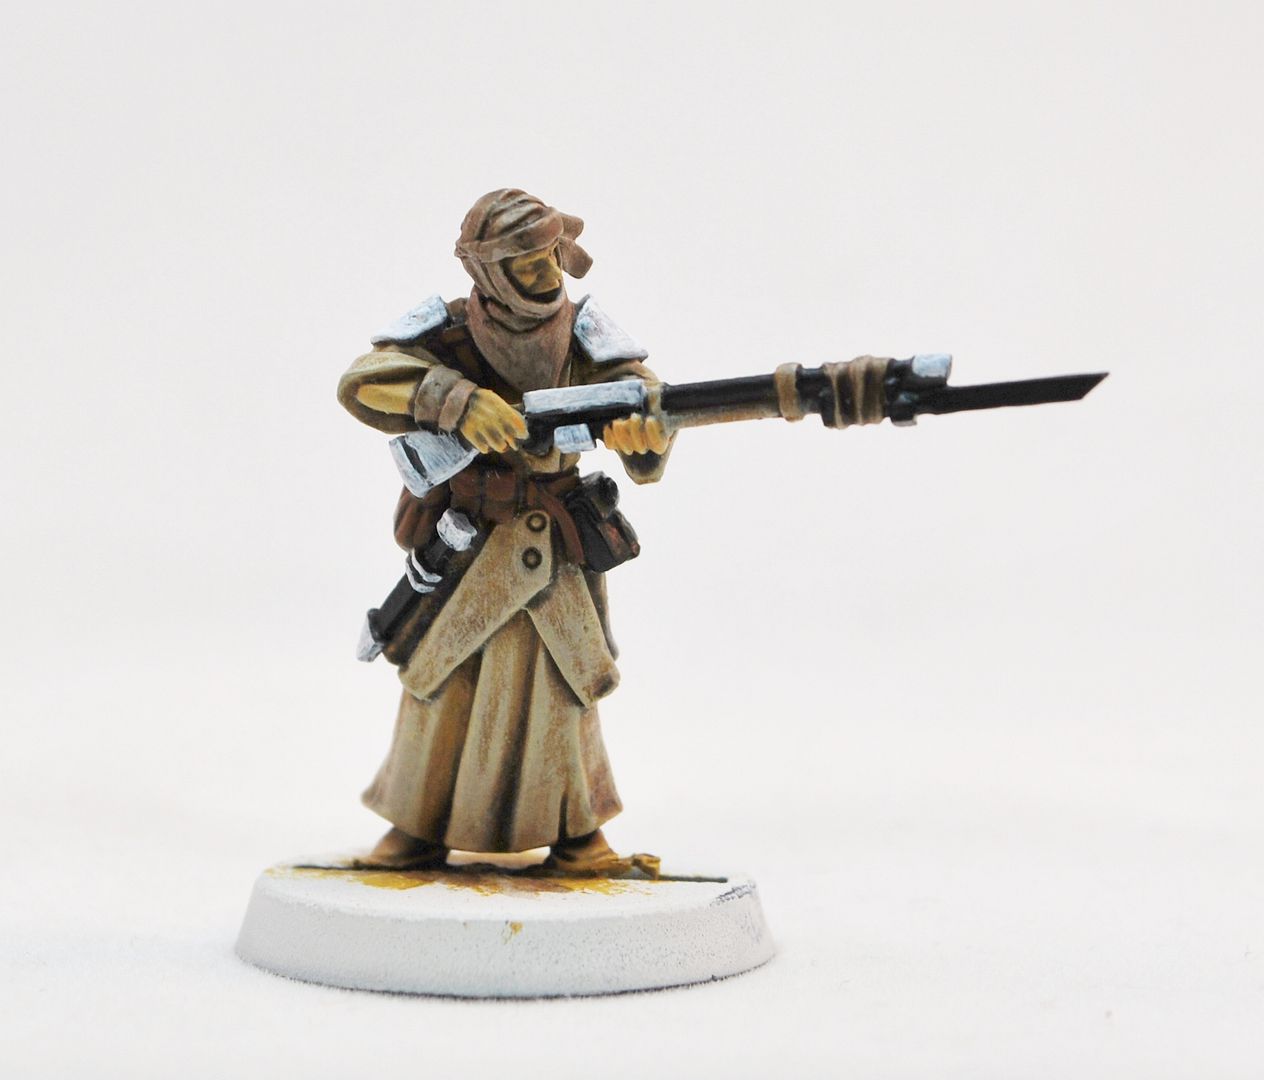
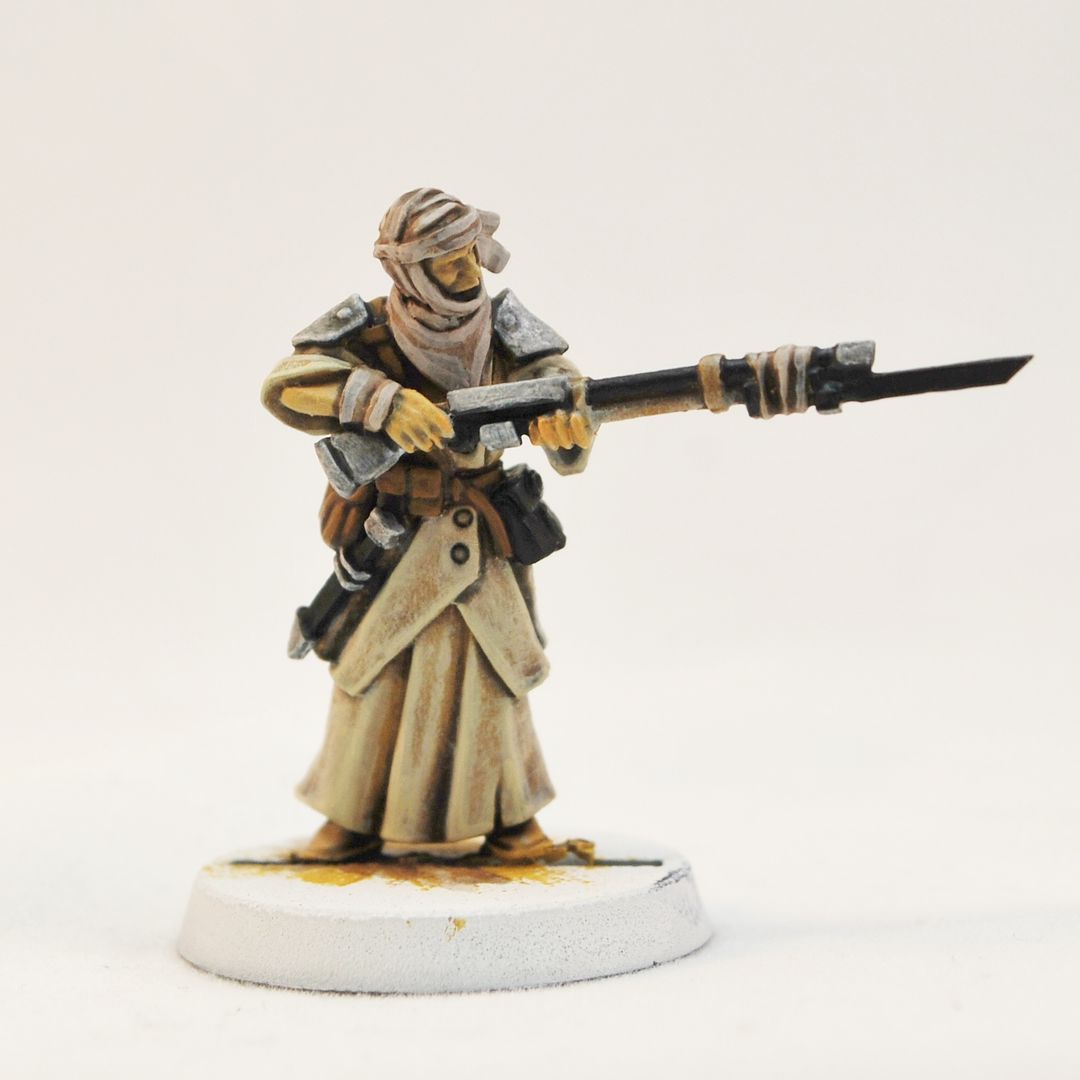
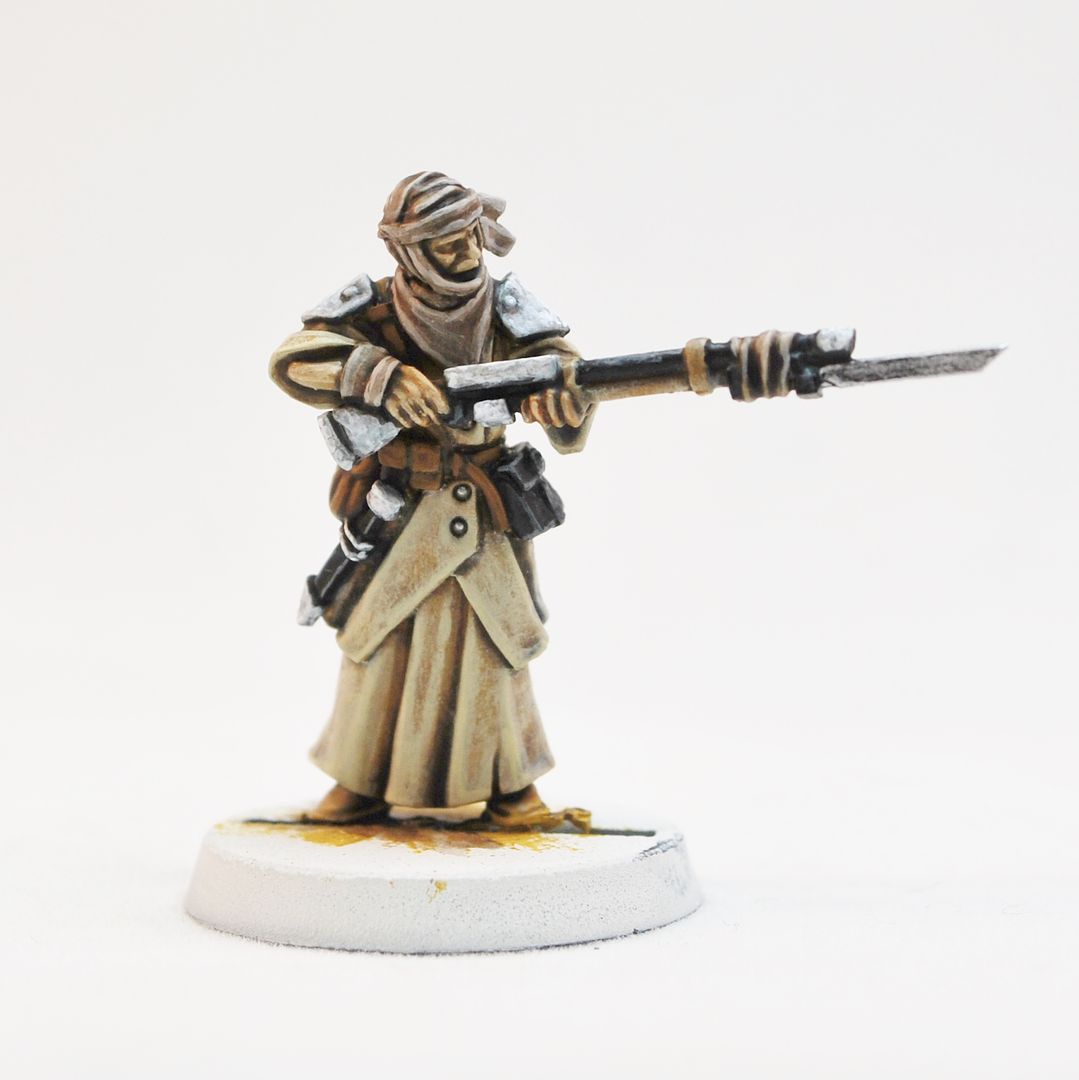
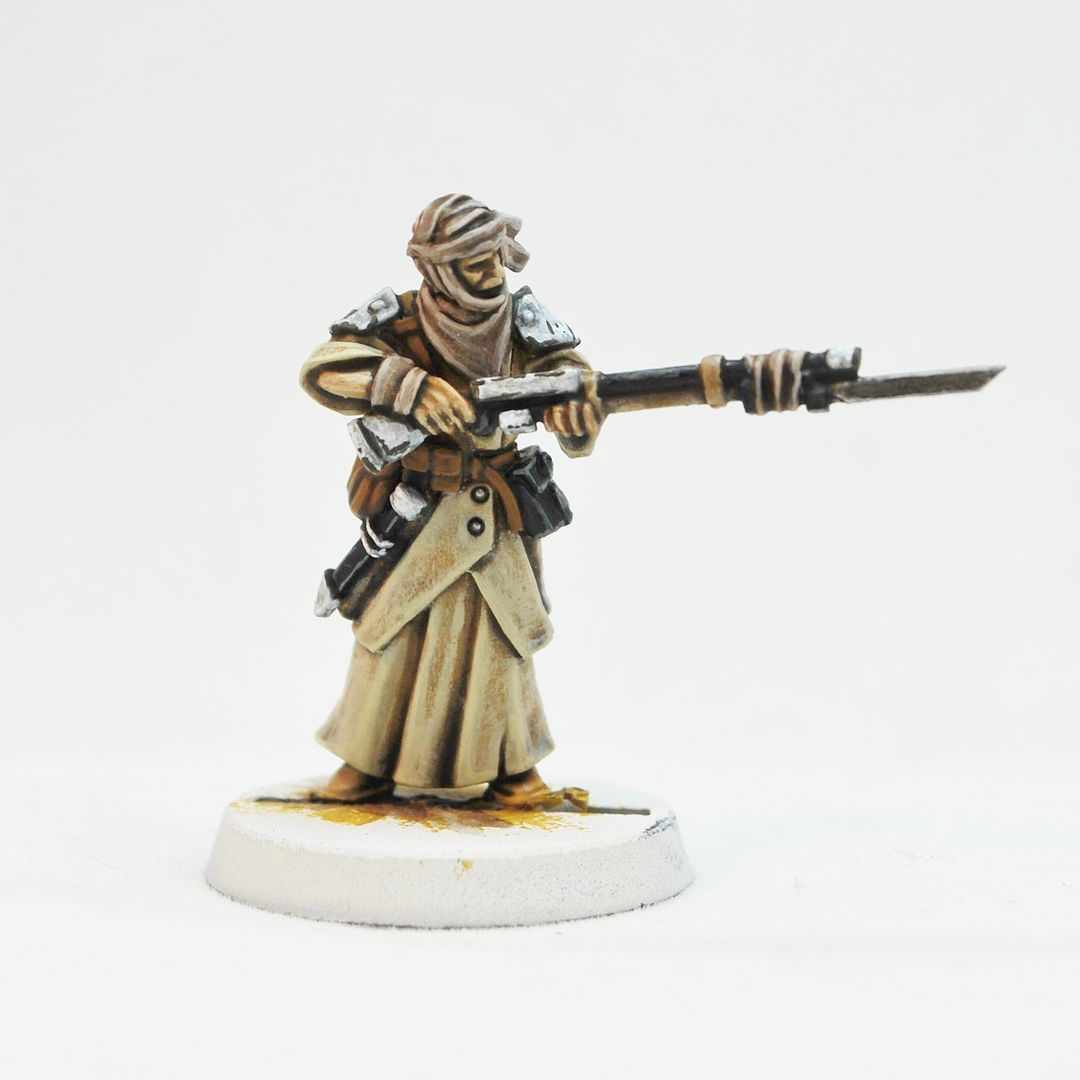
Desert Insurgent -Basic Painting Tutorial


Phew, I managed to find time to get a tutorial together! Unbelievable...

I'm down to the last 20 odd sets of these Desert Insurgents and considering retiring the mold already. The range will be expanded but I can't really keep the same sets in production indefinitely, catch em while you can they might be out of stock for a while. Email me (sales at miniaturesofthenorth.com), £15 a set.


I've used a variety of paints and inks here so I'll keep the naming conventions simplistic (along with my basic commentary).


1.Preparation

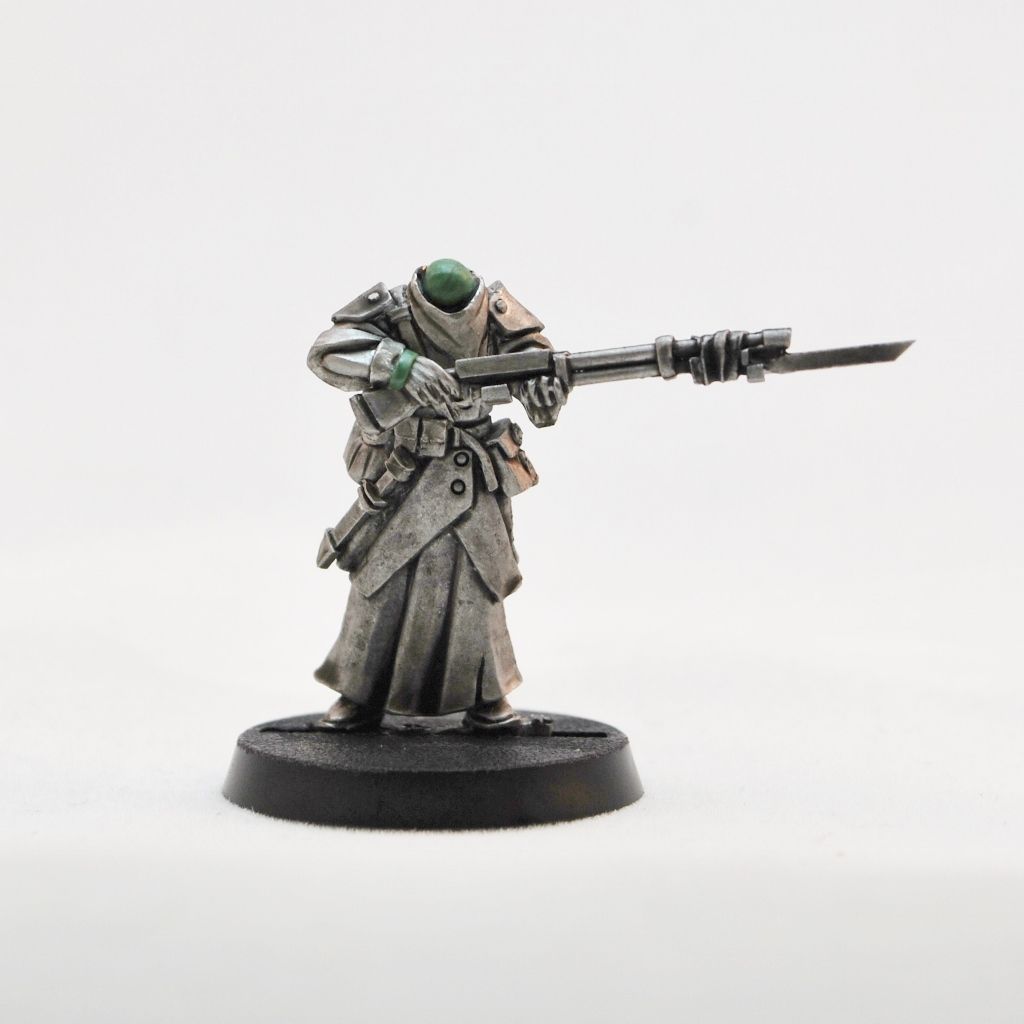
Wash these things in soapy warm water with an old toothbrush to remove the mold release powder, then once dry clean them up with files and a hobby scalpel – standard procedure.

Here's the metal (with an ink wash so the detail shows up). They can be assembled perfectly fine without any green stuff, and I'm surprised the fittings all line up as good as they do after molding, but I like to stick a little putty over the wrist joints and into the ball fitting of the neck for the sake of it.


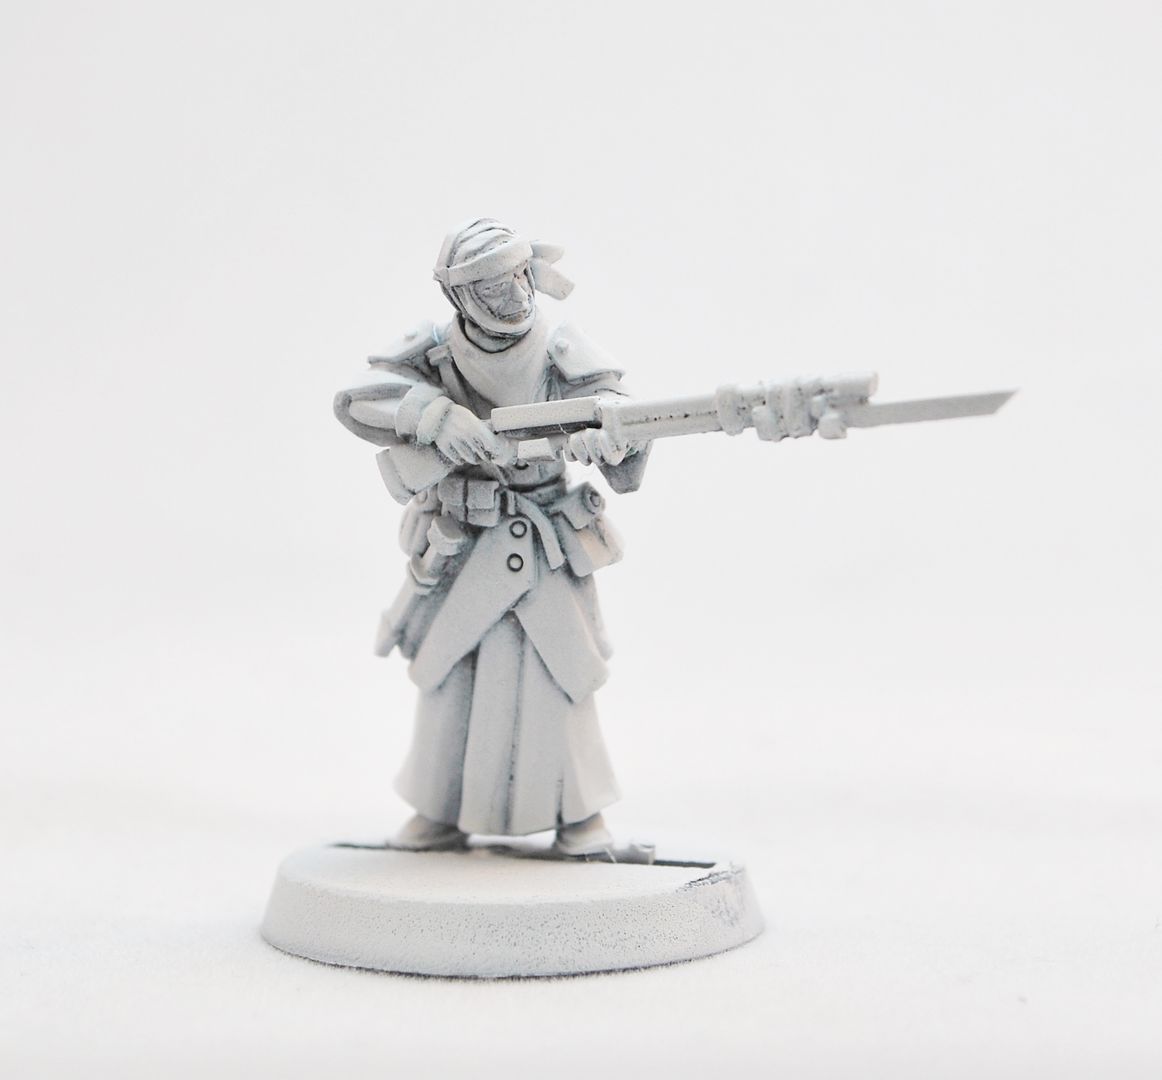
2.Undercoat - White spray


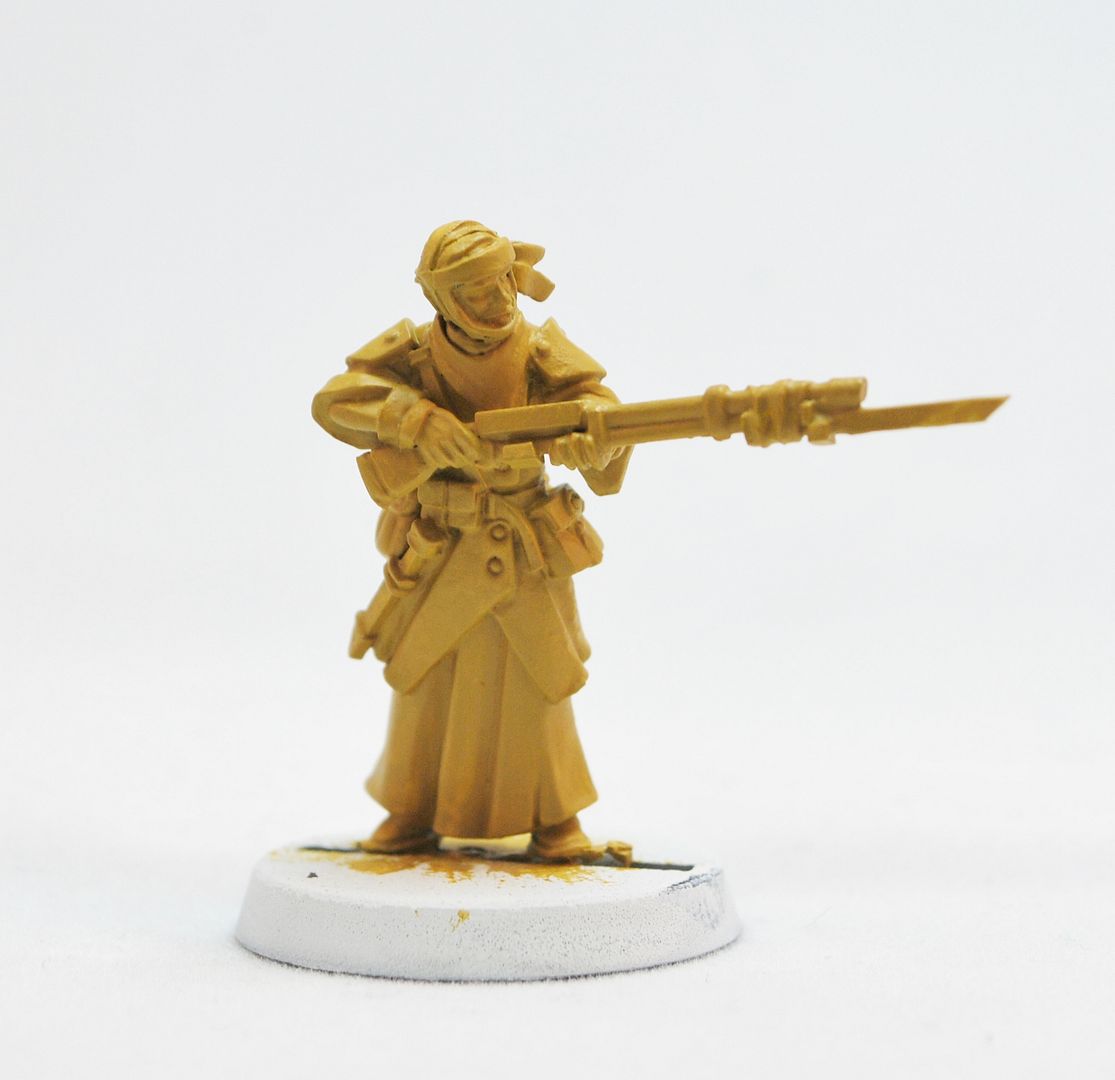
3.Colour blocking – Give this guy two coats of ochre.


4.Washing – Use a suitable “earthy” wash or water down brown paint.


5.Drybrush – Get in about the mini with a light drybrush of Bone.


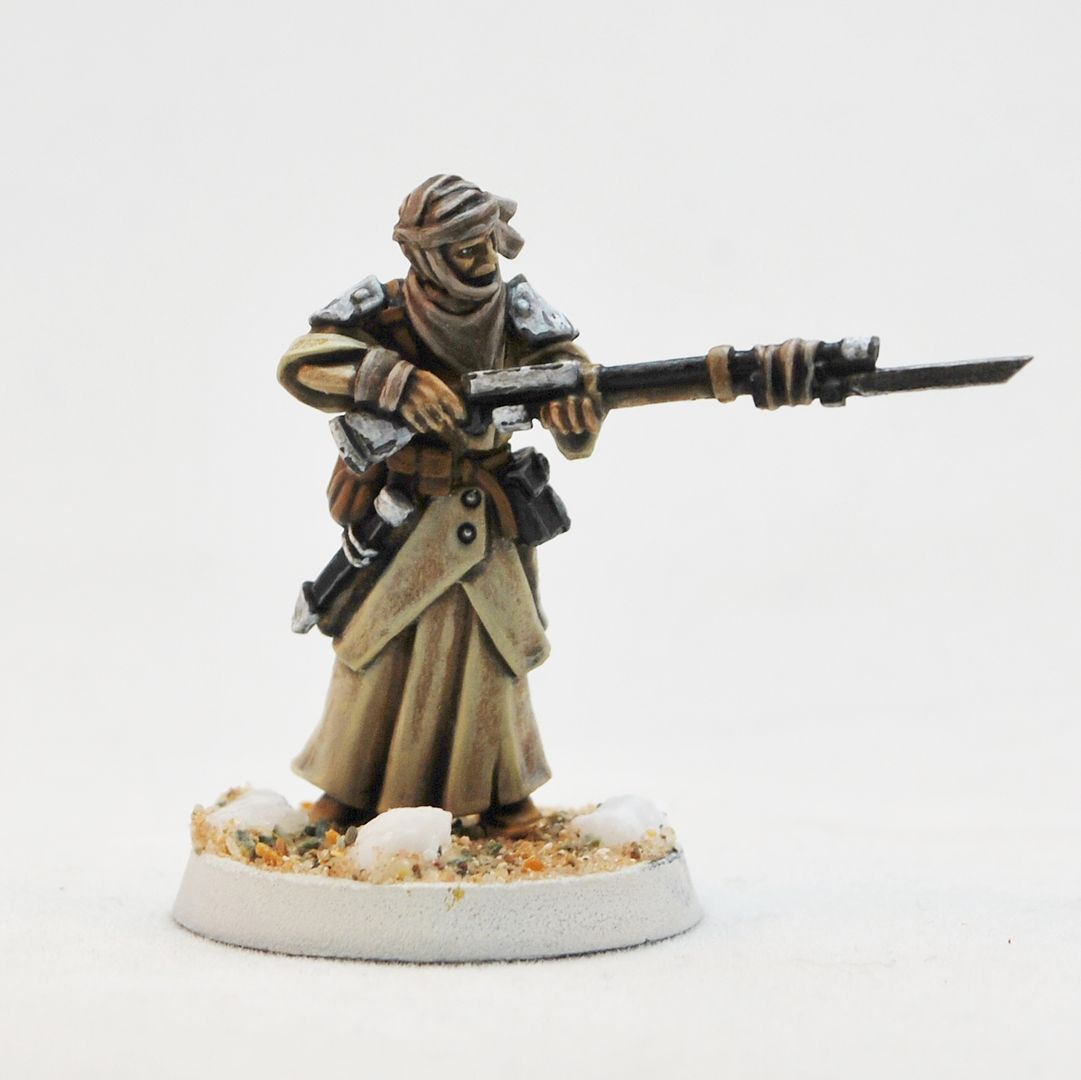
6.Colour Blocking –

Wrappings and scarves: Sandstone
Rifle: Black
Casings and shoulder pads: Dark Grey
Pouches and belts: Dark Brown.


7.Colour Development-
Wrappings and scarves: Wash with “earth” or watered down brown.
Casings and shoulder pads – Roughly layer on pure white. Make it streaky and rough.
Robes – Extreme highlight with Bone.
Skin – err, skin colour.


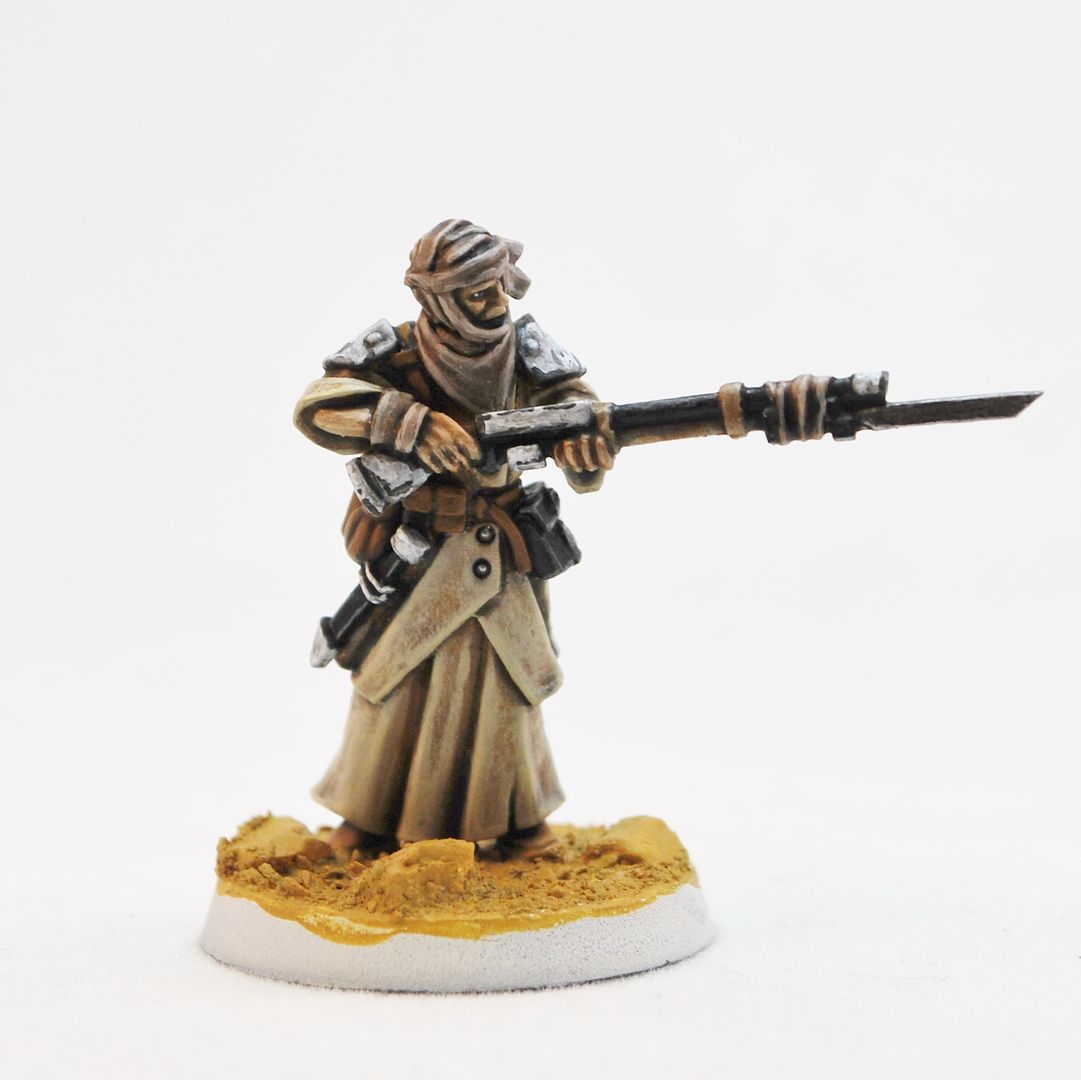
8. Colour Refinement-
Wrappings and scarves – Highlight with the original Sandstone, for final highlights mix in a touch of white to the Sandstone.
Casings and shoulder pads – Wash with watered down black, then do a final highlight with pure white.
Rifle – Extreme highlights with Grey.
Pouches and belts – Highlight with a lighter brown, wash with brown ink then extreme highlight in the lighter brown again.
Skin – Wash with “earth” and then highlights with a touch of white to the original skin colour.


9. Detail-
Battle Damage – Paint scratches and chips to the edges of the Casings and shoulder pads with dark grey, then a tiny thin line of light grey in the centre of it(leaving dark grey at either side of the scratches and chips). LESS IS MORE.
Buttons and buckles – Simply silver metallic washed with black, highlighted with a lighter metallic.


10. Basing-
Easy – Sand and stone glued in place. Paint it with Ochre (same as the original mini colour blocking), wash it with “earth” or watered down brown then highlight it with Bone. Paint the edges of the base Dark Brown.