Showing posts with label Tutorial. Show all posts

Monday, 18 January 2021

Sci-Fi Terrain Swatches

 I mentioned these in my last post: terrain swatches.


These are essentially little test pieces that are useful for trying out techniques and colour schemes. I played these ones pretty safe because they're for a specific set of scenery, but I'll be doing more in the near future that are a bit more wild.

A little perk at the end is, if they're worked out, you have a little vignette/background for photographing your miniatures in!

I'll do a full tutorial for the actual scenery pieces (modular Sci-Fi) in the near future but for now I'll talk about the swatches themselves.

  • The card they are mounted on was from an Amazon book delivery, so quite robust.
  • The black foam is actually some excess laminate flooring underlay. Very cheap and comes in massive sheets, but beware - it's quite brittle and takes some getting used to.
  • Panels and joins were simply scored in with a ballpoint pen.


Painting was done with basic acrylics, 2 coats for the main colour. At this stage you can add in another colour using the panels you've scored as a guide (blue), or use modellers masking tape to lay in some shapes, then paint in those shapes with a contrasting colour.

These were all done quickly so take some care to make sure they are aligned straight and parallel. You can also find random stencils for use at this stage, like this green thing that came out to a christmas cracker (and straight into the tool drawer)


When I removed the masking tape it had lifted small specks of the grey basecoat, so that was quickly touched up. 

The scratches should always be done after the masking stage, I'll explain why in a proper tutorial later.


Quick wash of watered down black acrylic paint next. This takes practice and you need to be subtle.


What follows are lots of step by step images without any commentary, I'll cover that in a full tutorial!


Saturday, 4 July 2020

Tox Trooper Paint Tutorial


Here's a speed paint tutorial for my Tox Troopers. Quick and easy and only 9 steps start to finish.


1. Assembly. 

I always texture the base prior to painting, the barb wire is simply two thin metal wires wrapped around each other for effect. The rest is beach sand affixed with PVA glue.

2. Undercoat. 

Do 2-3 light coats of Black undercoat spray, once dry do a thin wash of Chaos Black (is it still called that?) to cover all the recesses the spray missed.
3. Colour Blocking.

All colours here are from Citadel:

  • Stormvermin Fur - for the grey coat and sleeves
  • Ushabti Bone - for the helmets face place
  • Rhinox Hide - for the gloves, boots and pouches on the models belt
  • Steel Legion Drab - for the shoulder pad straps, the boot gaiters and the soil on the base
  • Leadbelcher - for all the metal areas on the model
  • Mephiston Red/Skull White - for the shoulder pad markings

4. Black Wash.

Nuln Oil - wash the entire mini, only avoiding the boot gaiters and the base.


5. Brown Wash

Agrax Earthshade - wash the base, the boot gaiters, all the metal areas, the faceplate and should pad straps
6. Colour Development

Go back to all the base colours and paint the raised areas/avoid the recesses - the wash has created the shading. This stage is most evident on the coat and face plate. This effect here should be subtle, the next stage will build upon it....
7. Highlights

  • Dryad Bark - paint fine edge highlights on the gloves, boot caps and belt pouches
  • Baneblade Brown - paint fine edge highlights on the boot gaiters and the shoulder pad straps
  • Leadbelcher - fine edge highlight all the metal areas, and then scratches on all the black armour areas (I went overboard here, as usual - subtle is always better)
  • Stormvermin Fur 70% mixed with Ushabti Bone 30% - highlight the raised edges on the coat. You can even paint thin vertical streaks at the edges to suggest fraying and damage.
8. Lens Detail

  • Paint the entire lens Black
  • Paint the bottom 50% of the lens with Mephiston Red
  • Within that red area, paint a further 25% of the lens with Evil Sunz Scarlet
  • Paint a final tiny streak of Wild Rider Red in the extreme bottom corner of the lens
  • In the opposite top left corner of the lens, paint a tiny streak of white 
9. Base

  • Drybrush the entire base with Baneblade Brown
  • Paint a further drybrush of the entire base with Terminatus Stone
  • Daub the metal wire on the base with Skrag Brown
  • Paint the edge of the base with Steel Legion Drab
  • Dead field grass was applied in patches with PVA glue


Wednesday, 19 February 2014

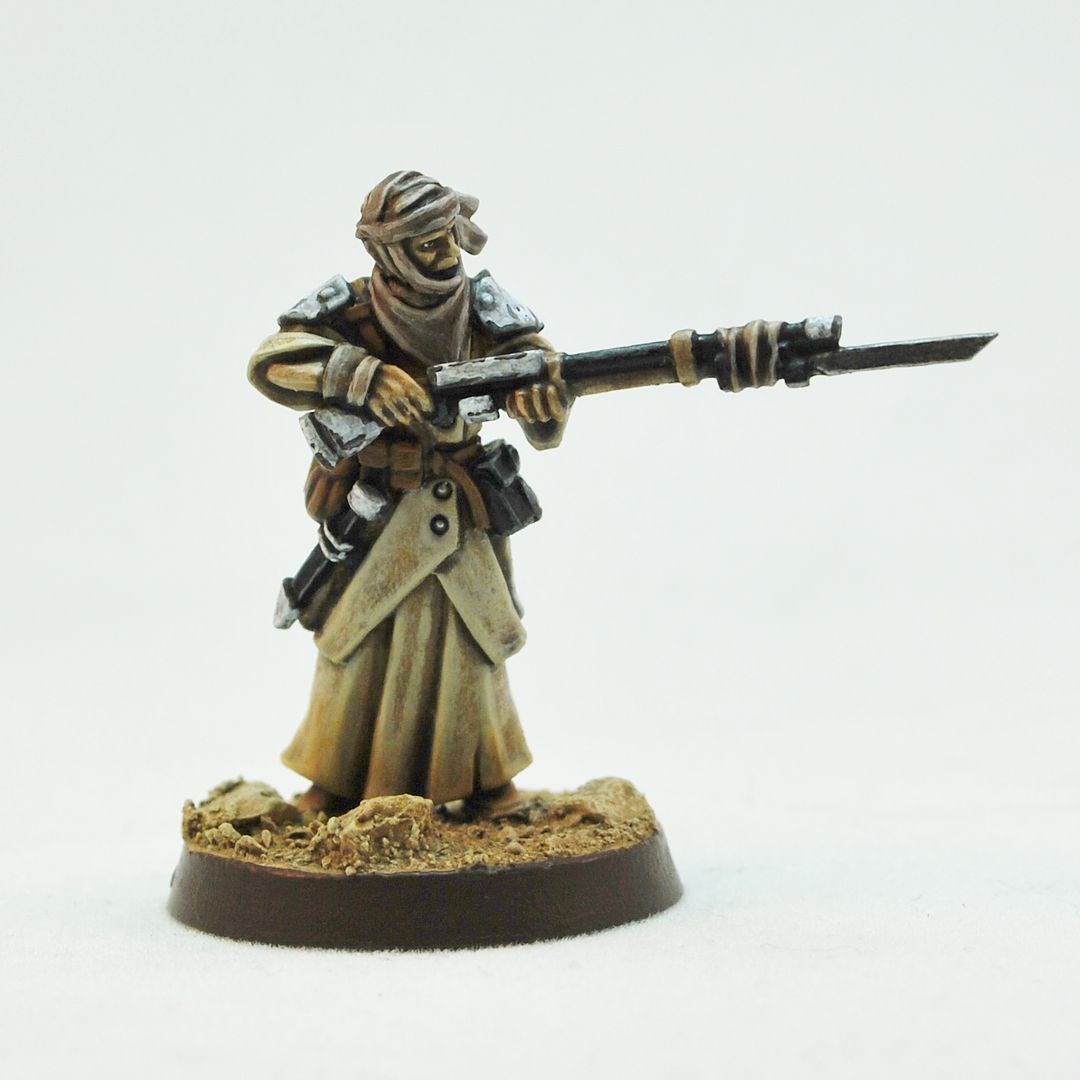
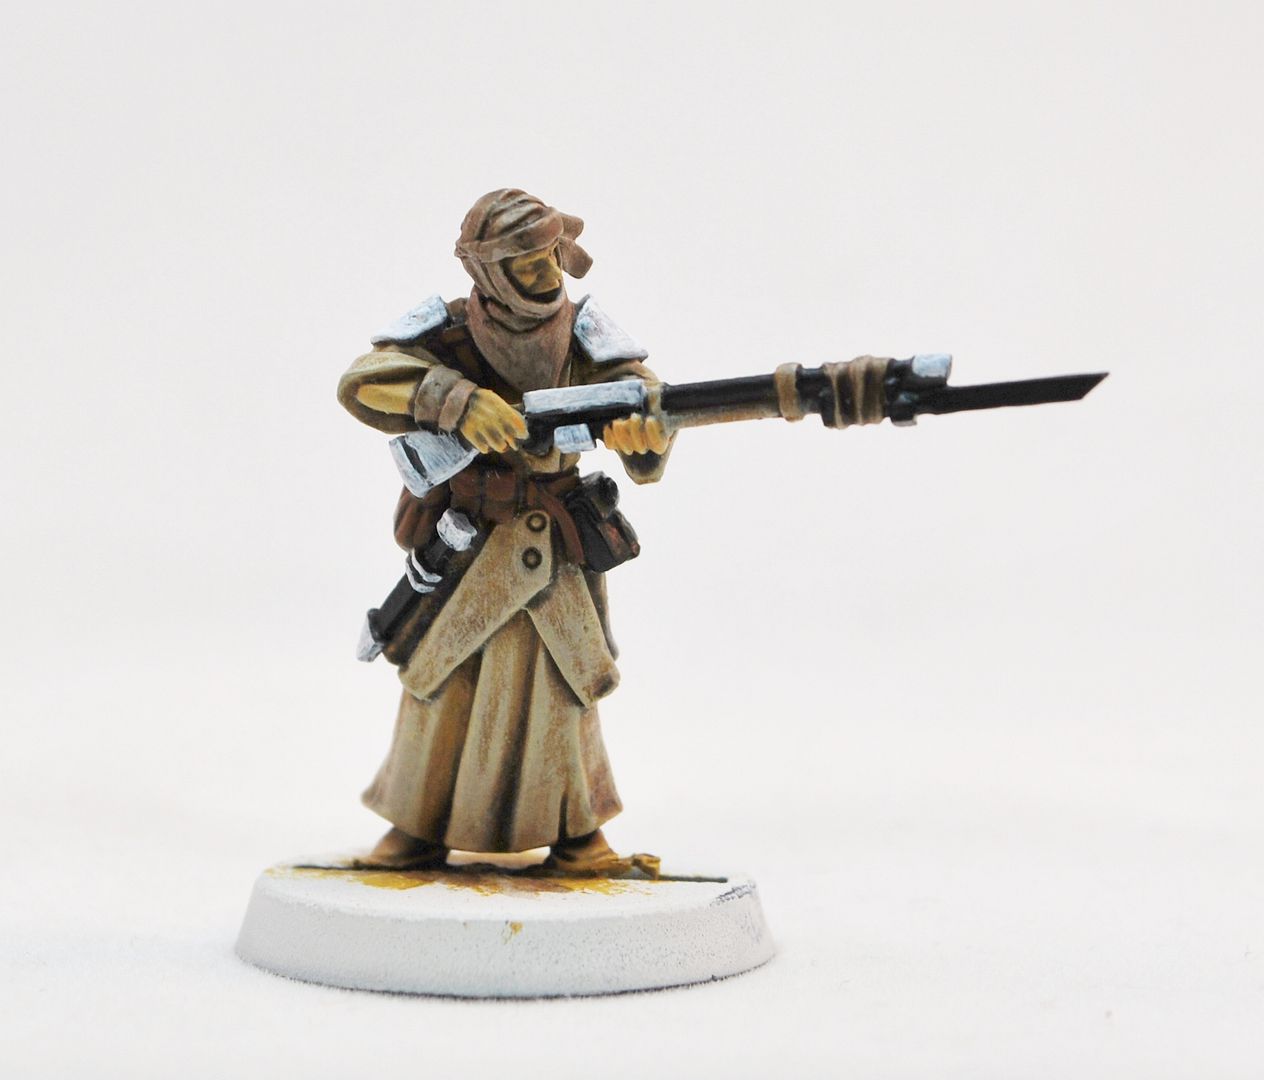
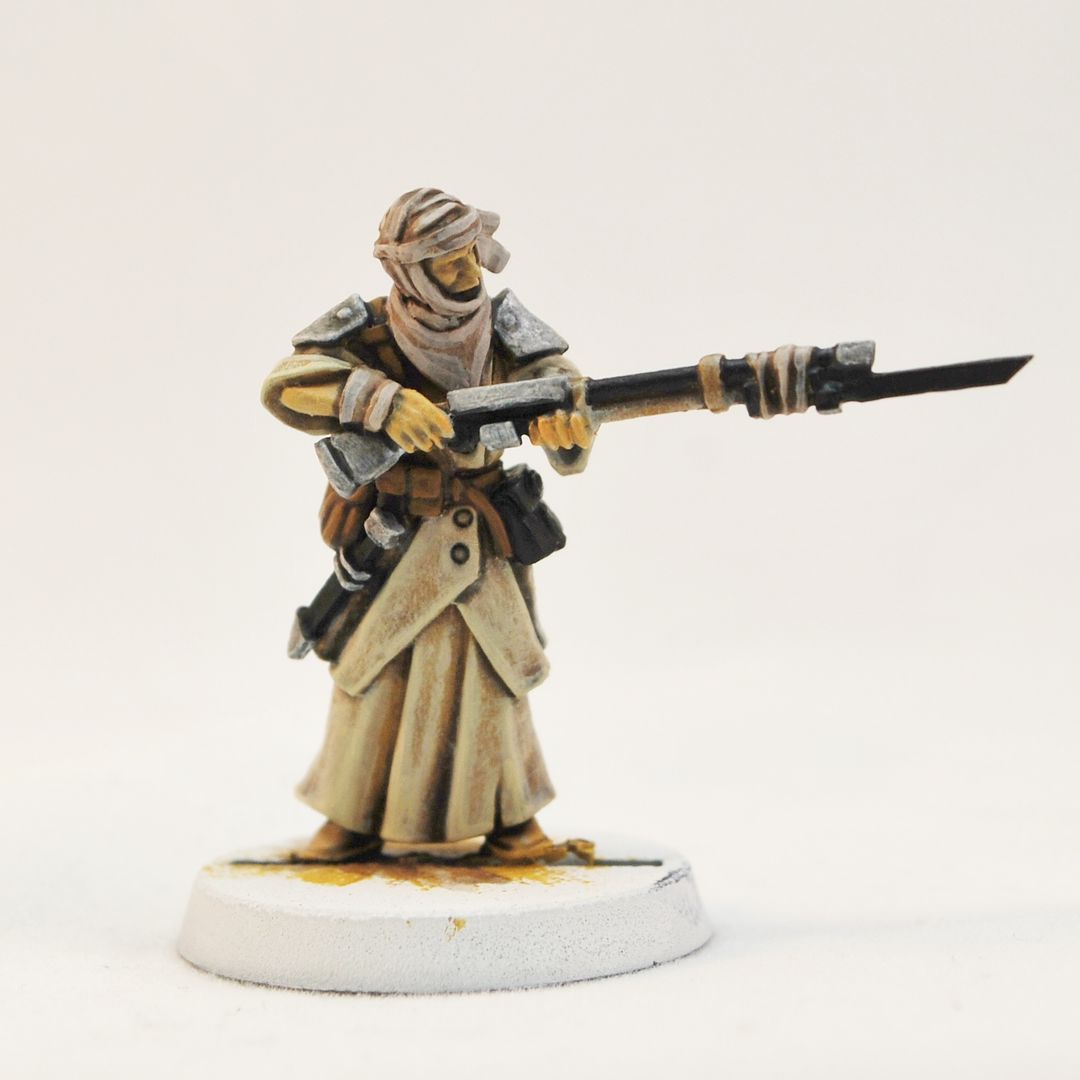
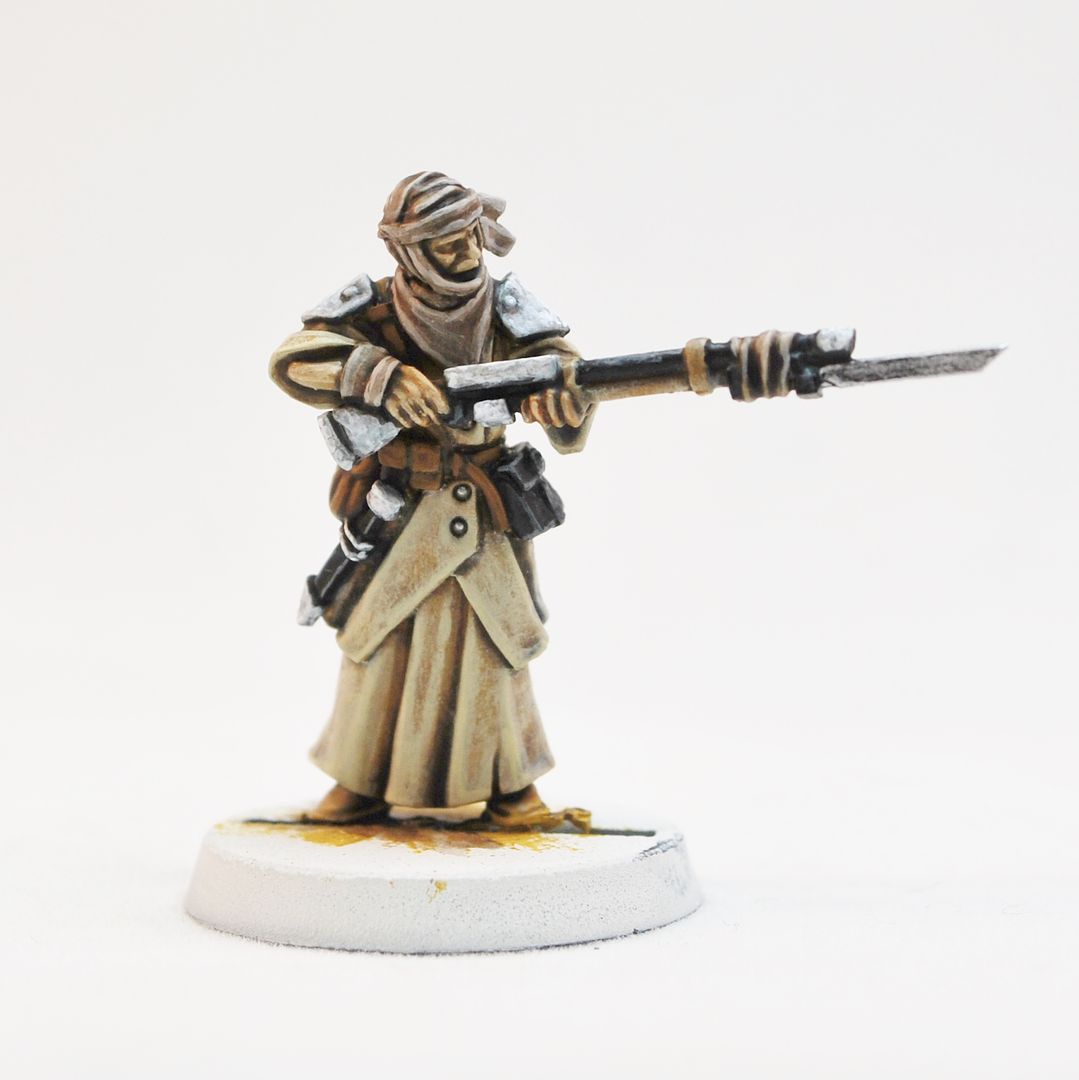
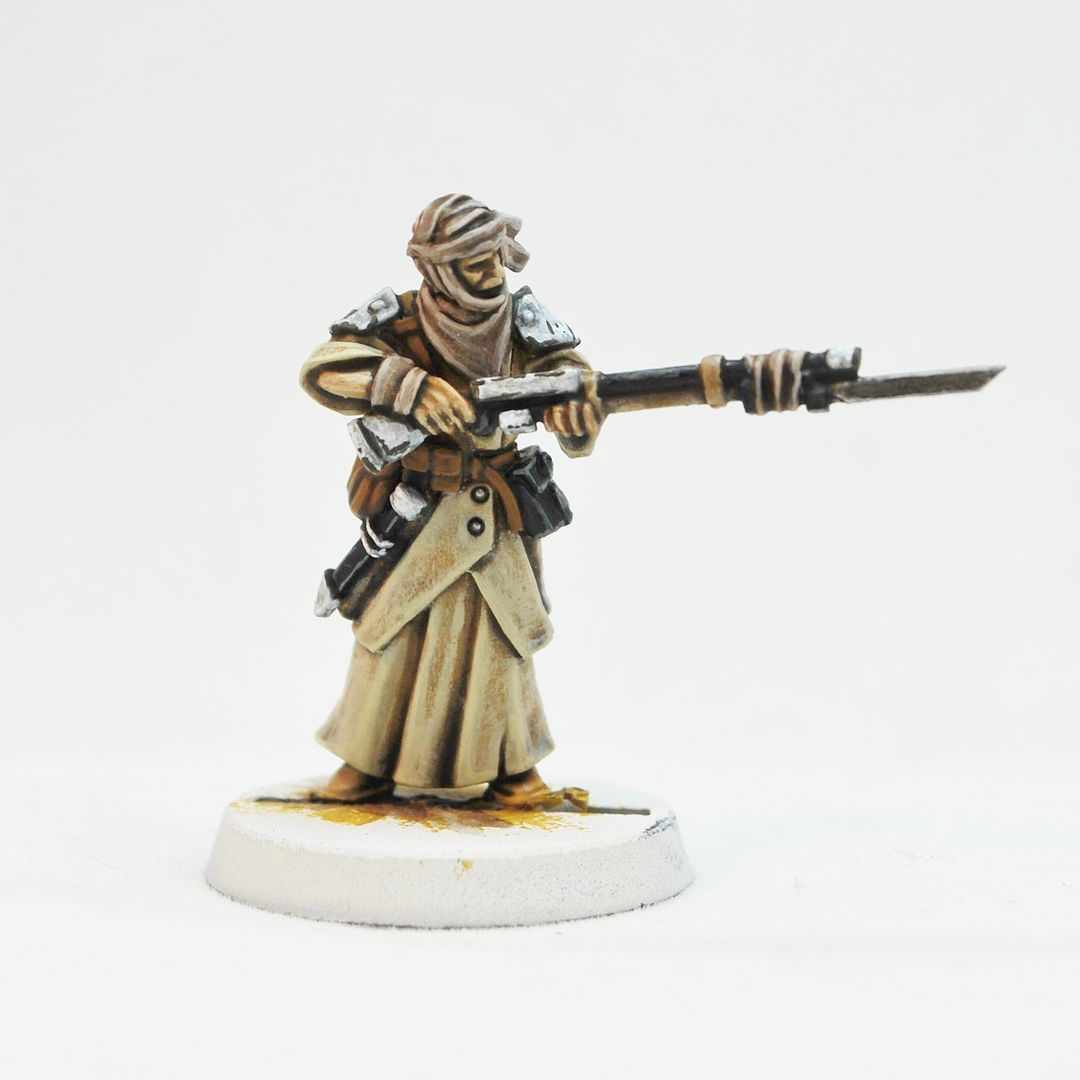
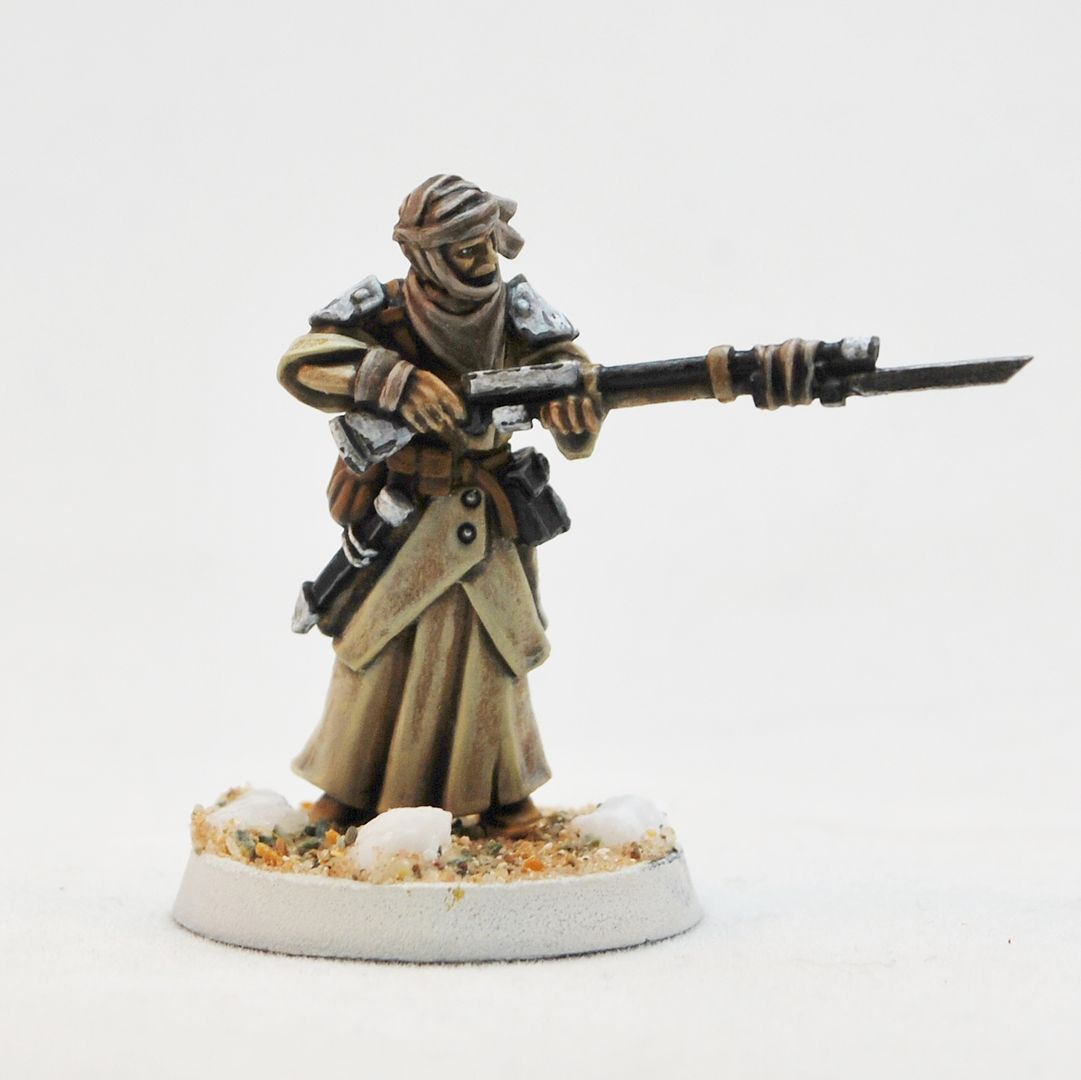
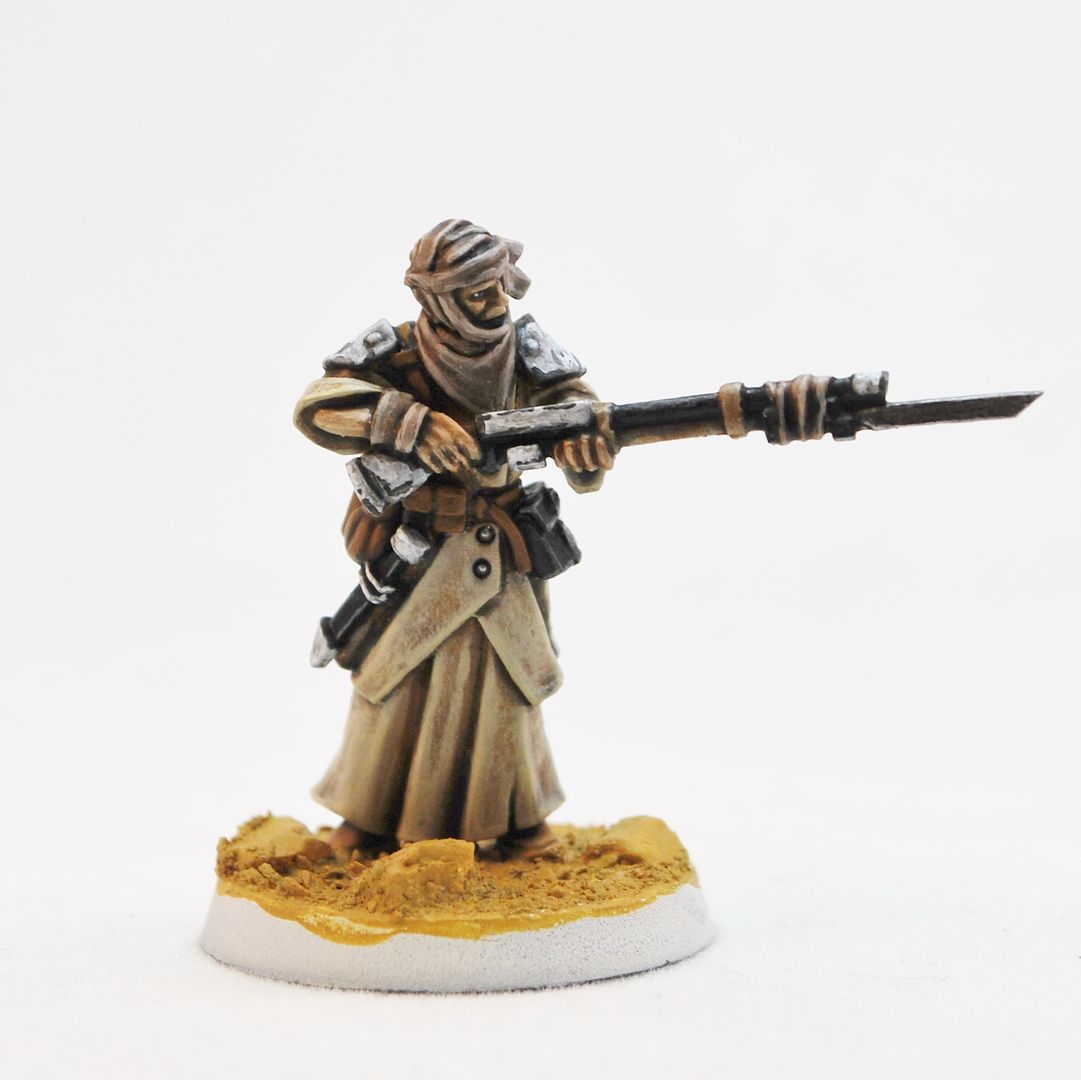
Desert Insurgent -Basic Painting Tutorial


Phew, I managed to find time to get a tutorial together! Unbelievable...

I'm down to the last 20 odd sets of these Desert Insurgents and considering retiring the mold already. The range will be expanded but I can't really keep the same sets in production indefinitely, catch em while you can they might be out of stock for a while. Email me (sales at miniaturesofthenorth.com), £15 a set.


I've used a variety of paints and inks here so I'll keep the naming conventions simplistic (along with my basic commentary).


1.Preparation

Wash these things in soapy warm water with an old toothbrush to remove the mold release powder, then once dry clean them up with files and a hobby scalpel – standard procedure.

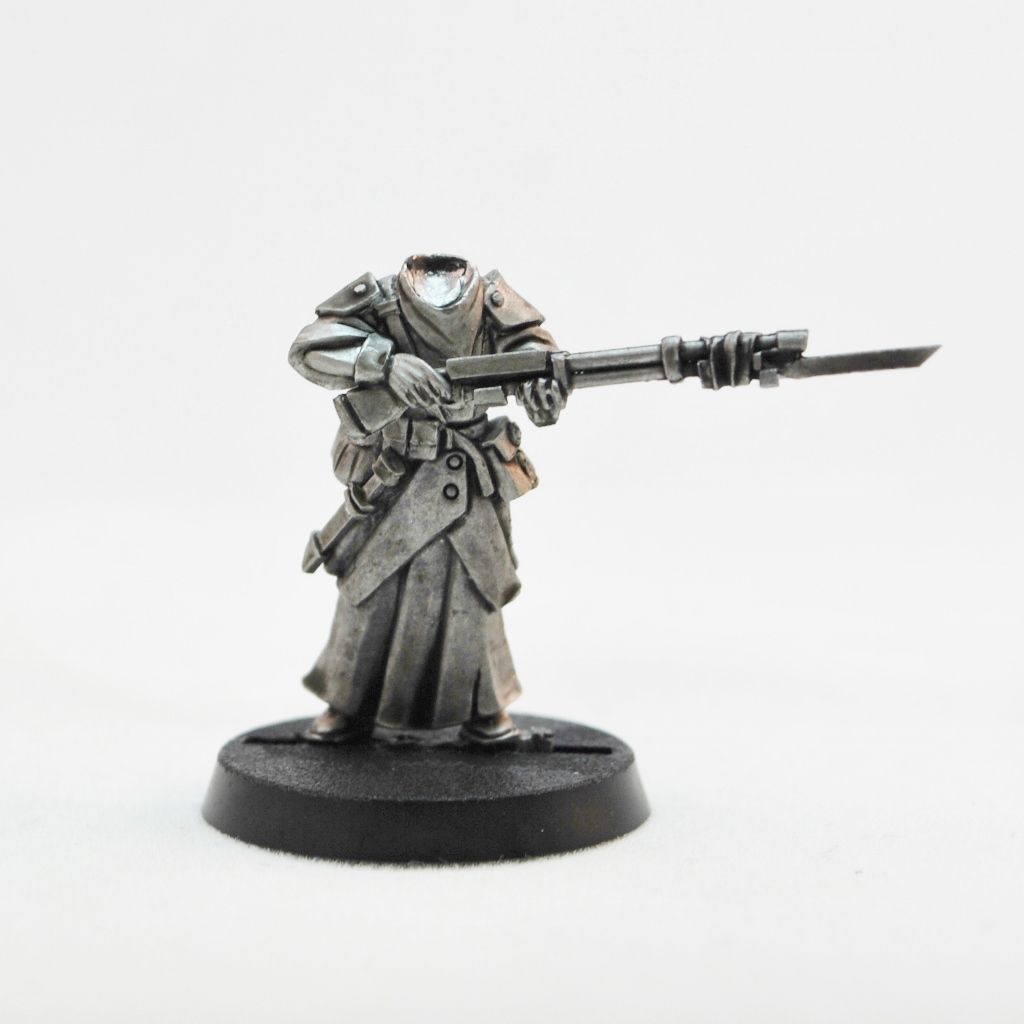
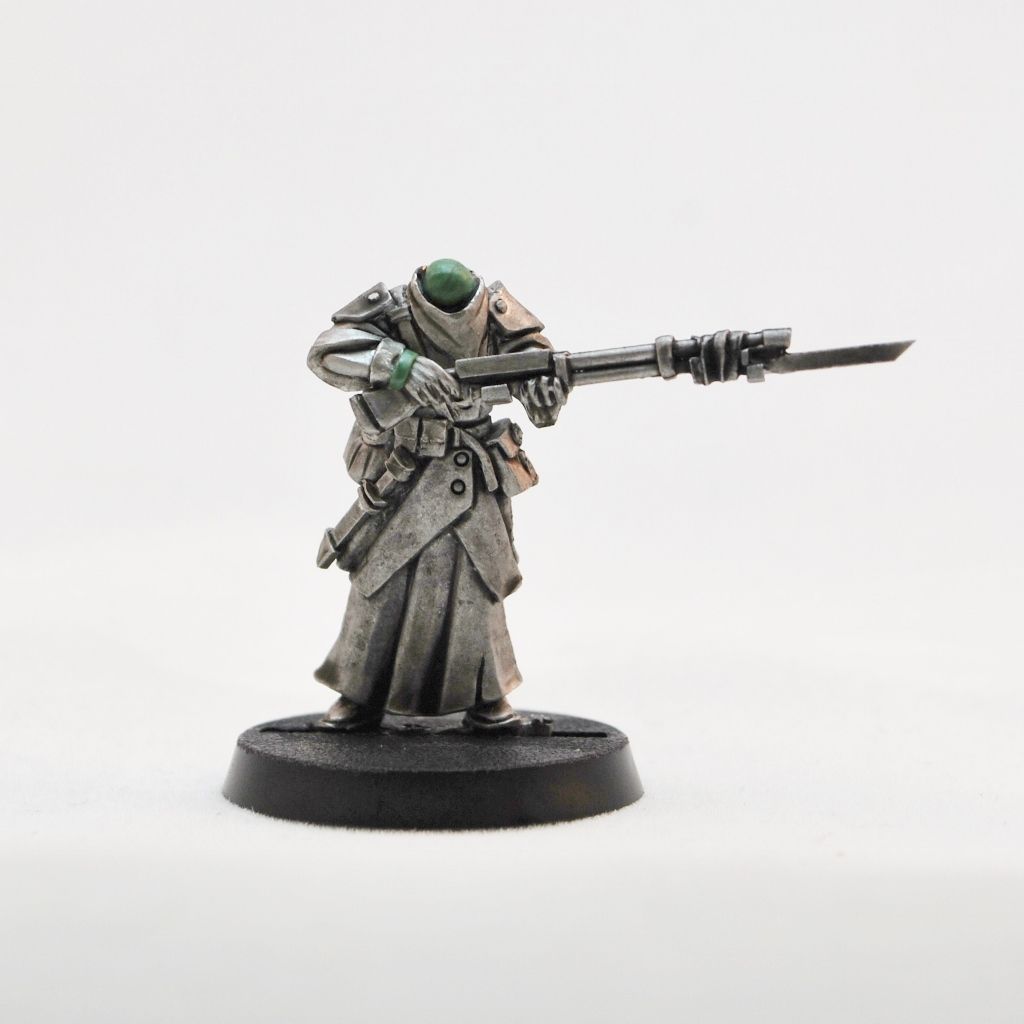
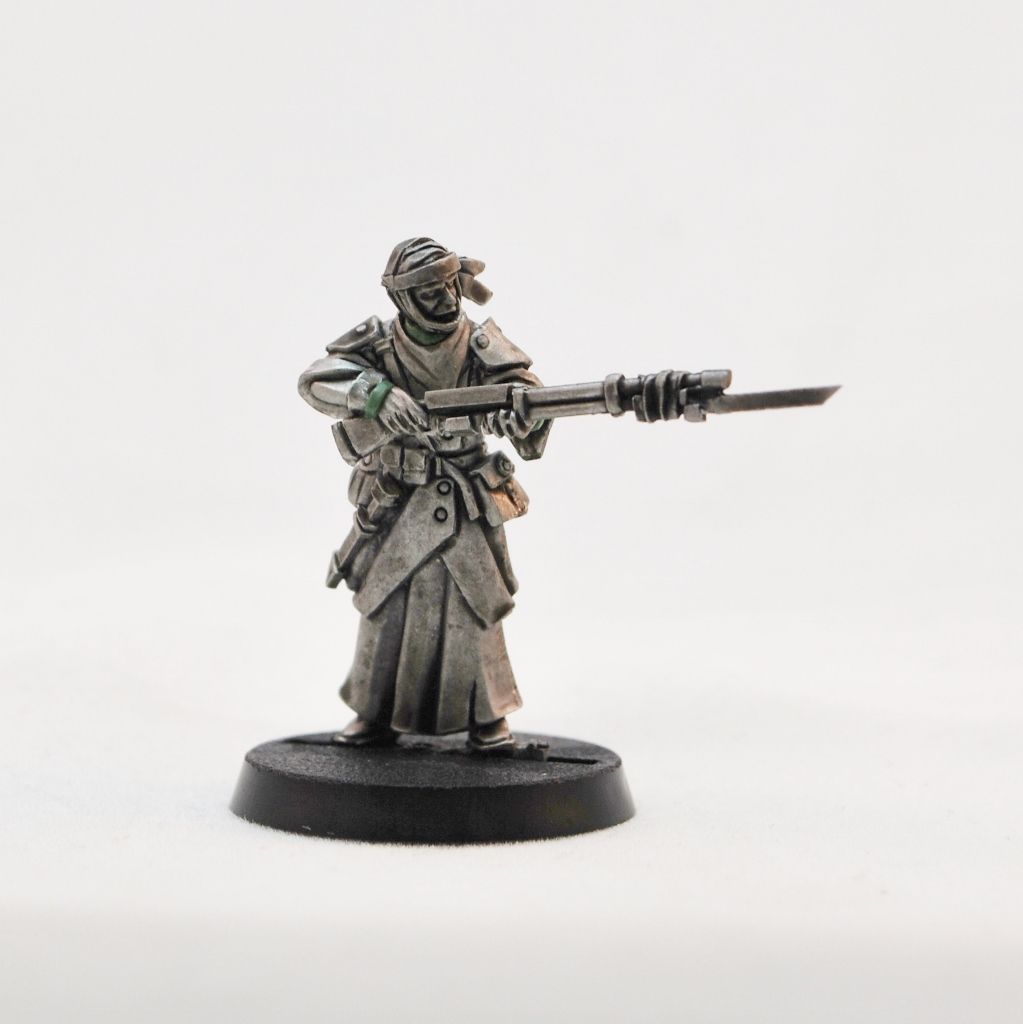
Here's the metal (with an ink wash so the detail shows up). They can be assembled perfectly fine without any green stuff, and I'm surprised the fittings all line up as good as they do after molding, but I like to stick a little putty over the wrist joints and into the ball fitting of the neck for the sake of it.


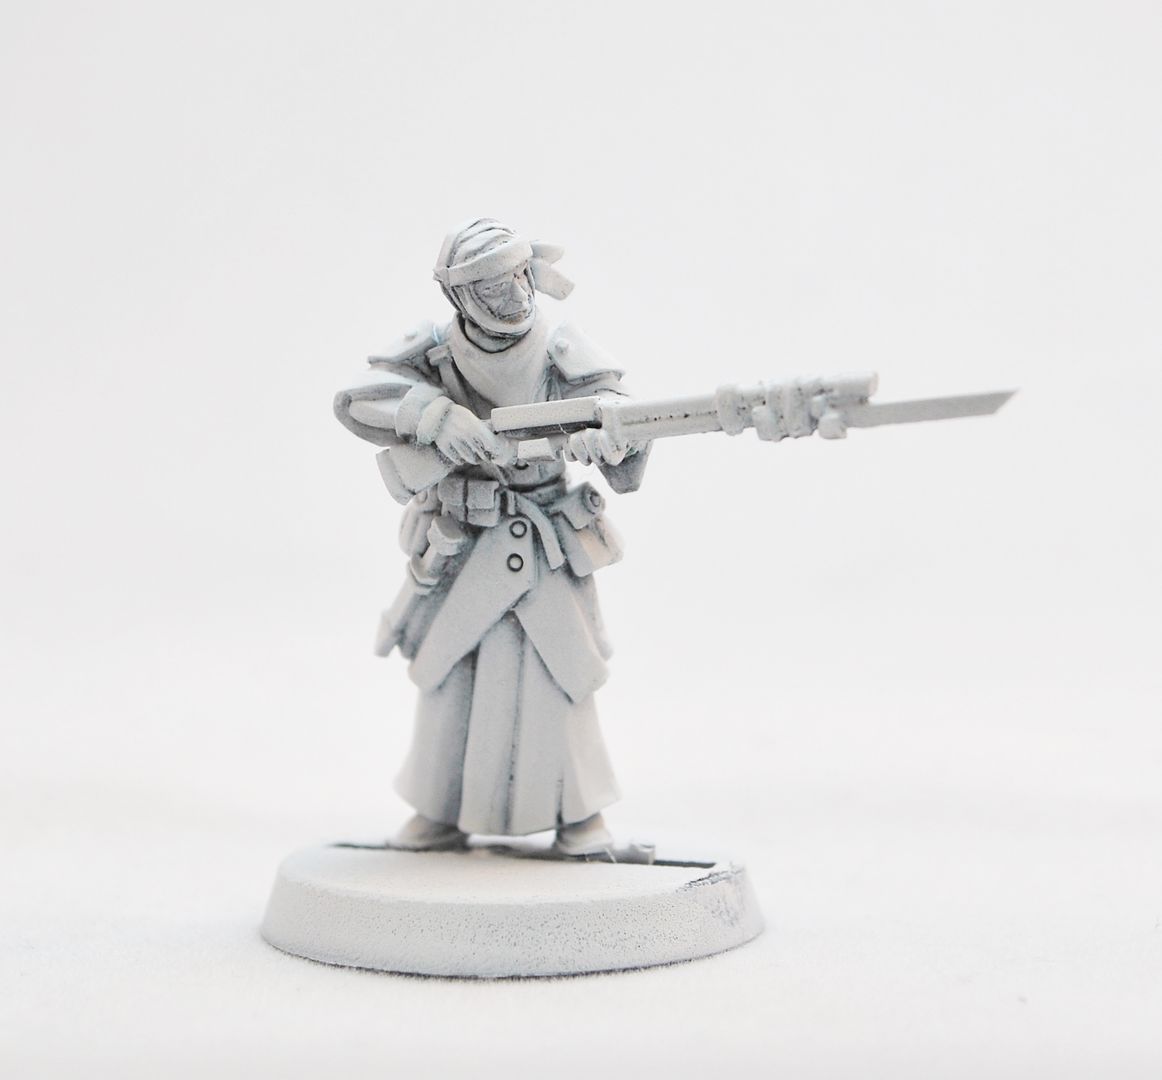
2.Undercoat - White spray


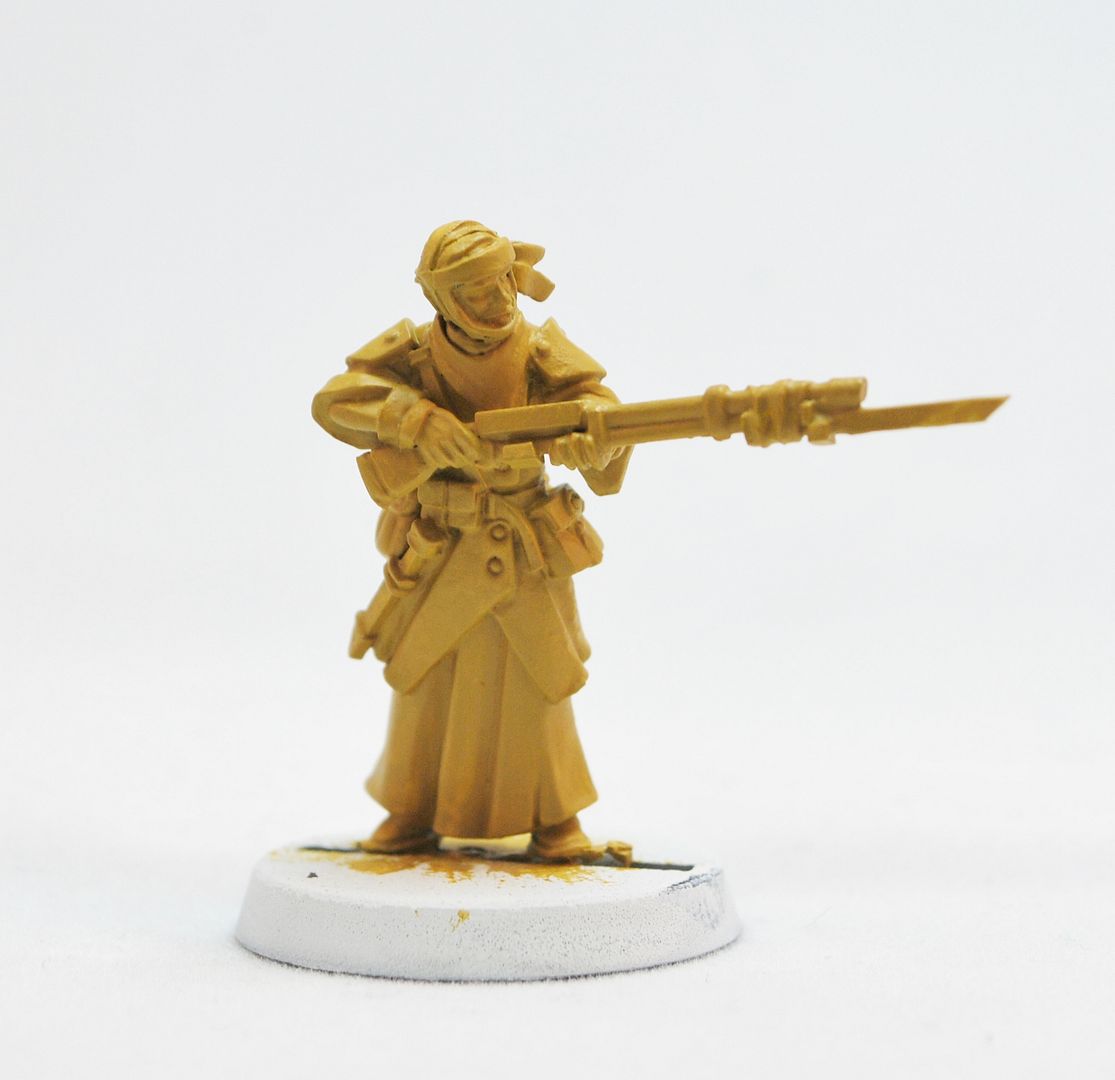
3.Colour blocking – Give this guy two coats of ochre.


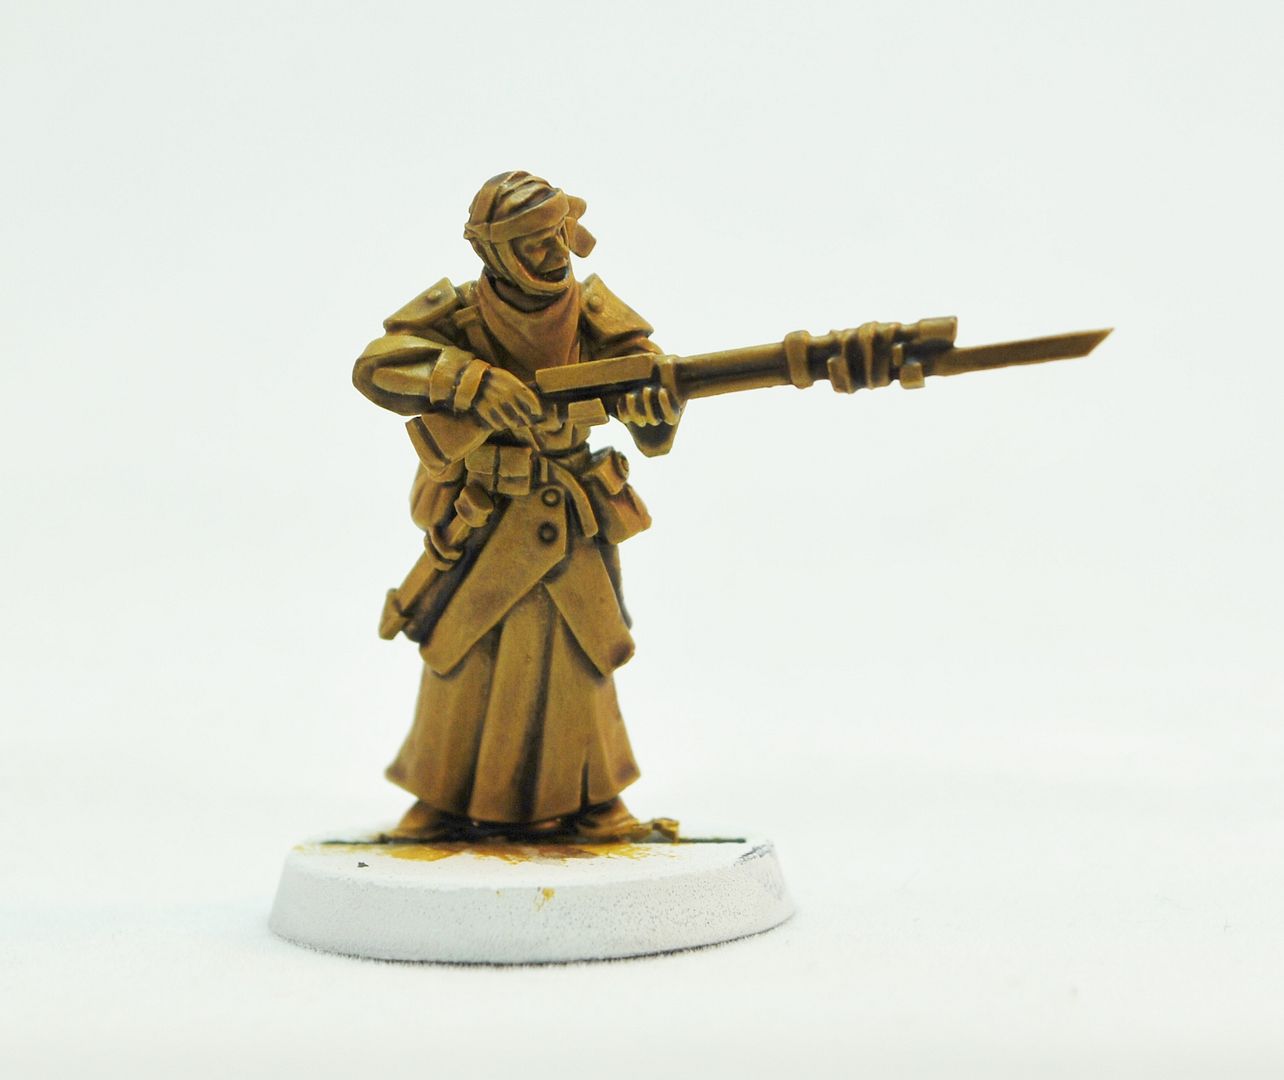
4.Washing – Use a suitable “earthy” wash or water down brown paint.


5.Drybrush – Get in about the mini with a light drybrush of Bone.


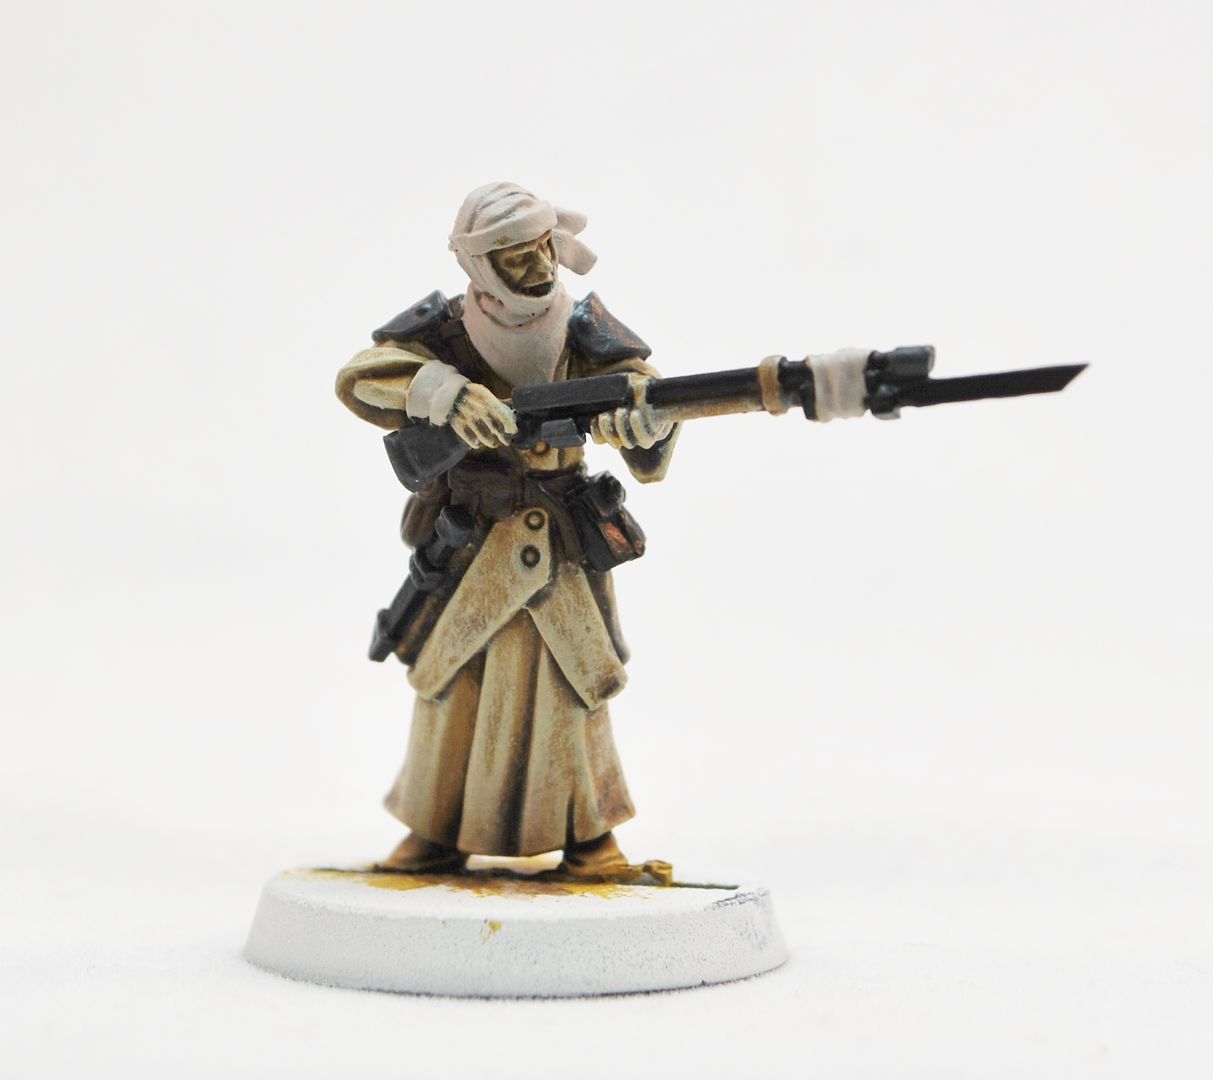
6.Colour Blocking –

Wrappings and scarves: Sandstone
Rifle: Black
Casings and shoulder pads: Dark Grey
Pouches and belts: Dark Brown.


7.Colour Development-
Wrappings and scarves: Wash with “earth” or watered down brown.
Casings and shoulder pads – Roughly layer on pure white. Make it streaky and rough.
Robes – Extreme highlight with Bone.
Skin – err, skin colour.


8. Colour Refinement-
Wrappings and scarves – Highlight with the original Sandstone, for final highlights mix in a touch of white to the Sandstone.
Casings and shoulder pads – Wash with watered down black, then do a final highlight with pure white.
Rifle – Extreme highlights with Grey.
Pouches and belts – Highlight with a lighter brown, wash with brown ink then extreme highlight in the lighter brown again.
Skin – Wash with “earth” and then highlights with a touch of white to the original skin colour.


9. Detail-
Battle Damage – Paint scratches and chips to the edges of the Casings and shoulder pads with dark grey, then a tiny thin line of light grey in the centre of it(leaving dark grey at either side of the scratches and chips). LESS IS MORE.
Buttons and buckles – Simply silver metallic washed with black, highlighted with a lighter metallic.


10. Basing-
Easy – Sand and stone glued in place. Paint it with Ochre (same as the original mini colour blocking), wash it with “earth” or watered down brown then highlight it with Bone. Paint the edges of the base Dark Brown.