Tuesday, 4 March 2014

You like terrain? I like terrain!

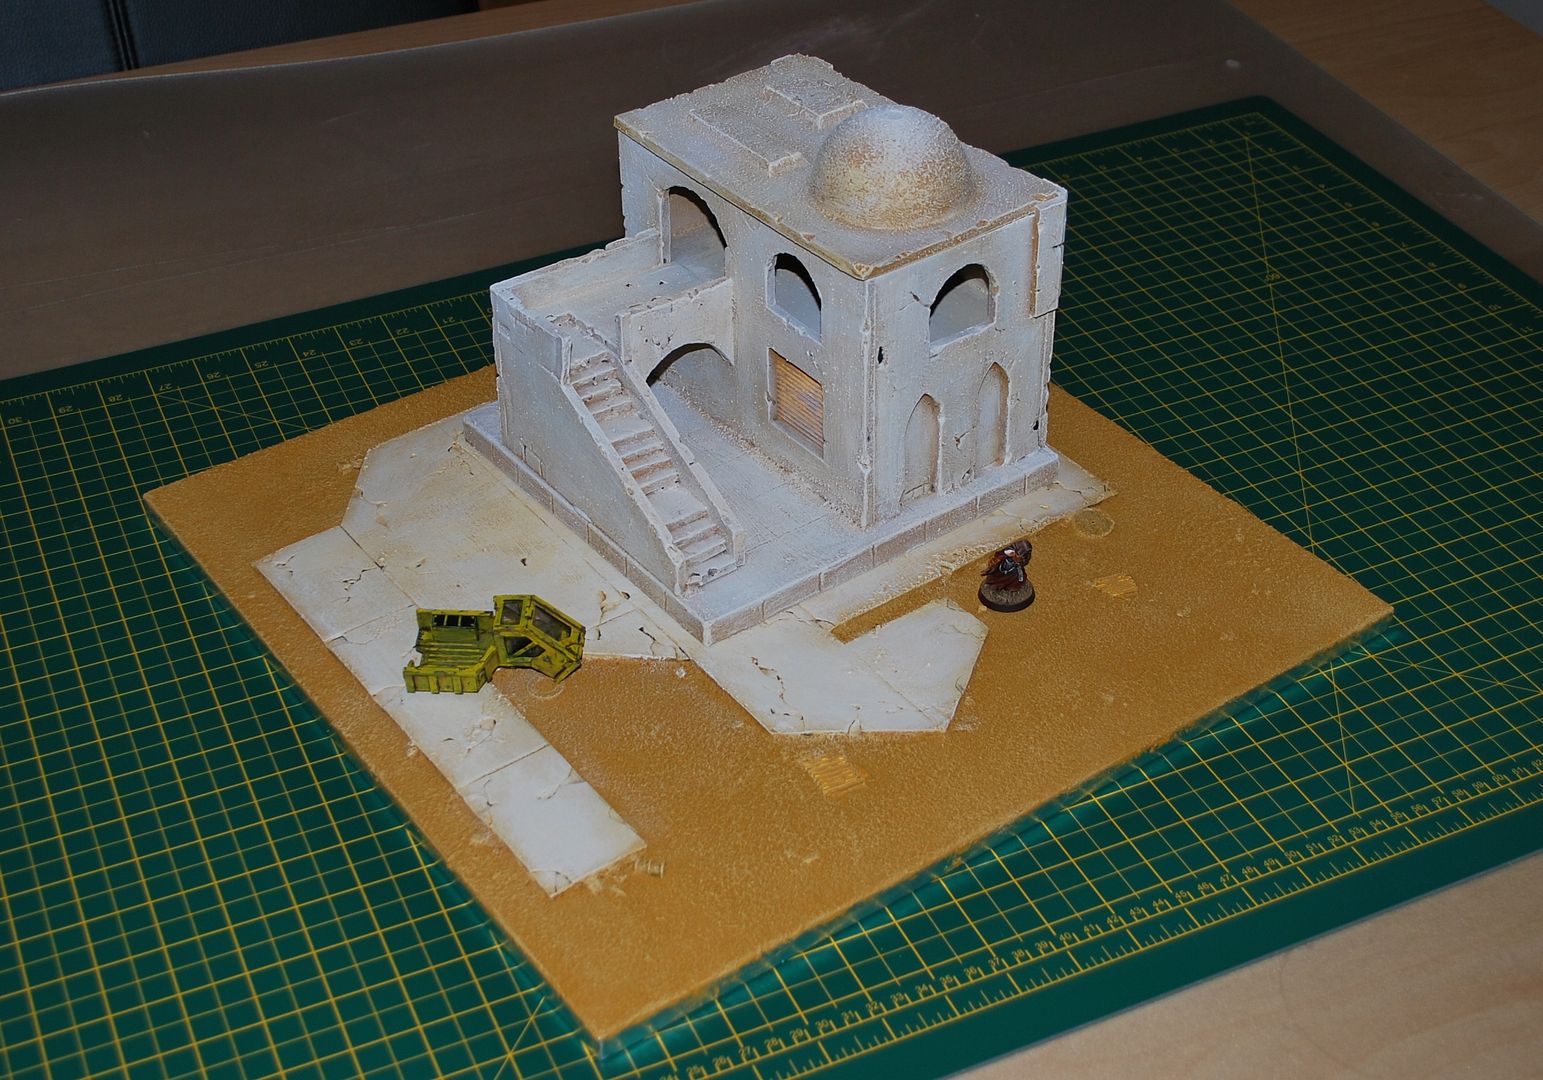
Here's the first test for my Rebellion Protocol showcase terrain, there will be 4 boards in total initially.

All I've done is the basic colour blocking, I still have tons to do. Next up is the detail (modelling and painting) then my favourite part: weathering! It might be a while before I get this all finished, I prefer quality over quantity, and to get quality means you can't shirk patience.

For anyone struggling to find suitable boards like this that wont warp, are precise and cheap... I use cake presentation trays. This one is about 45cm square and cost me less than £5. All my buildings are mounted on smaller sized cake boards too.

For now I'm focusing on the war torn suburbs, and trying desperately no not make it look like Tatooine from Star Wars! Instead I want to emulate District 9 or Elysium style, only set in the likes of Khartoum or Amman. I've got big shipping crates, market stalls, palm tree's and other bits and pieces in the works... oh and my prototype vehicles will take pride and place as abandoned bits of terrain.

Sigh. I wish I could do all this stuff full time... I love it.


Sunday, 2 March 2014

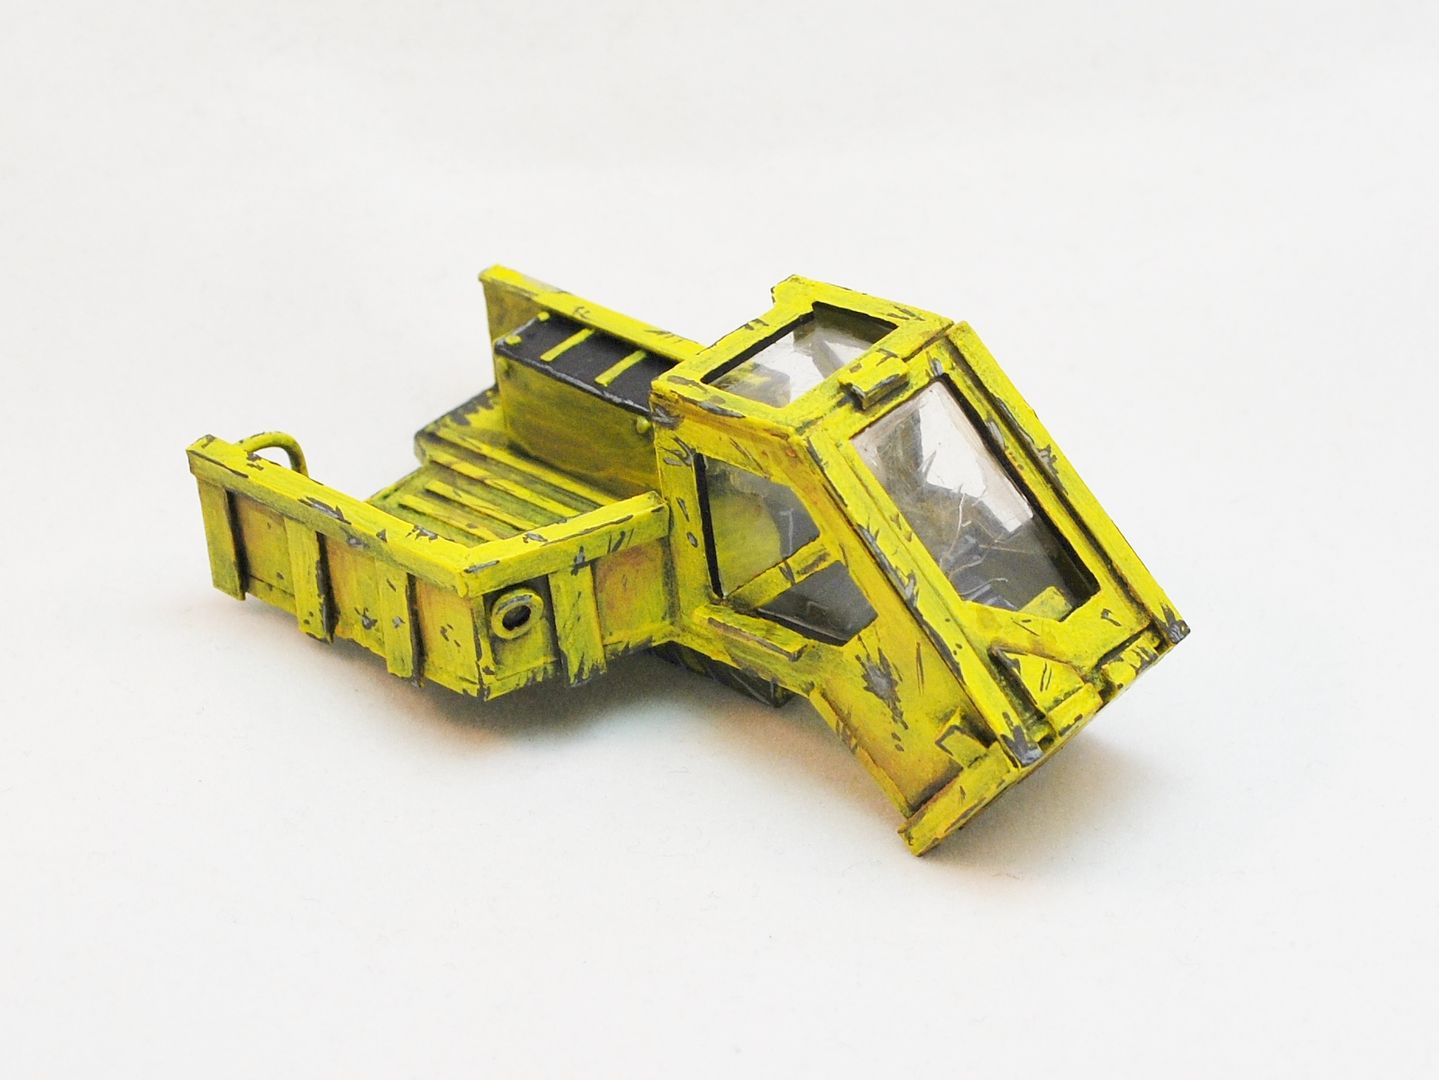
I have a dream: about flying trucks in the desert.


When I say dream I mean daydream, and by daydream I mean sketched it out on a post in note at work. This is the mock up model.

  • First I did a little paper versions.
  • Then I built one quickly from plasticard, all from scratch.
  • Then I decided to give it a lick of paint.
  • Then I stuck windows in it.
  • Next up, I’ll get some suitable decals for it and then pigments and weather it all.


It's pretty basic and scratchy but I'm going to use it as a scenery piece for Rebellion Protocol.

The idea behind it: along the lines of tug boat – it's a flatbed truck that flies. Simple. A little ubiquitous work horse for doing light run around's and delivery stuff. I have ideas for a few variants, like a longer one for transporting big loads, and a little jet bike in the same style.

Here's the catch – the Desert Insurgents, the good guys of Rebellion Protocol, like to steal these from the city states and mount big guns on the back/side of them for hit and run raids !

Sounds cool right, I'm planning on making that next (along with the jetbike).

I could construct these and get them cast up in metal, but the thought of building these in metal is a bit meh for me. In all honesty I'd be quicker scratch building one than cleaning up a metal model then pinning and gluing it. Not to mention it would be lighter. (Seriously, I'm sure it shows, but cutting and gluing all this took me about 2hrs total)

I'll do a full blown tutorial for making them. Maybe I'll get the crew, gun, stowage and the jetbike cast up though, much more metal friendly.

The final tutorial version will have a few tweaks to the design, this was just the mock up. For example, the bed of the truck is 1mm too narrow for getting a miniatures base in there. Naturally it would be nice for the rest of my soon to be fleet if I could get mini's on the back...


Not bad for about 4.5hrs work...


Update dump: 28mm, 10mm, 6mm...

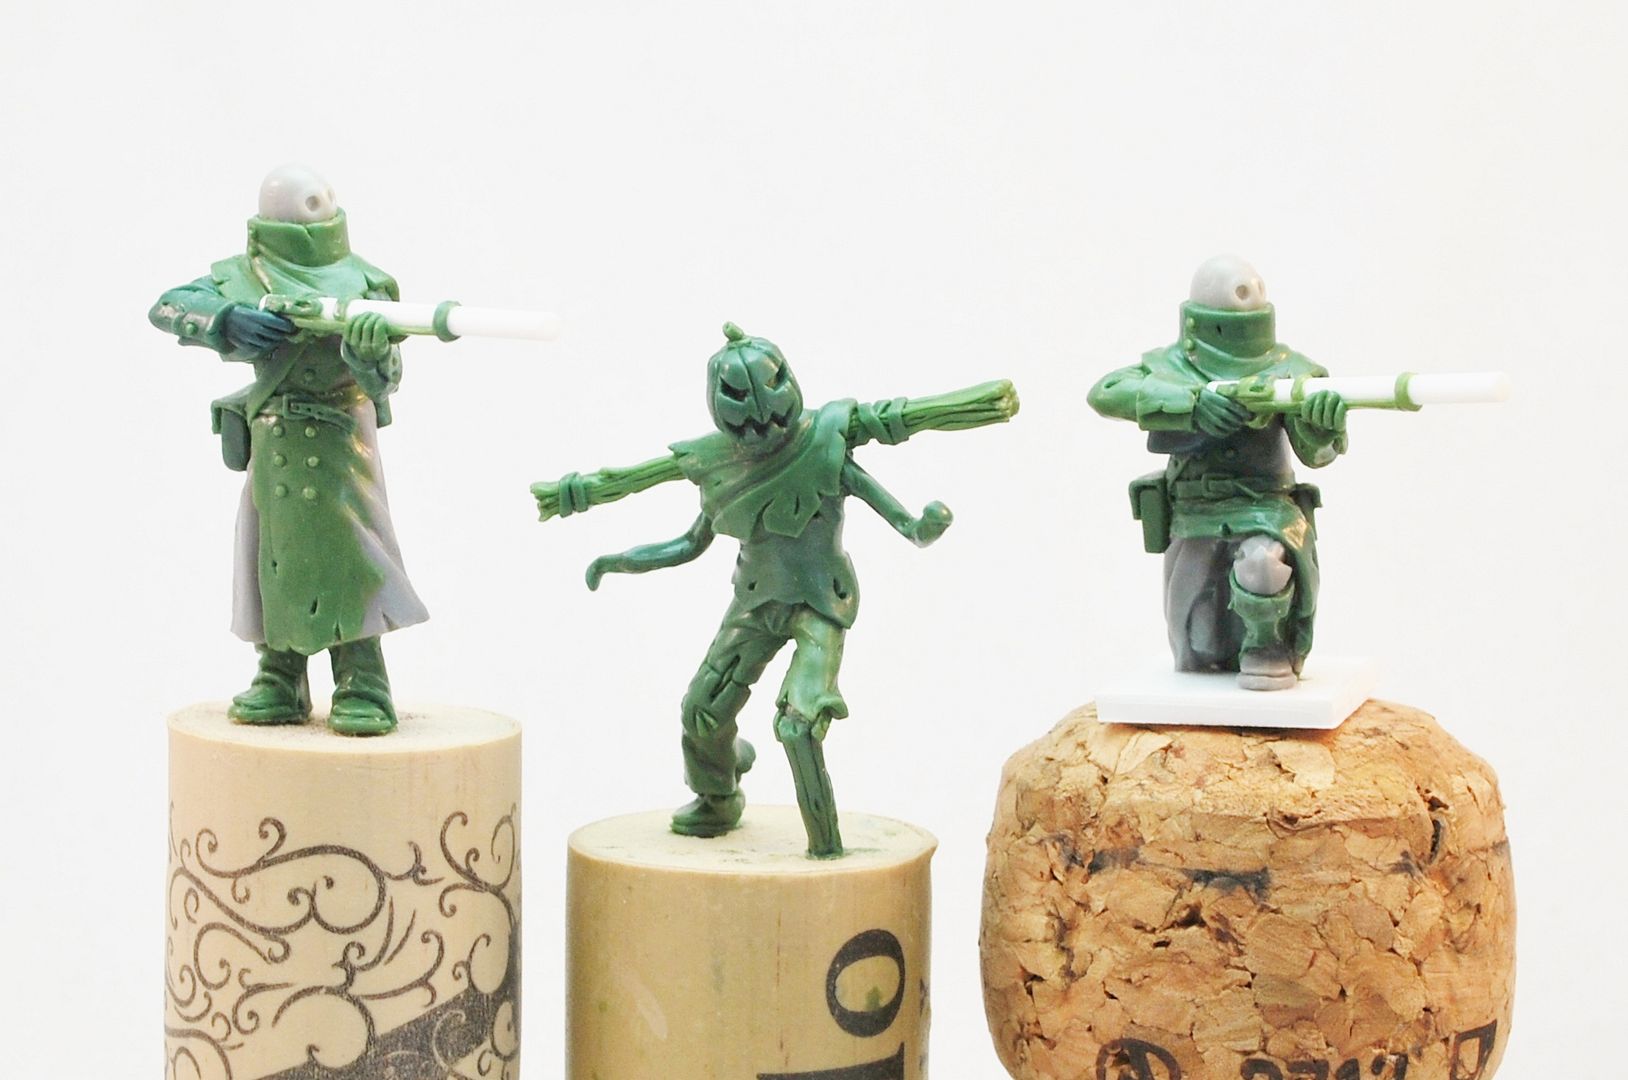
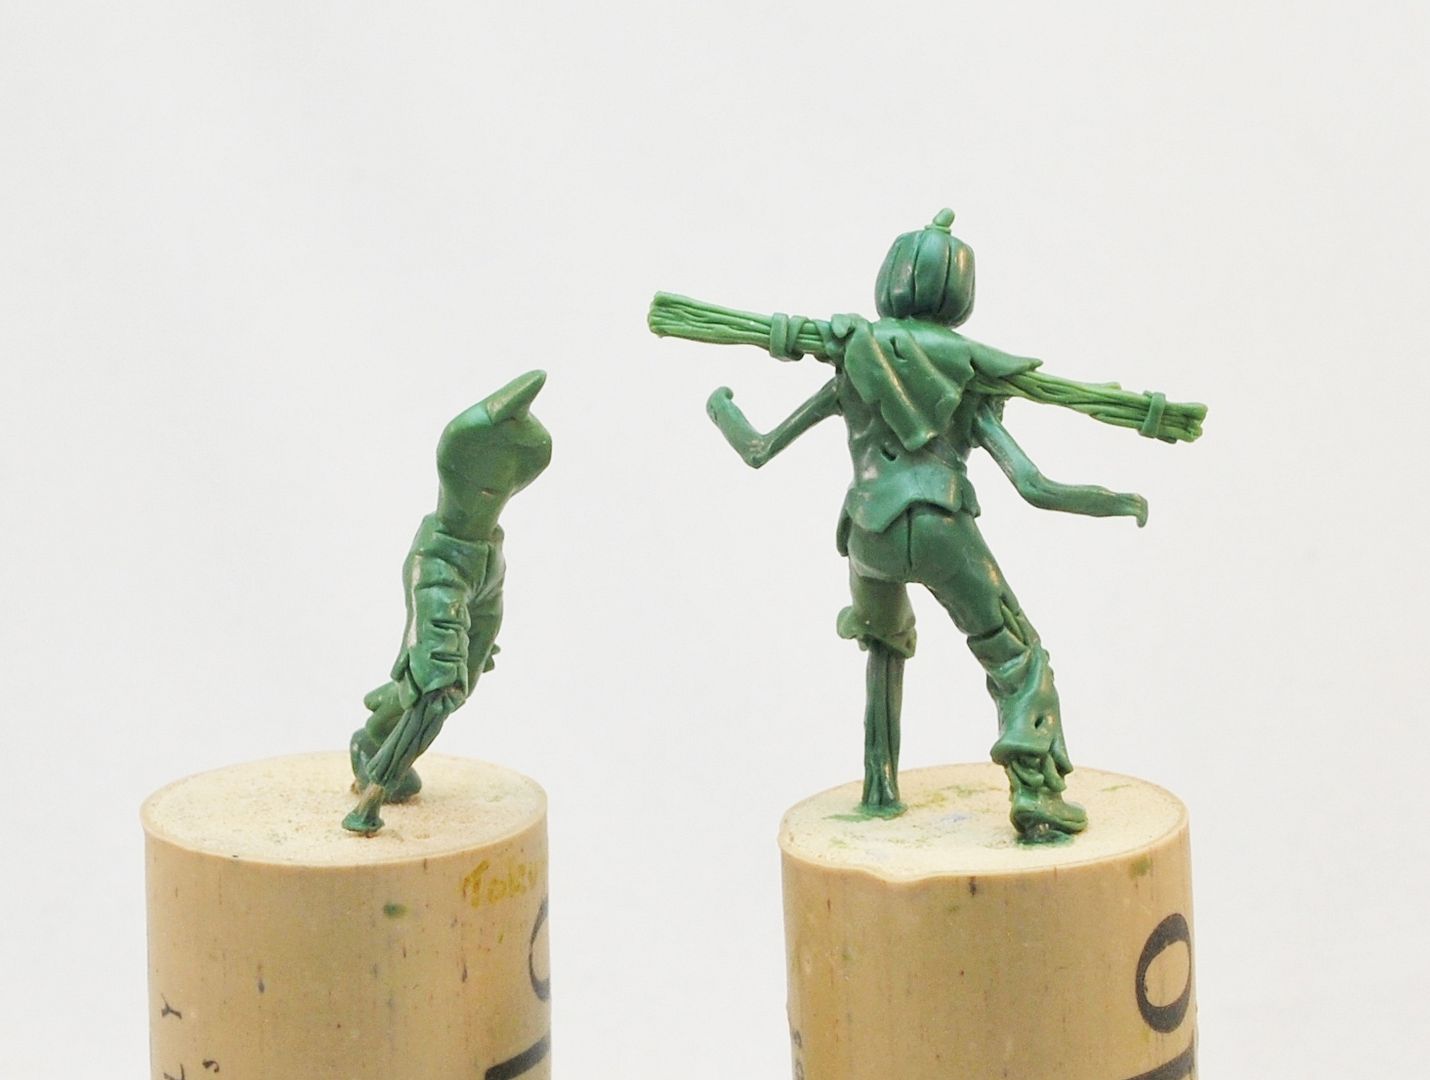
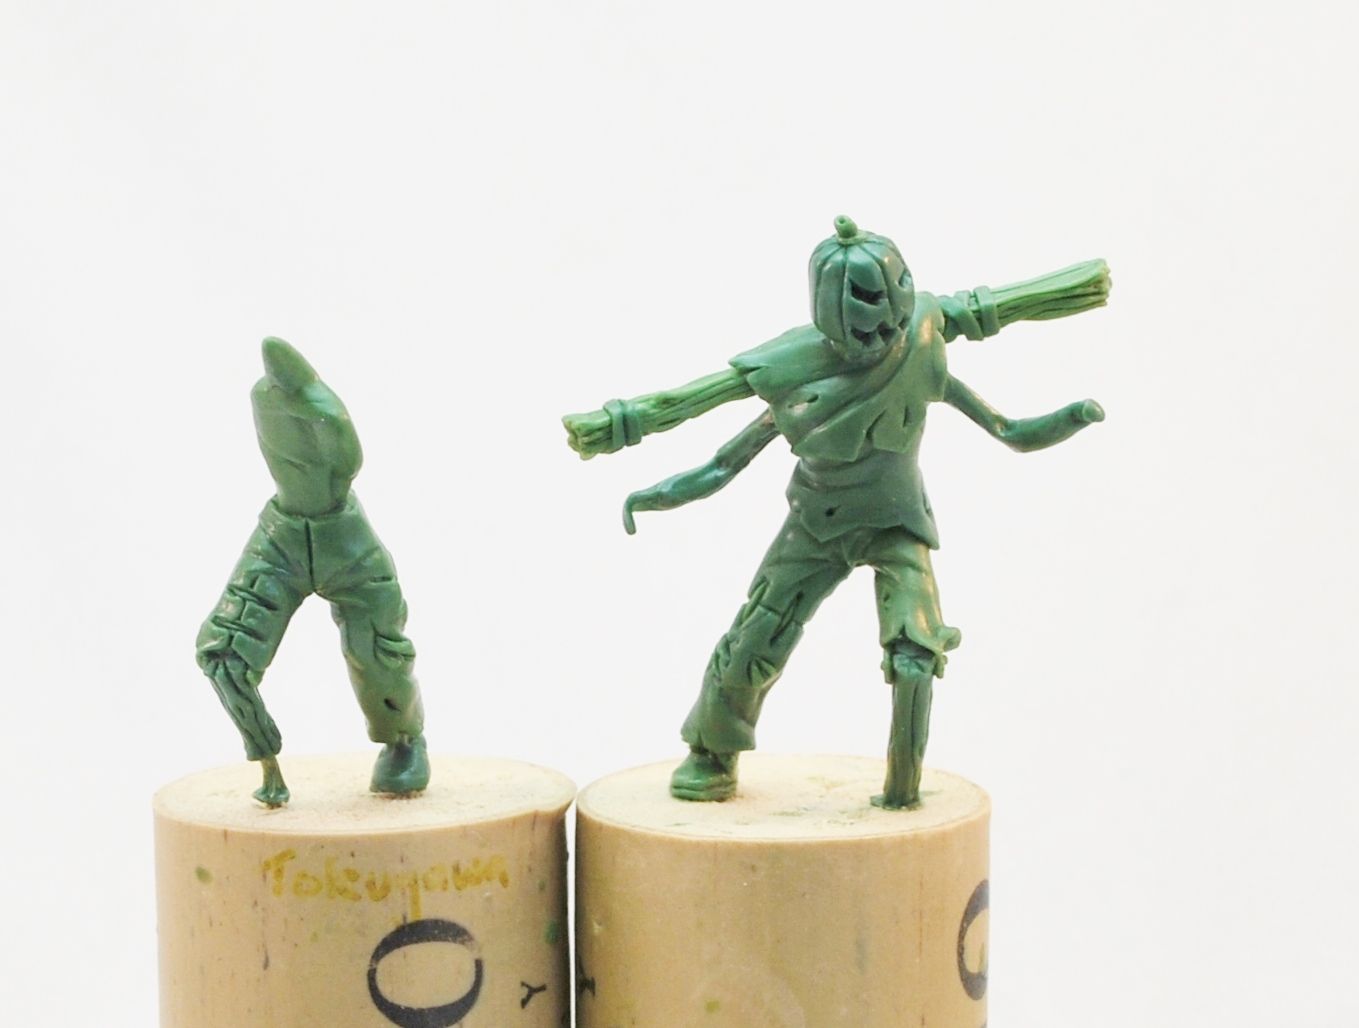
Time for a little blast of what's been sculpting...

… and scratch building.

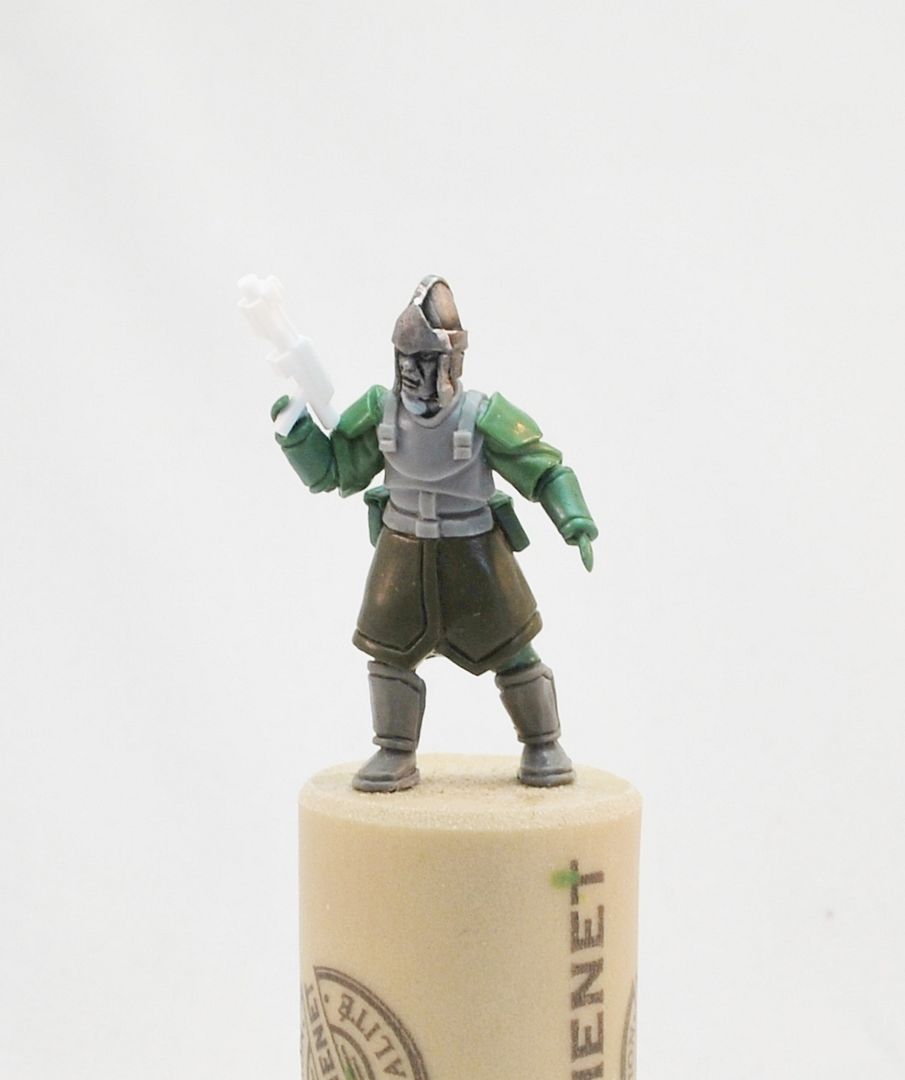
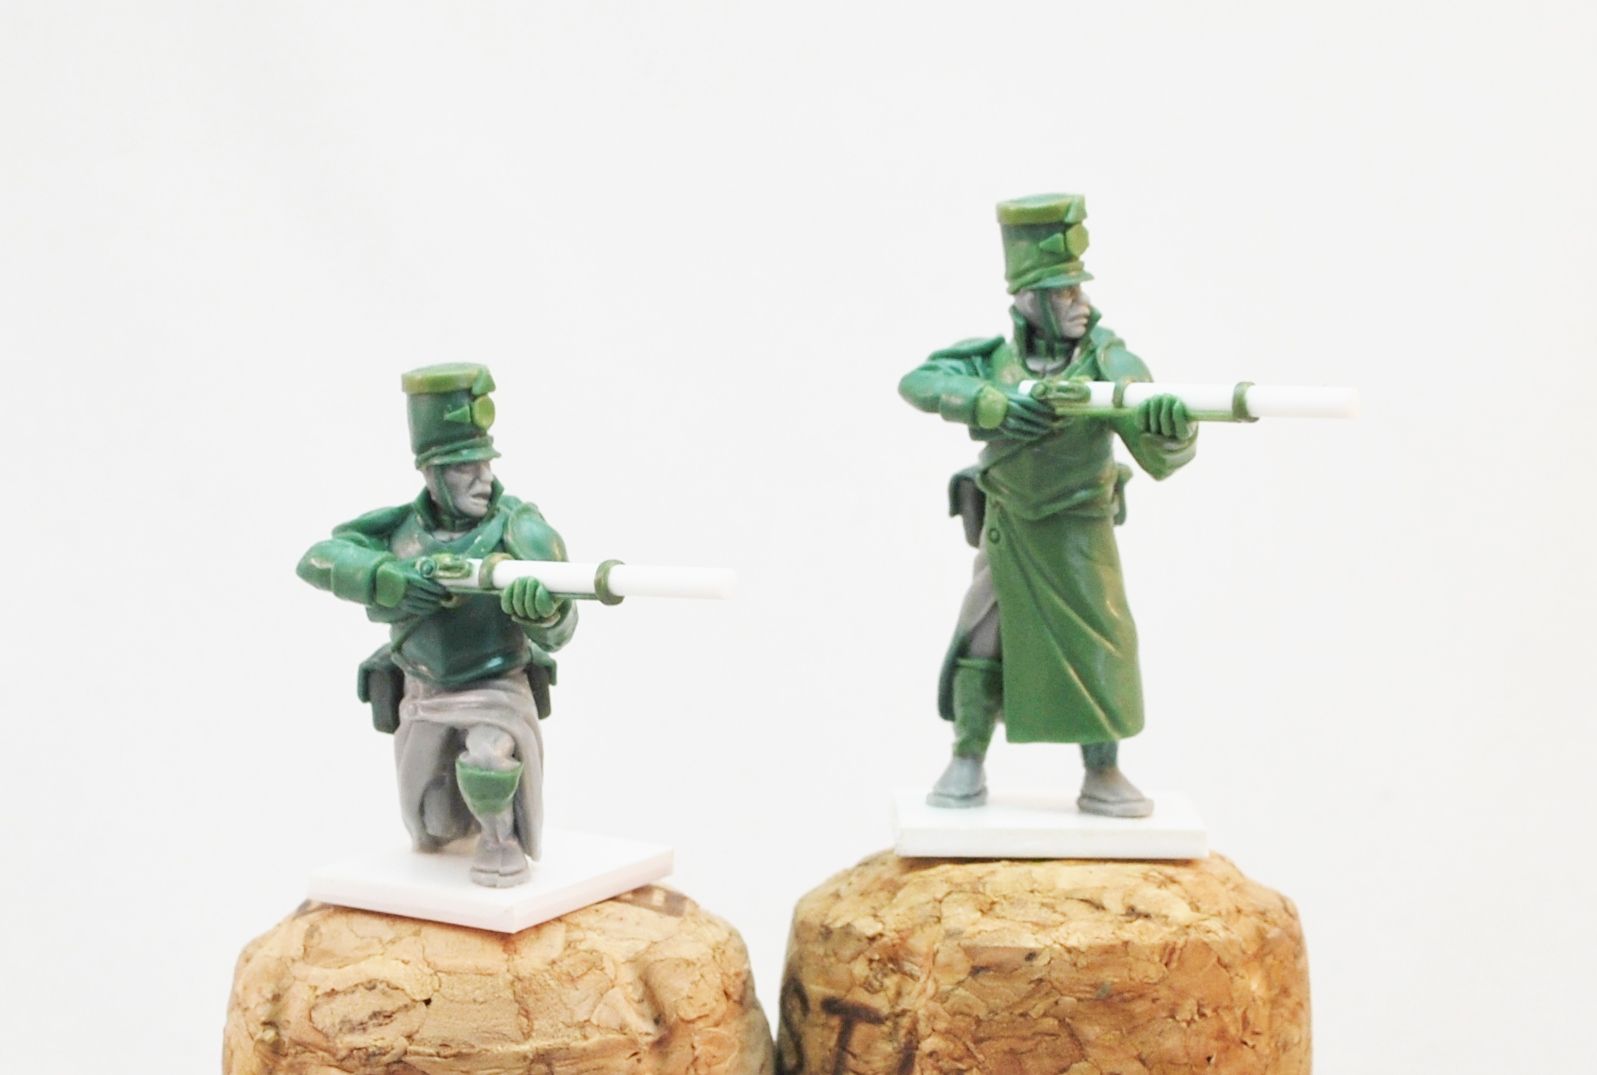
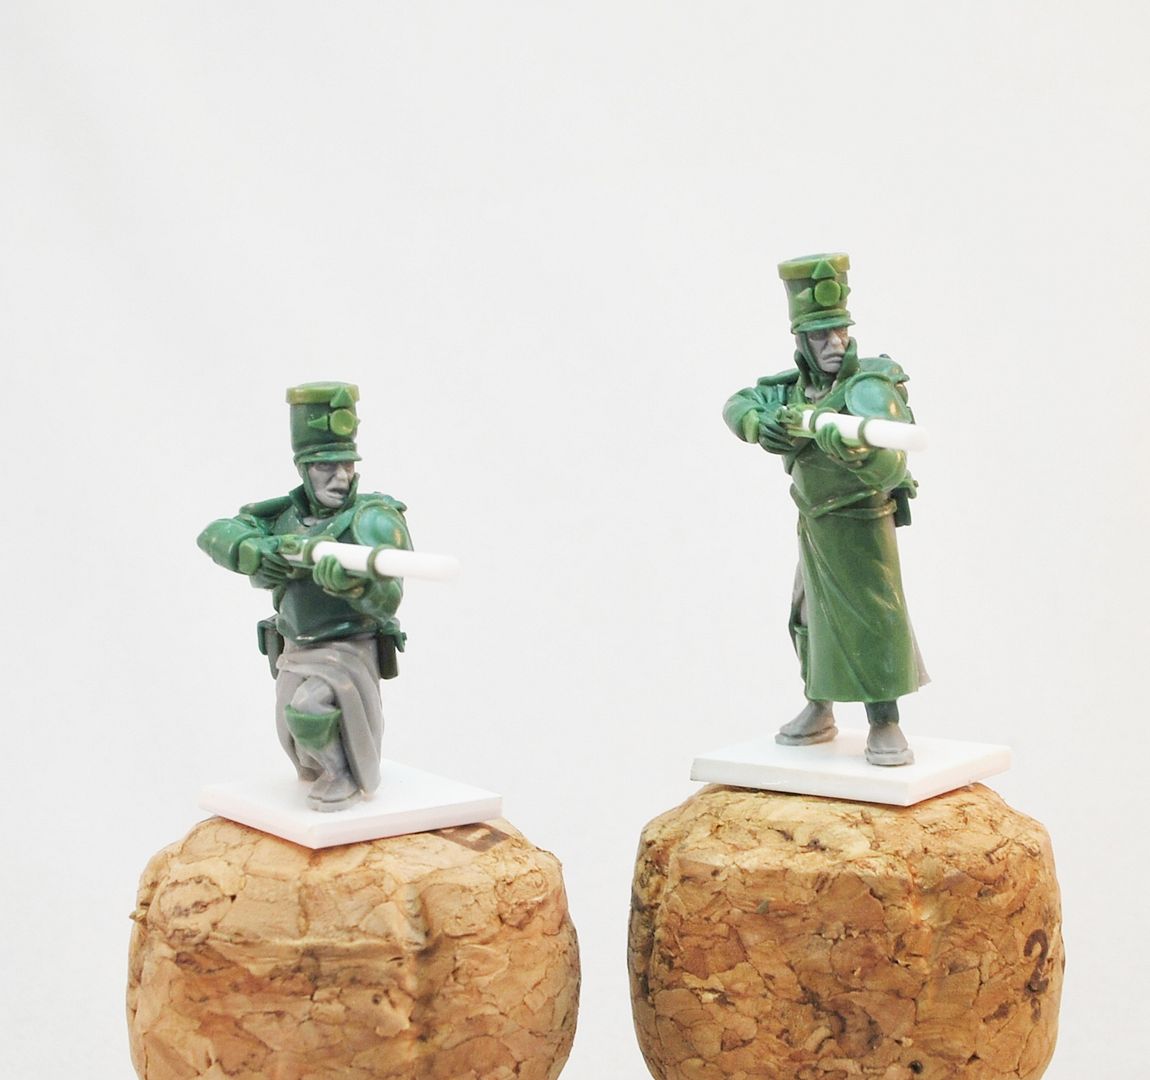
Well, I nailed down a gun design for the phase 2 Peacekeepers. Proper “blaster”. I can now start posing the rest of the sculpts around this design and aim (no pun intended) to get a mold filled with a good mix of Peacekeepers: leader, heavy, grunt, etc.


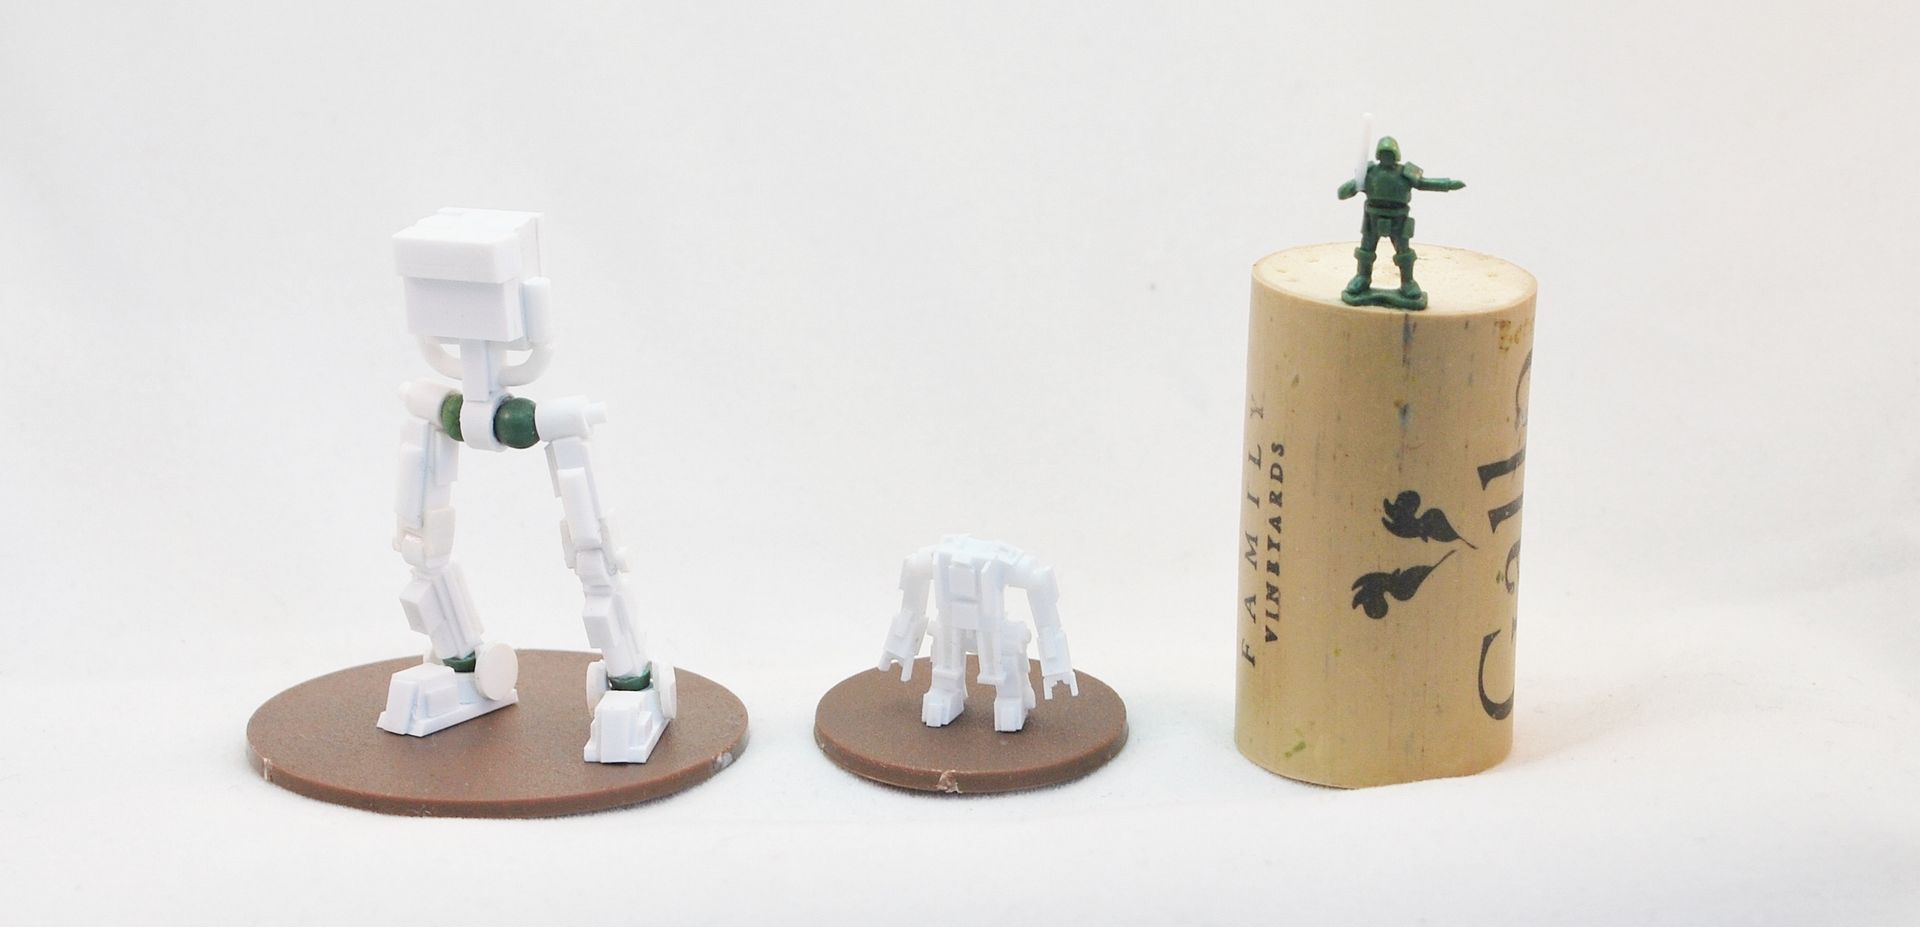
I had a terrible flash of inspiration and rattled out a few 10mm scaled miniatures. Very stylised, comic book feel I want to get with them. This may or may not come to fruition, by that I mean having them molded up and making them available to folks. They are about half way done, rifles are simple stand in at the moment (0.5mm plasticard). I've also done a little power lifter suit, minus an operator, and various other bits and bobs. More on all this later, but I really like the thought of robots and mechs dominating a 10mm game.


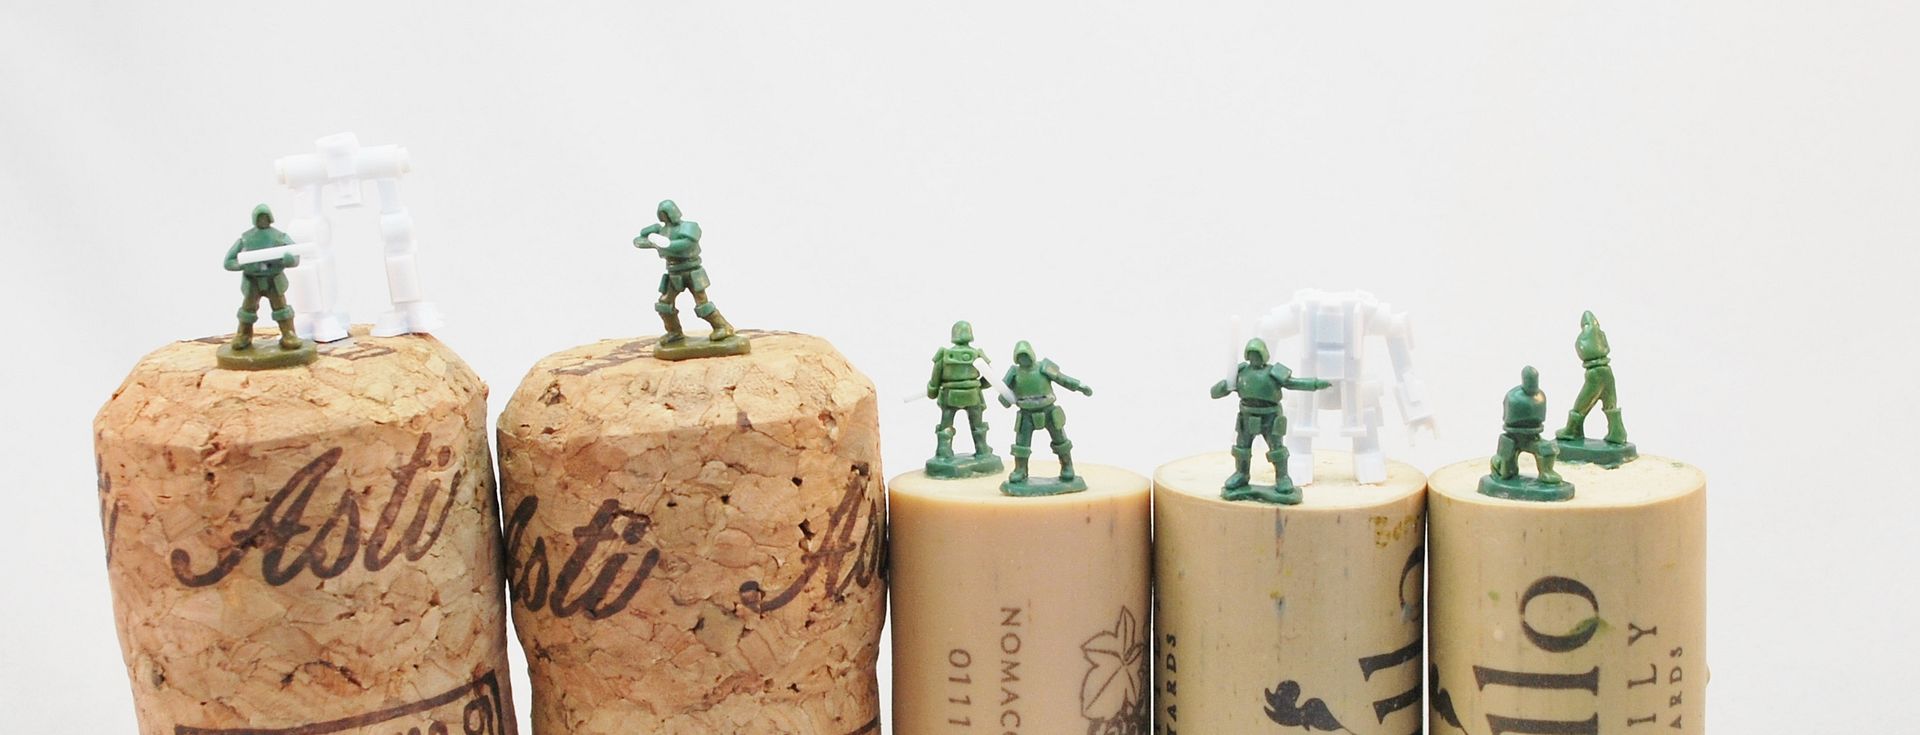
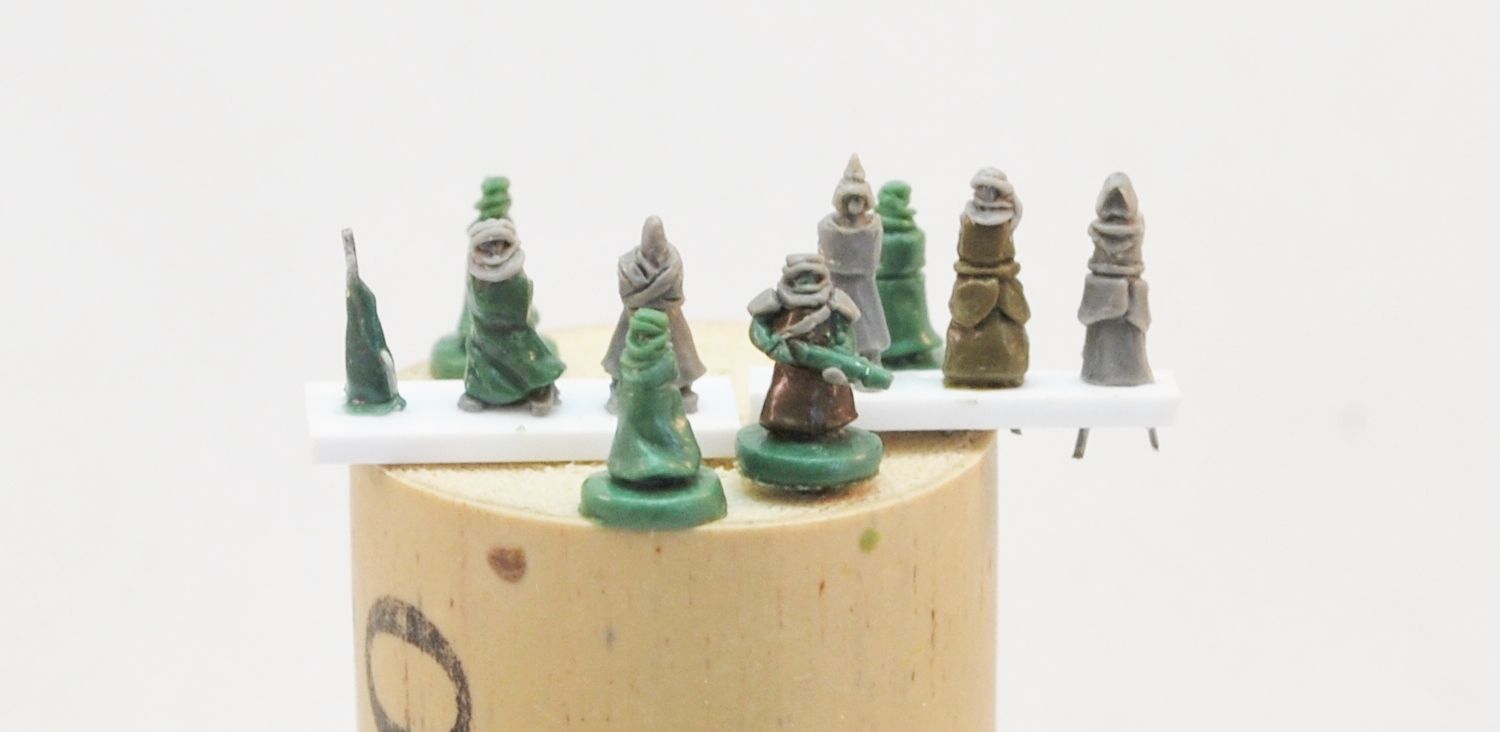
Here's some more exploration in 6mm, I really can't lock into one scale or style but I suppose I'm still finding my feet and experimenting... I mean, I'm only 30, I can still fantasise about having time to model/paint/game in multiple scales right? Hopefully by 40 I'll have merged it all down into one scale... but which one??

Note the same Desert Insurgent miniatures done a few different ways. The version at the front is actually just under 6mm and the scale and style I'm going to run with. All the others as you can see, are a little taller or wider. For me 6mm is all about massive mechs, tanks and aircraft, with the miniatures being in there to show just how huge everything else is. For that reason I'd like to get the basic human looking just right.

They say 6mm is gods own scale: 1mm represents 1 foot in real life. If that be the case, the first Desert Insurgent is about 5'10.


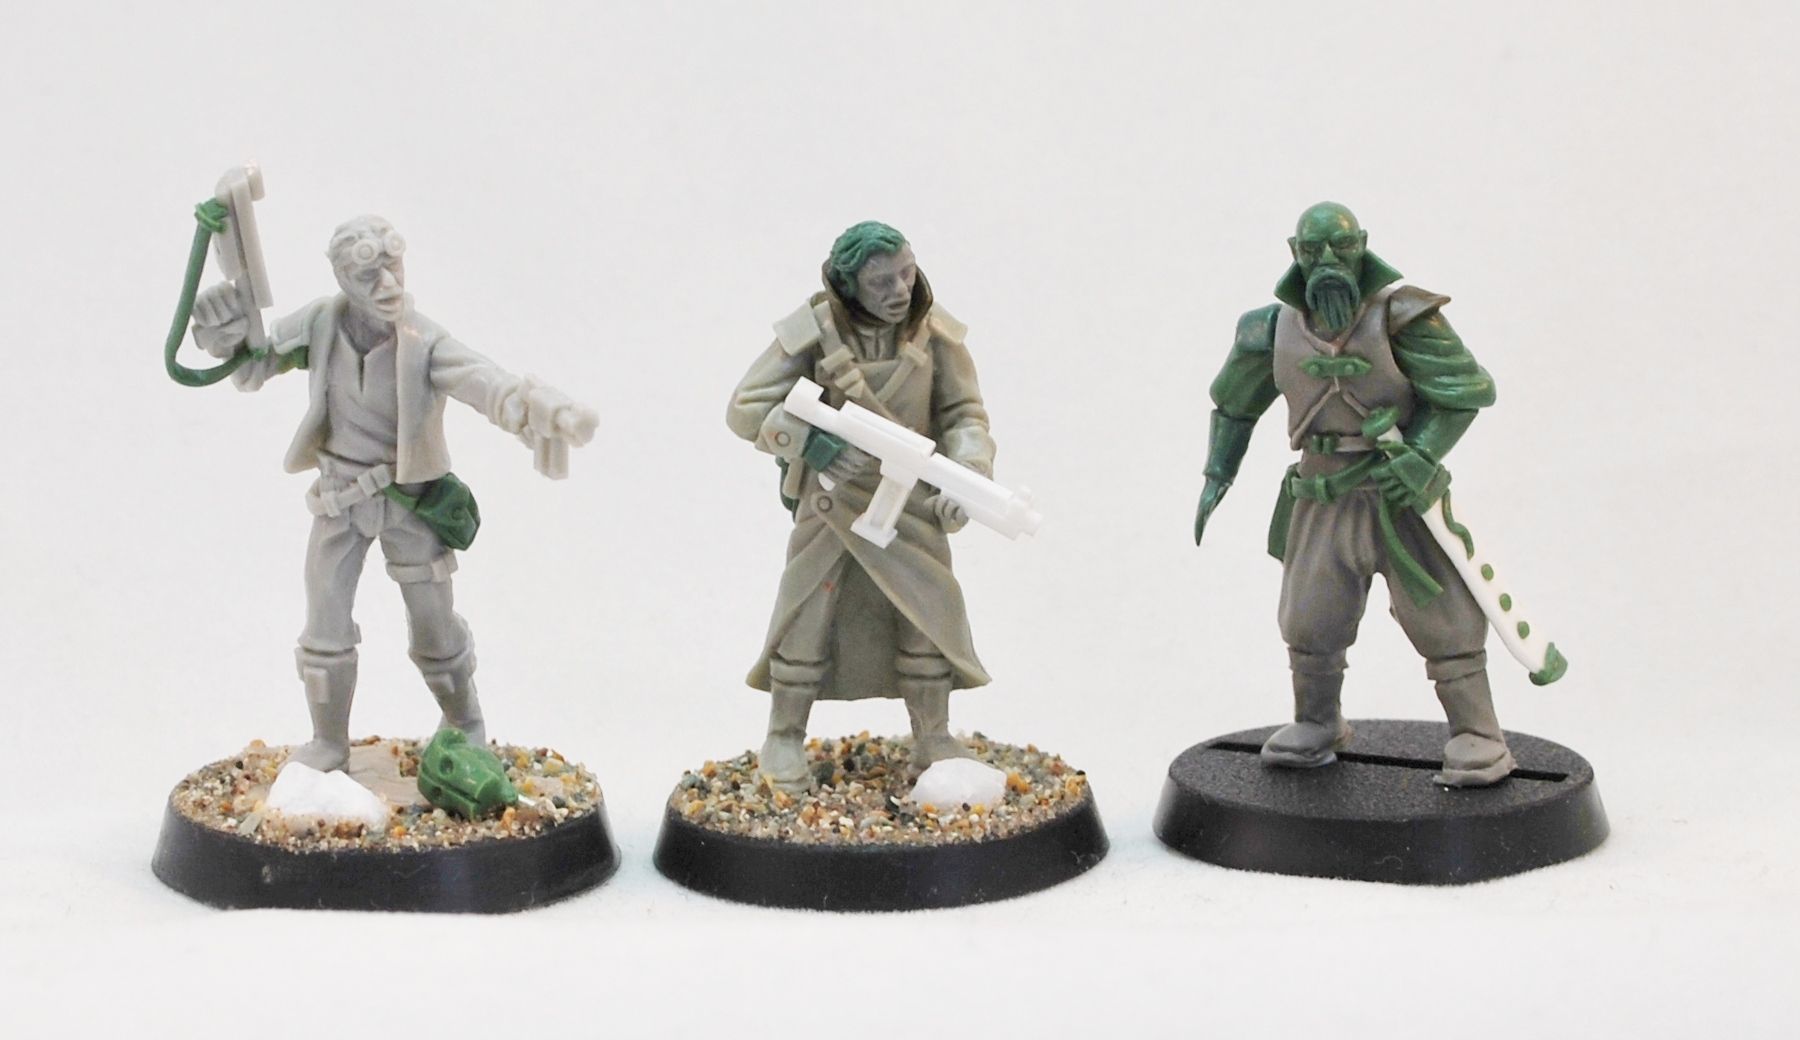
Some personal conversions in there, basic rogues for Rebellion Protocol, with the guy on the right being my first 28mm scale done in Super Sculpey Firm... well, the legs and torso at least. Still not got the hang of it yet...


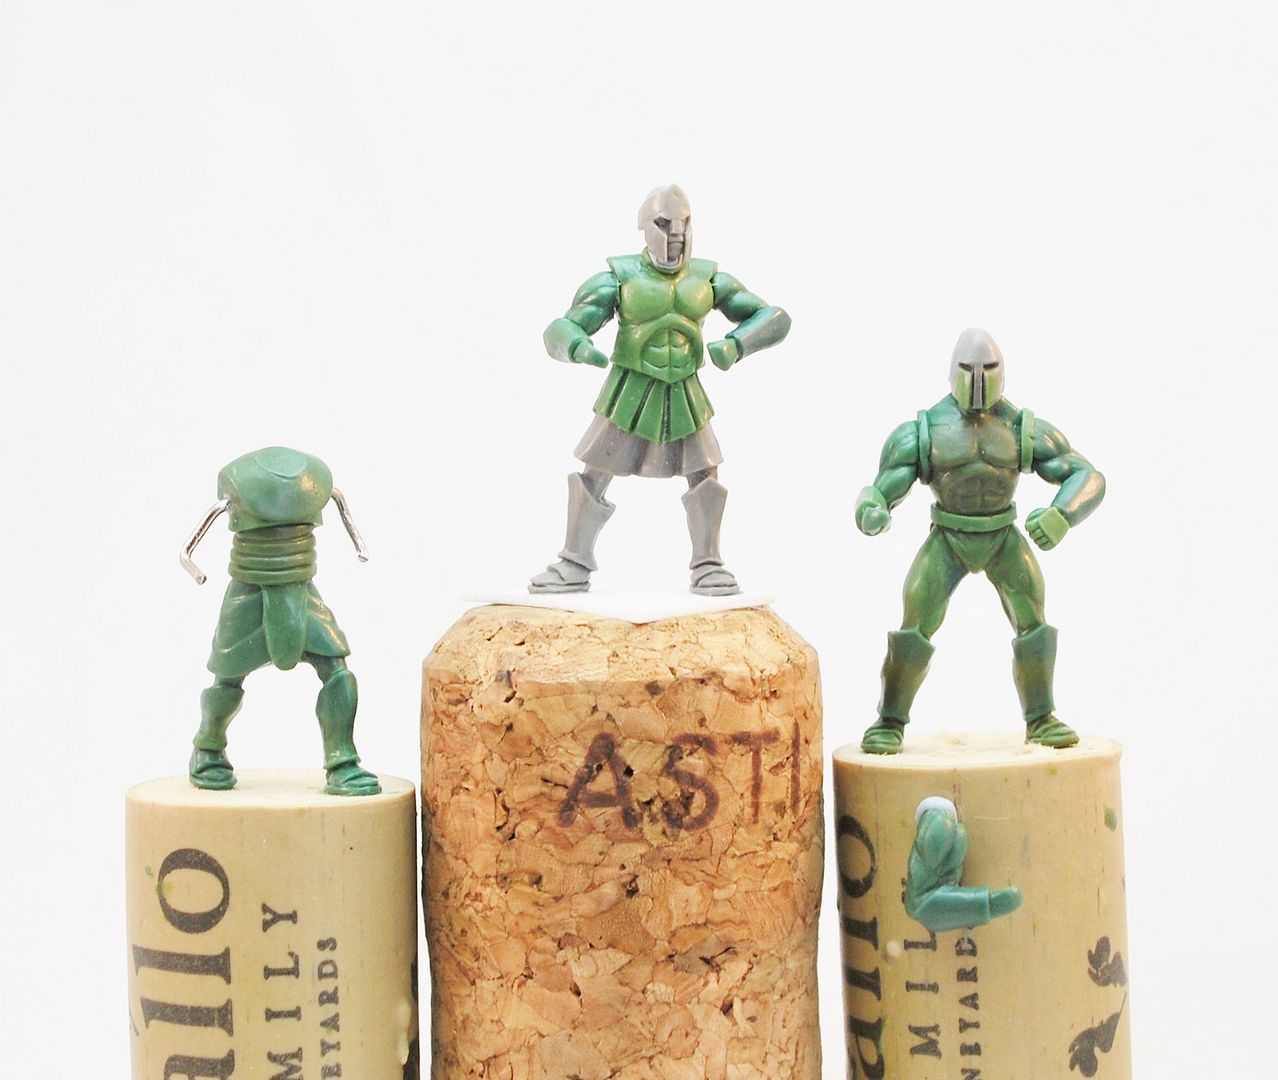
Practice/development at muscles here, super shredded or a bit more bulk (Like Rambo1 vs Rambo2 maybe...). That guy on the left will be a fantasy Egyptian... the right is a red skinned desert Orc thing (Khozards, maybe.. enemies of the Fallen Dwarves).


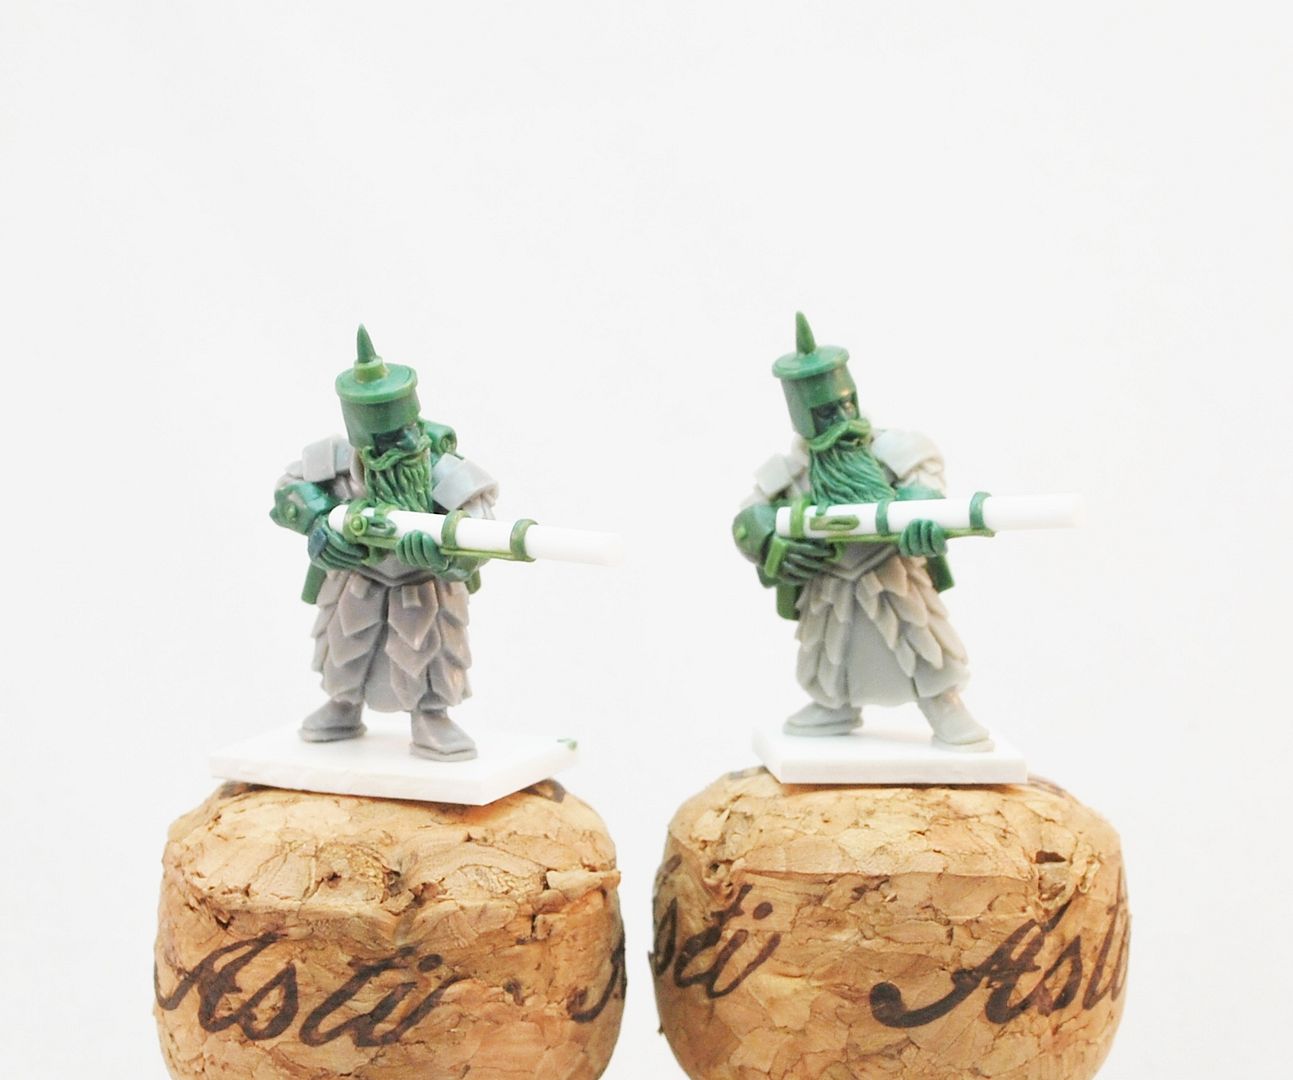
Some more shots and work on Grim Regions, a Napoleonic style clockpunk horror project. Probably shooting to have things ready for October this year.


That's all for now, thanks for reading!


Wednesday, 19 February 2014

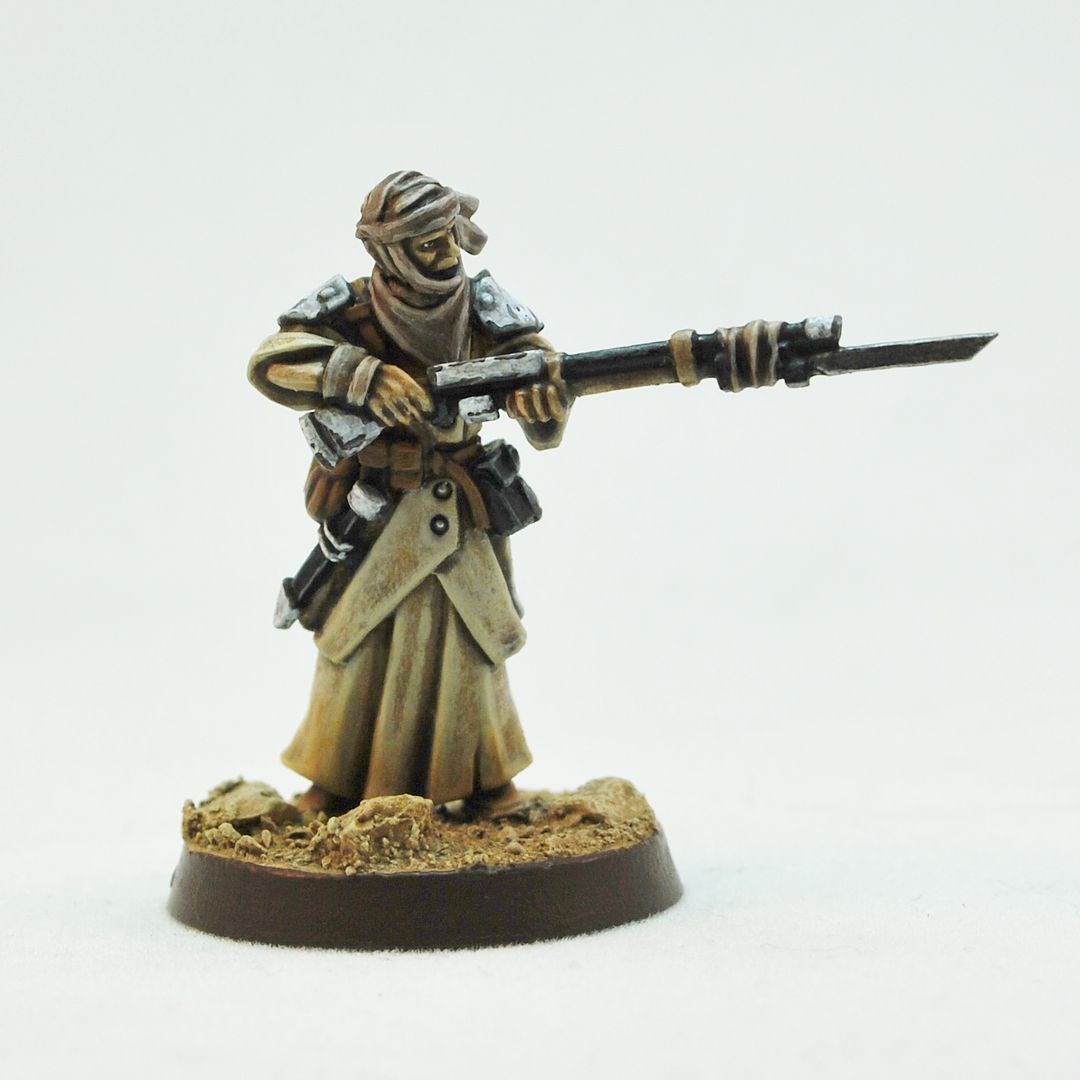
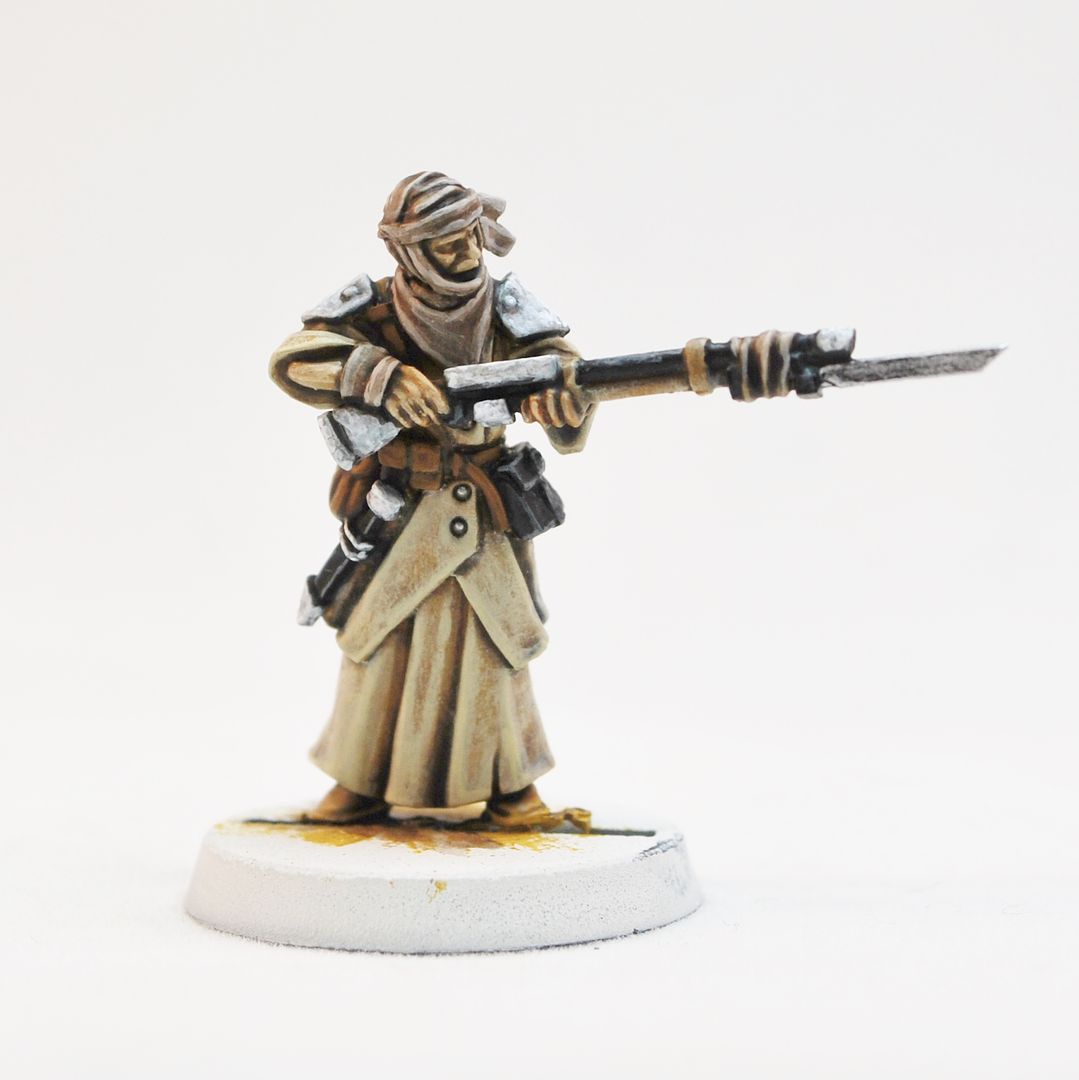
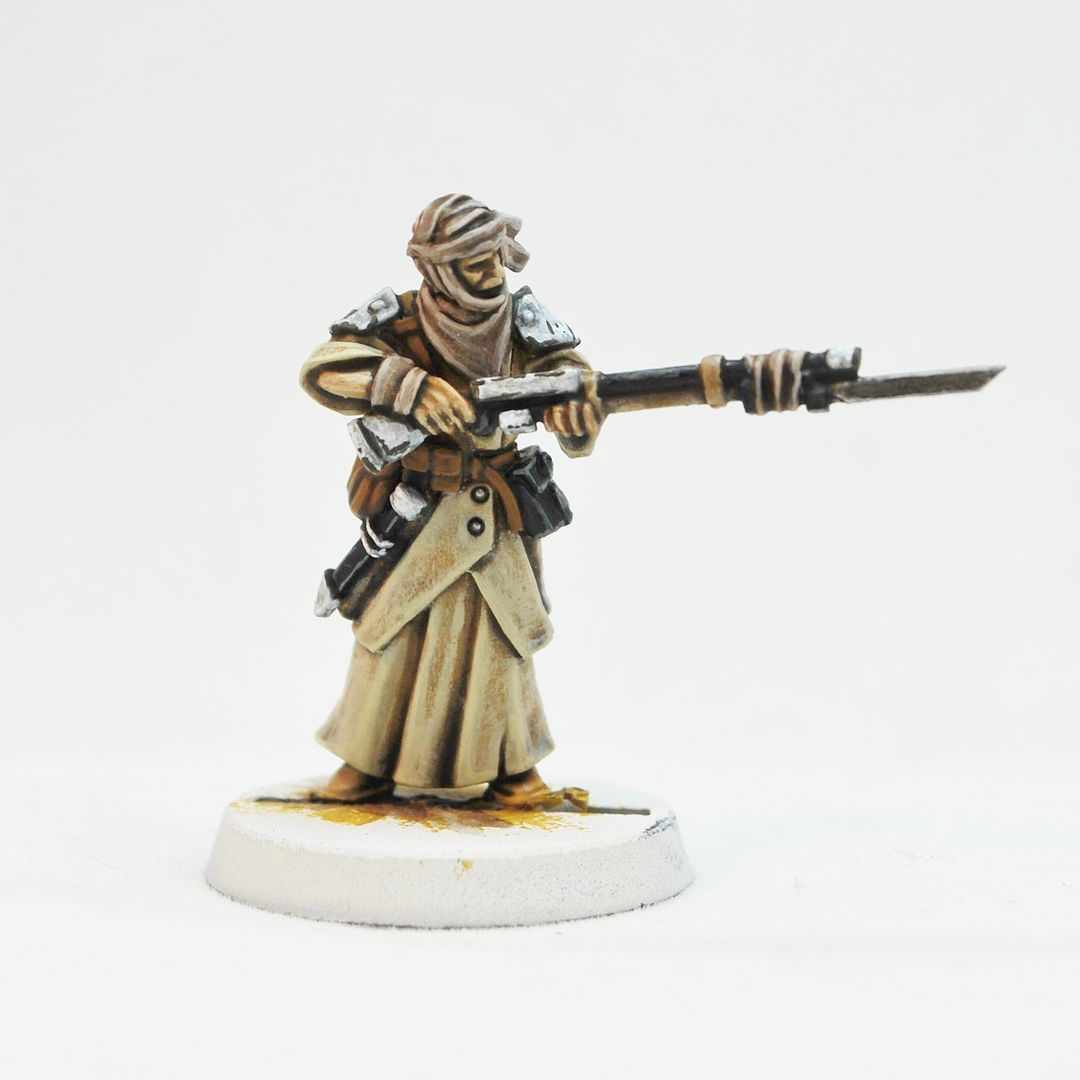
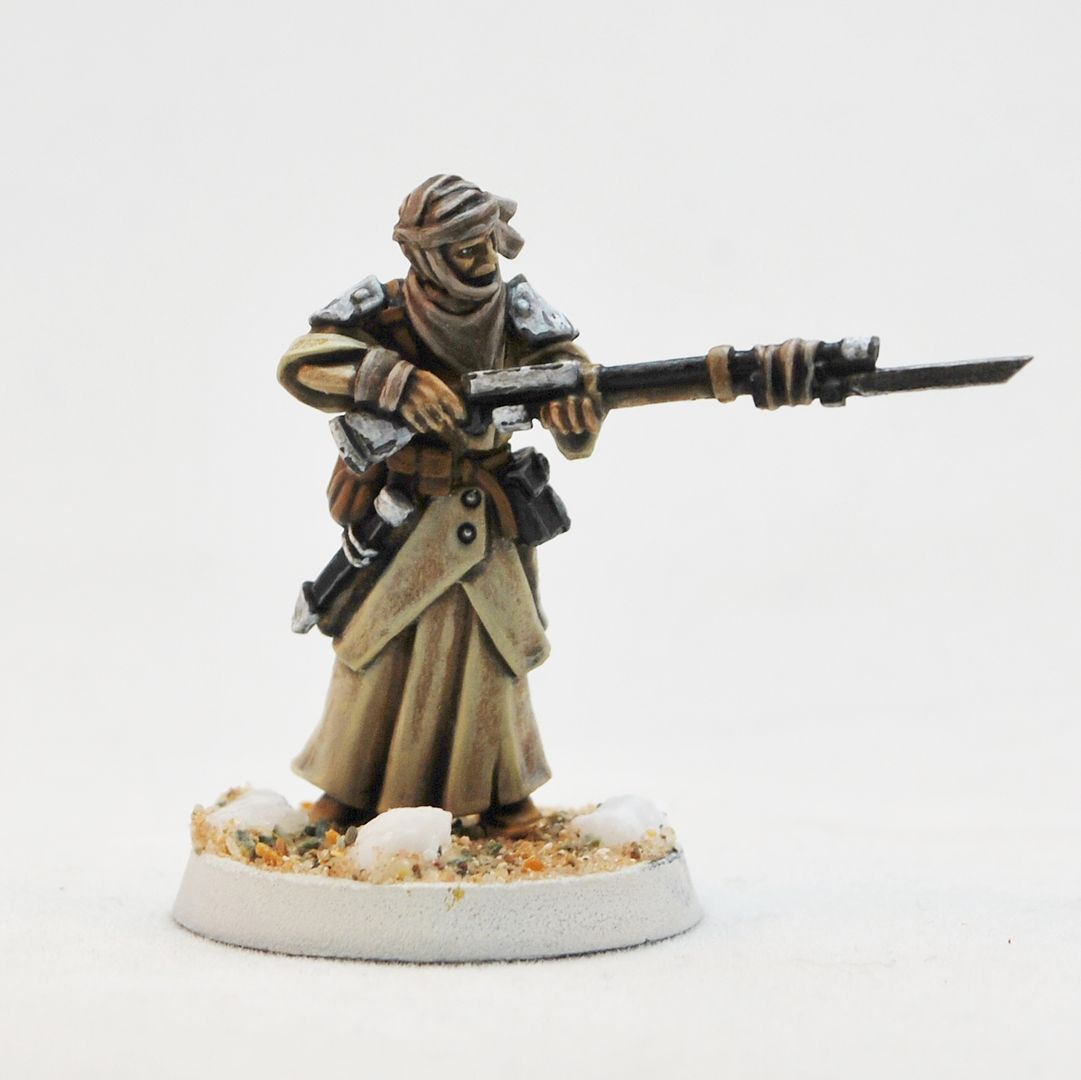
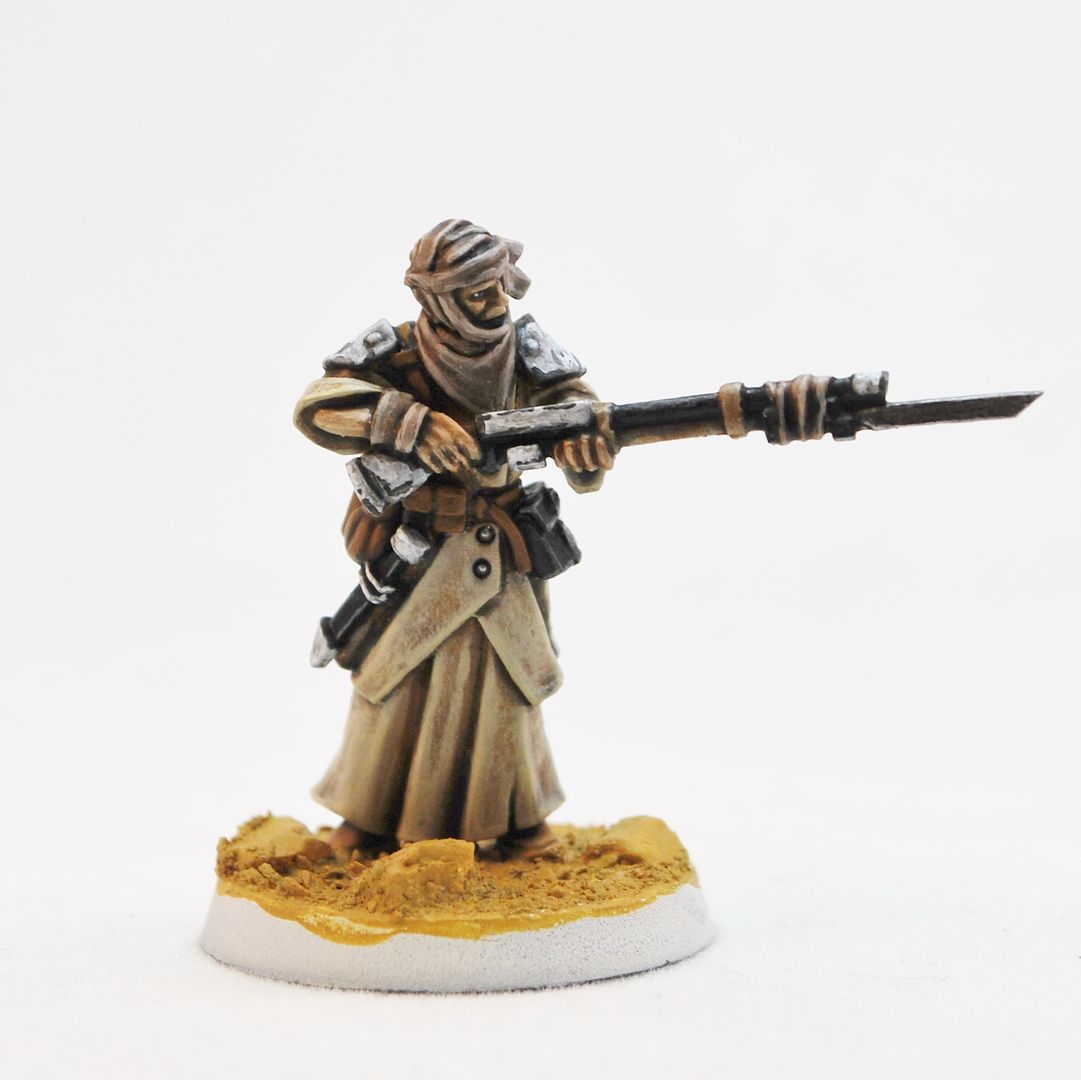
Desert Insurgent -Basic Painting Tutorial


Phew, I managed to find time to get a tutorial together! Unbelievable...

I'm down to the last 20 odd sets of these Desert Insurgents and considering retiring the mold already. The range will be expanded but I can't really keep the same sets in production indefinitely, catch em while you can they might be out of stock for a while. Email me (sales at miniaturesofthenorth.com), £15 a set.


I've used a variety of paints and inks here so I'll keep the naming conventions simplistic (along with my basic commentary).


1.Preparation

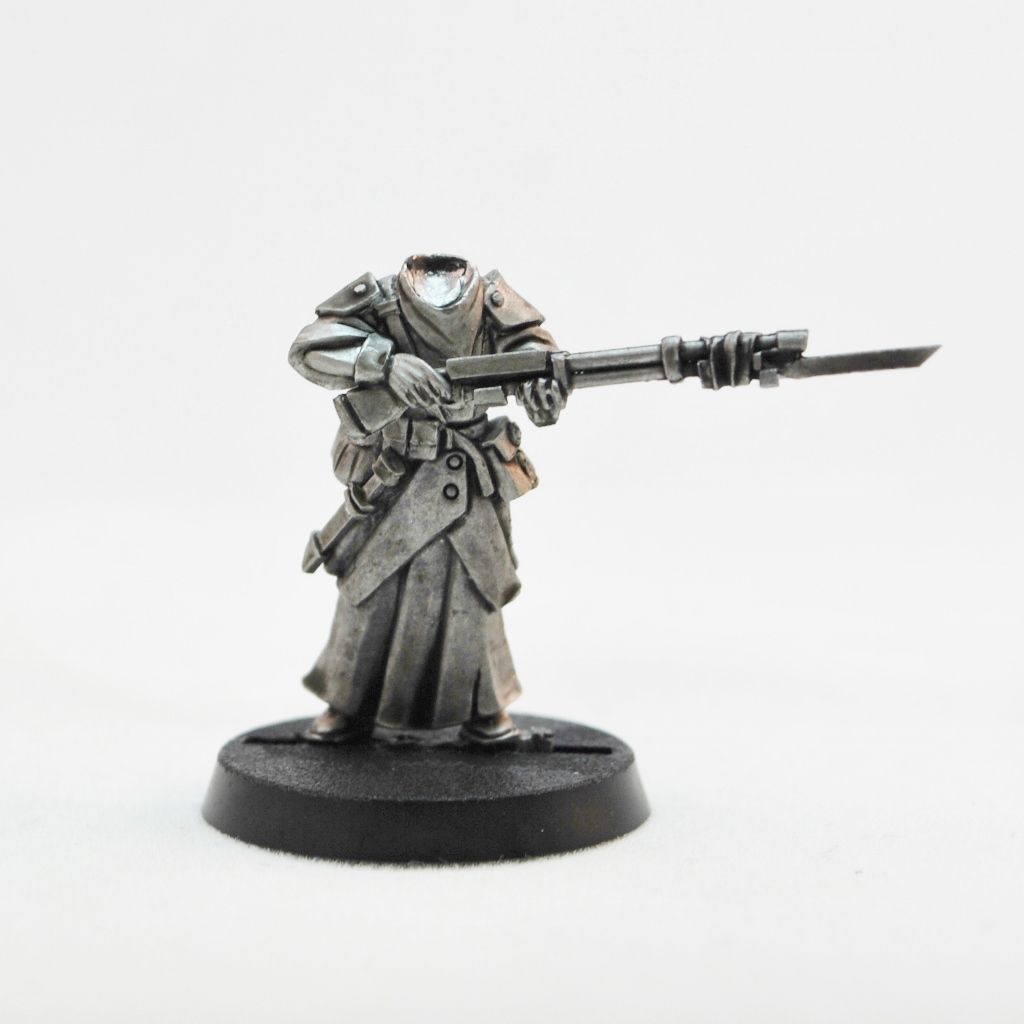
Wash these things in soapy warm water with an old toothbrush to remove the mold release powder, then once dry clean them up with files and a hobby scalpel – standard procedure.

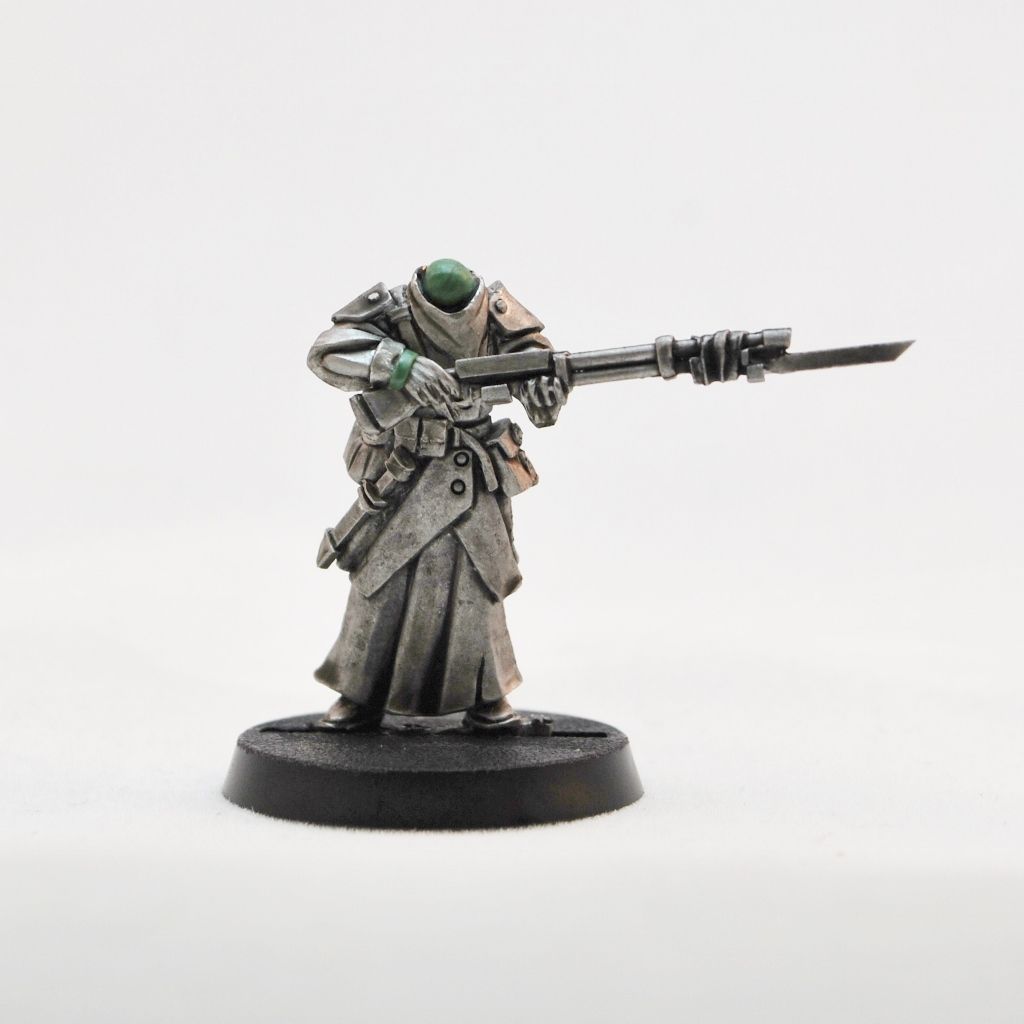
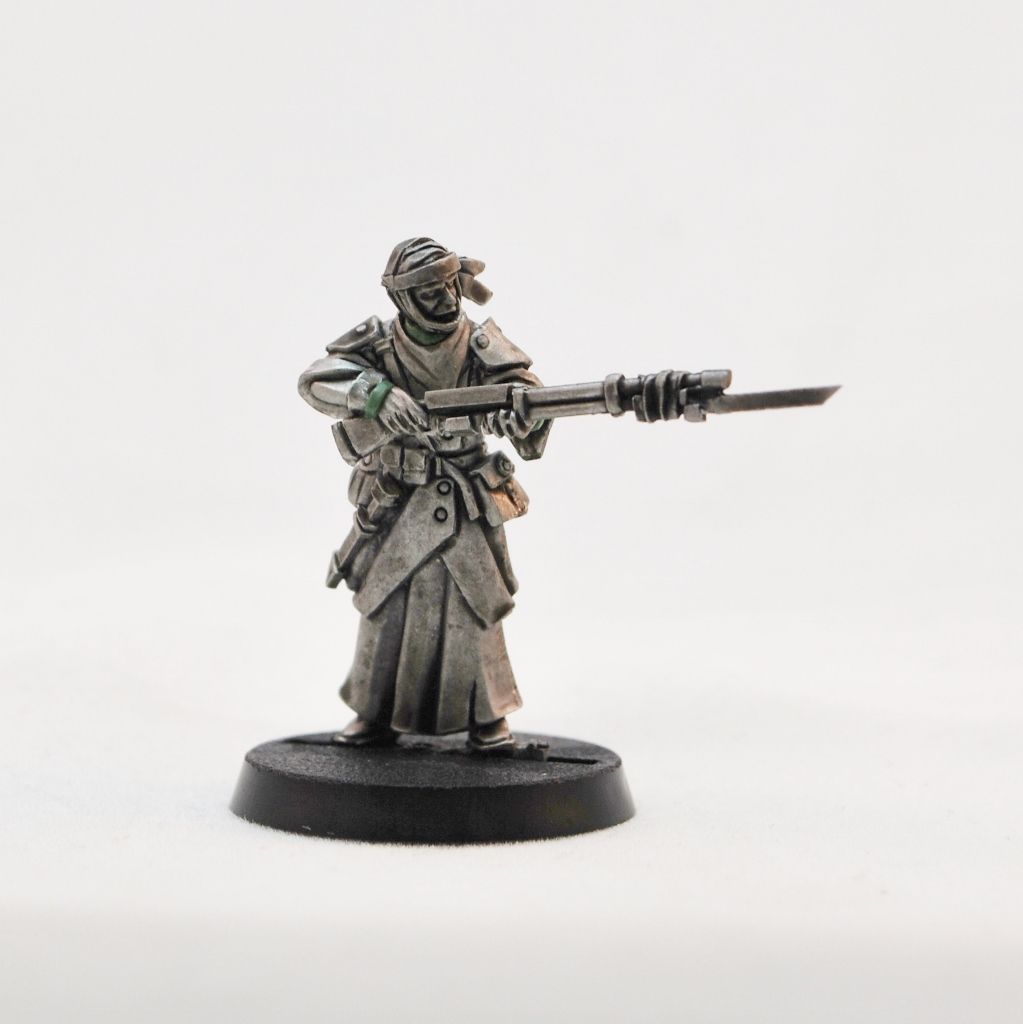
Here's the metal (with an ink wash so the detail shows up). They can be assembled perfectly fine without any green stuff, and I'm surprised the fittings all line up as good as they do after molding, but I like to stick a little putty over the wrist joints and into the ball fitting of the neck for the sake of it.


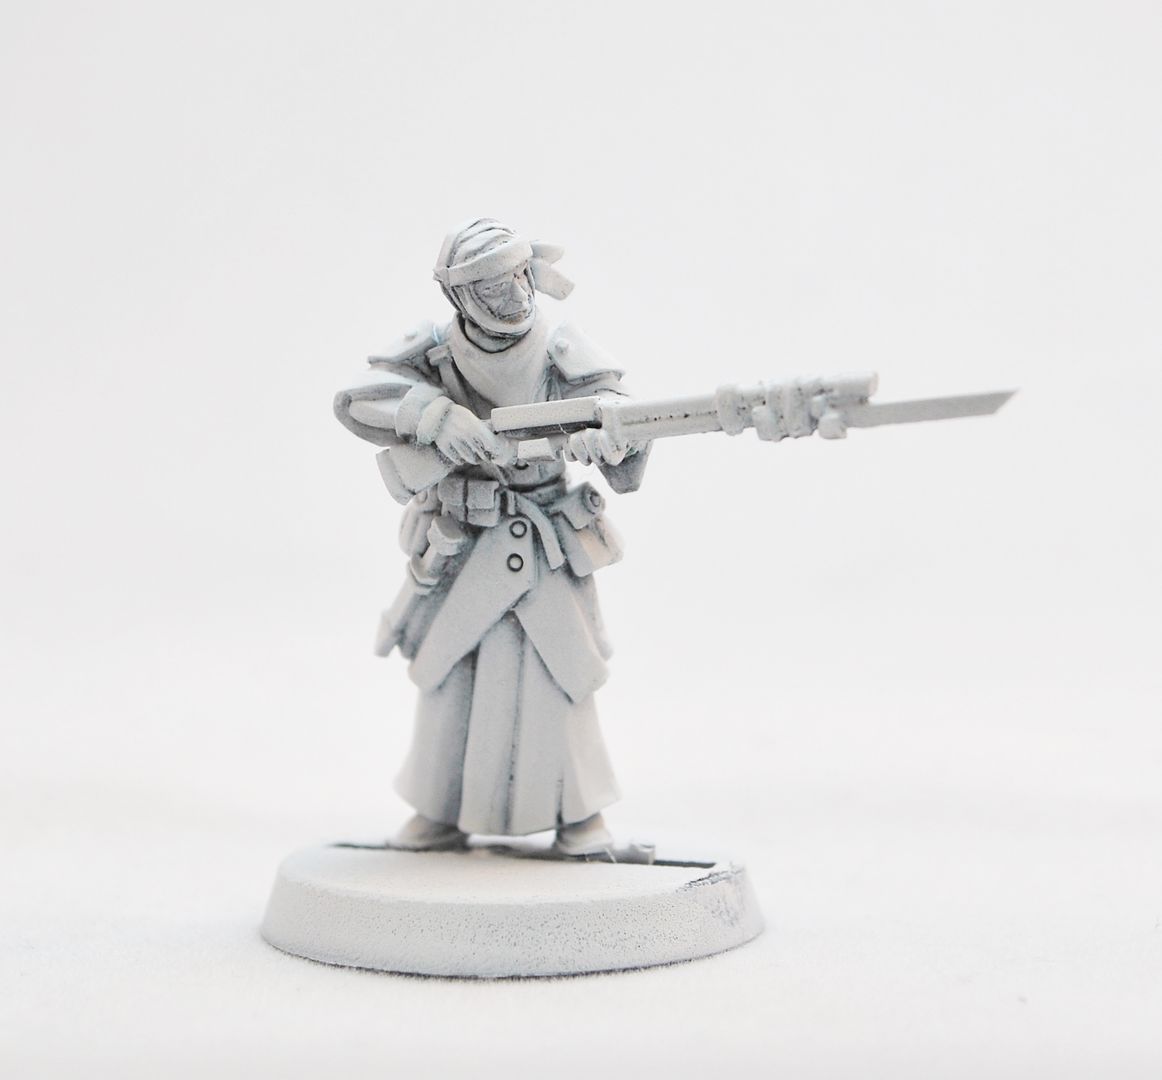
2.Undercoat - White spray


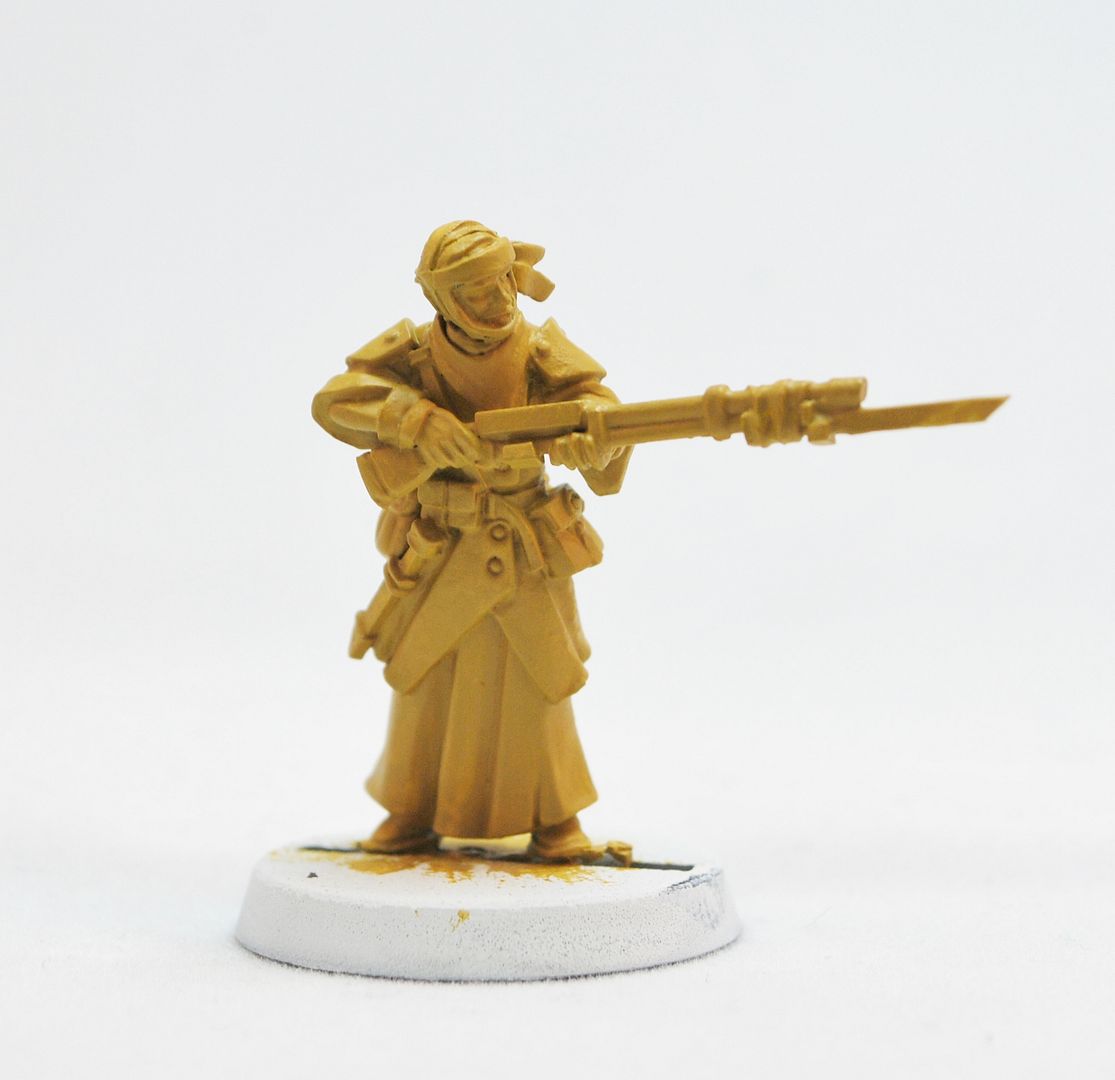
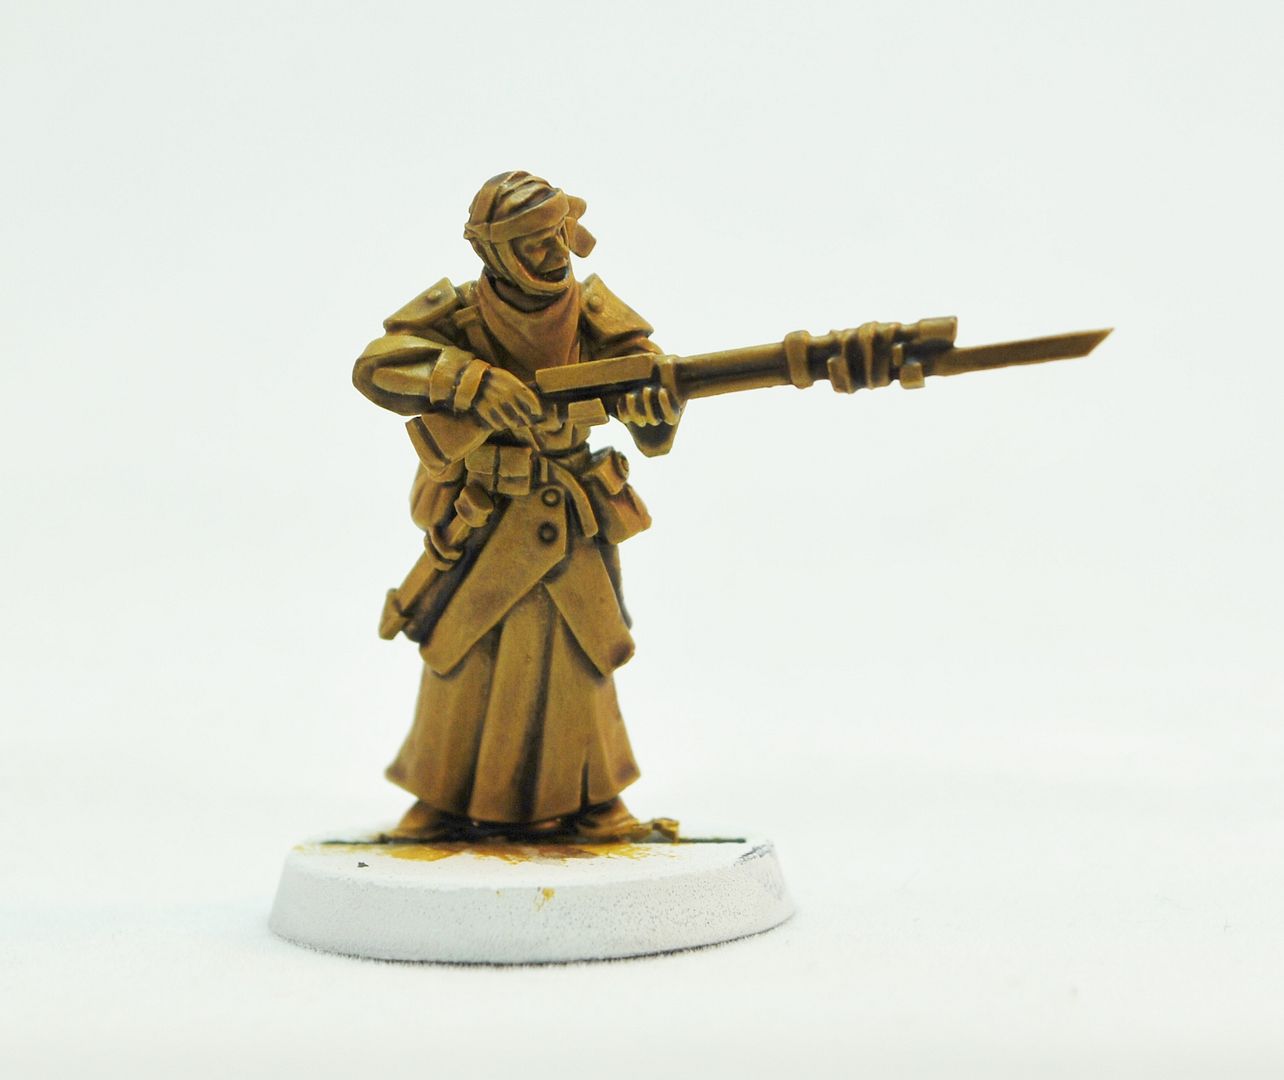
3.Colour blocking – Give this guy two coats of ochre.


4.Washing – Use a suitable “earthy” wash or water down brown paint.


5.Drybrush – Get in about the mini with a light drybrush of Bone.


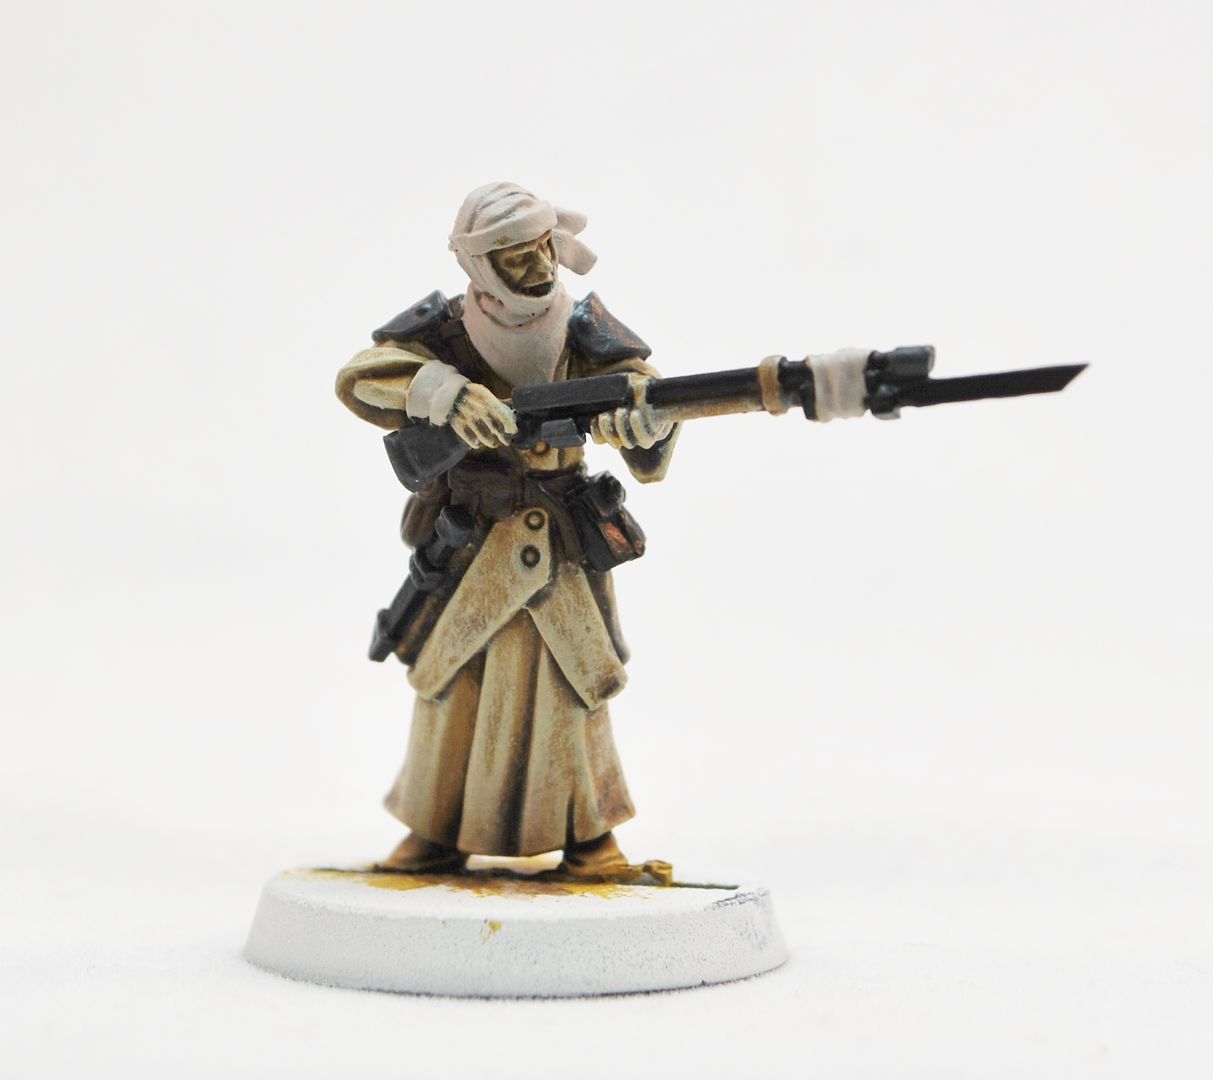
6.Colour Blocking –

Wrappings and scarves: Sandstone
Rifle: Black
Casings and shoulder pads: Dark Grey
Pouches and belts: Dark Brown.


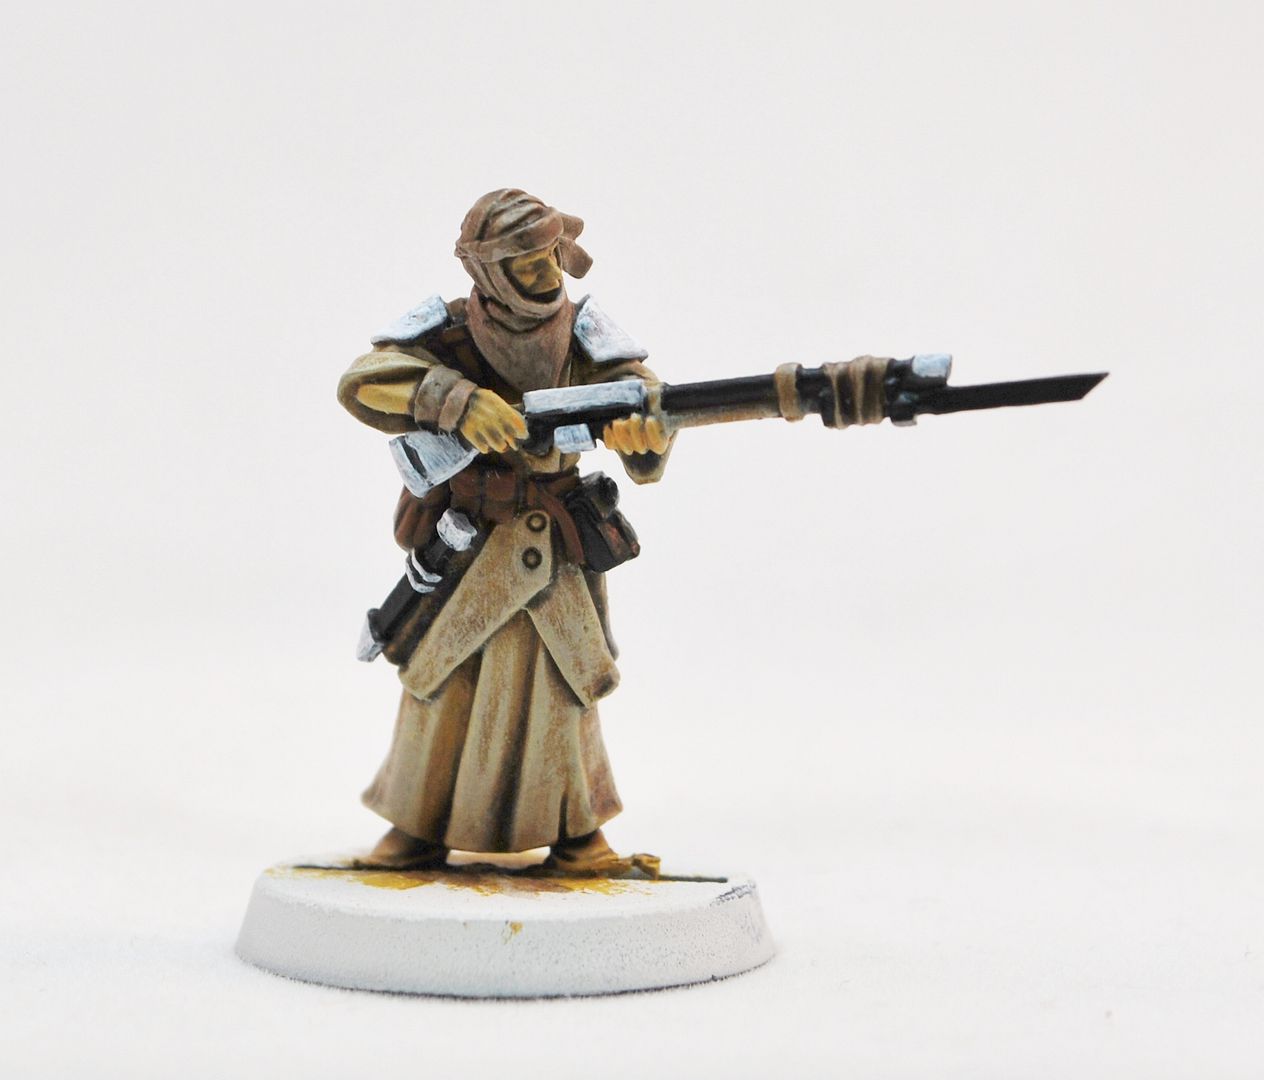
7.Colour Development-
Wrappings and scarves: Wash with “earth” or watered down brown.
Casings and shoulder pads – Roughly layer on pure white. Make it streaky and rough.
Robes – Extreme highlight with Bone.
Skin – err, skin colour.


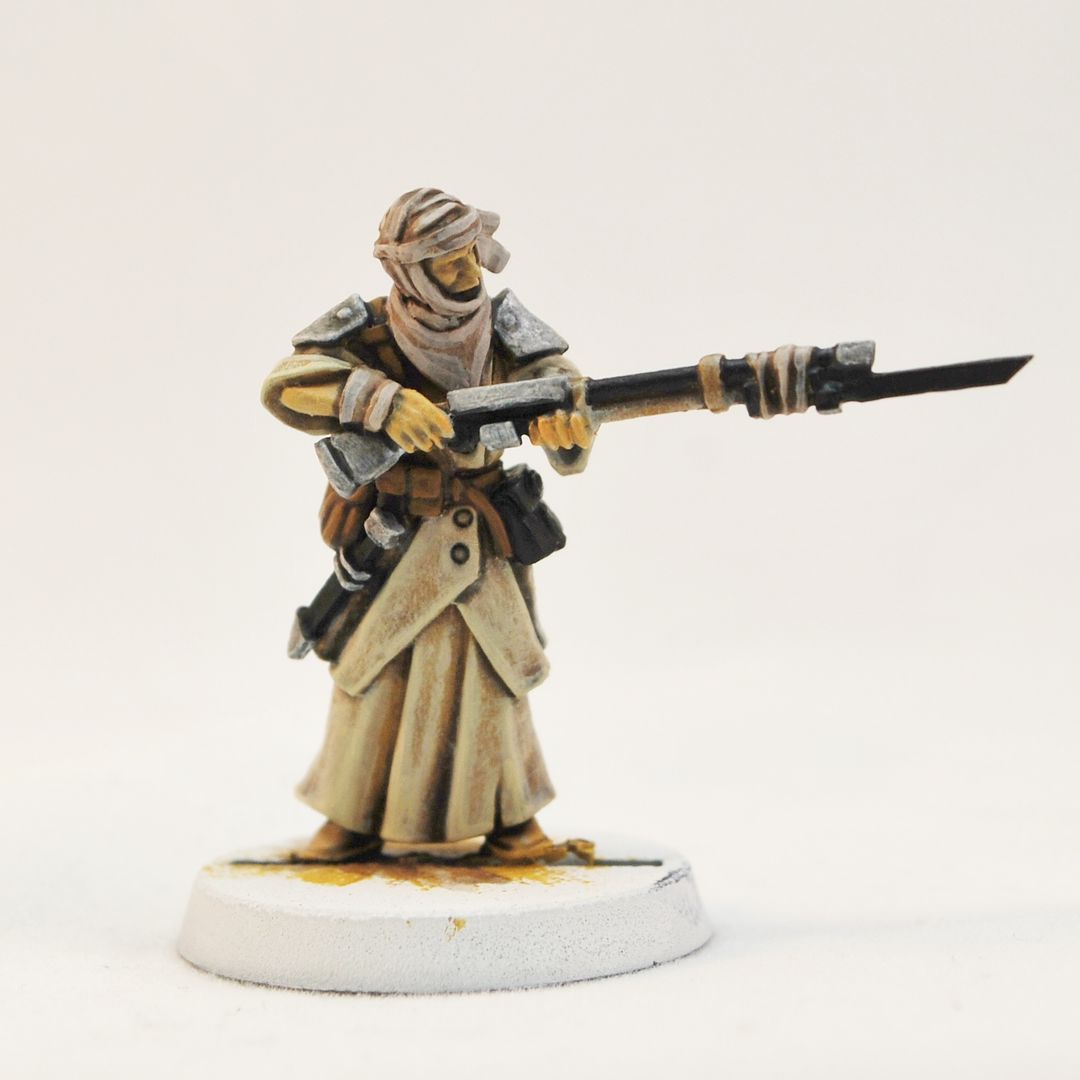
8. Colour Refinement-
Wrappings and scarves – Highlight with the original Sandstone, for final highlights mix in a touch of white to the Sandstone.
Casings and shoulder pads – Wash with watered down black, then do a final highlight with pure white.
Rifle – Extreme highlights with Grey.
Pouches and belts – Highlight with a lighter brown, wash with brown ink then extreme highlight in the lighter brown again.
Skin – Wash with “earth” and then highlights with a touch of white to the original skin colour.


9. Detail-
Battle Damage – Paint scratches and chips to the edges of the Casings and shoulder pads with dark grey, then a tiny thin line of light grey in the centre of it(leaving dark grey at either side of the scratches and chips). LESS IS MORE.
Buttons and buckles – Simply silver metallic washed with black, highlighted with a lighter metallic.


10. Basing-
Easy – Sand and stone glued in place. Paint it with Ochre (same as the original mini colour blocking), wash it with “earth” or watered down brown then highlight it with Bone. Paint the edges of the base Dark Brown.


Tuesday, 11 February 2014

The time to Rebel has come. Follow the Protocols_

These are my err personal gaming rules. They've morphed on a bi-annual basis since about 2008 and only last year settled onto something that I was comfortable with. Detail and abstraction have waxed and waned over time. Right now I've found a good balance, and the final hurdle I'm facing is one of page layout and graphics.

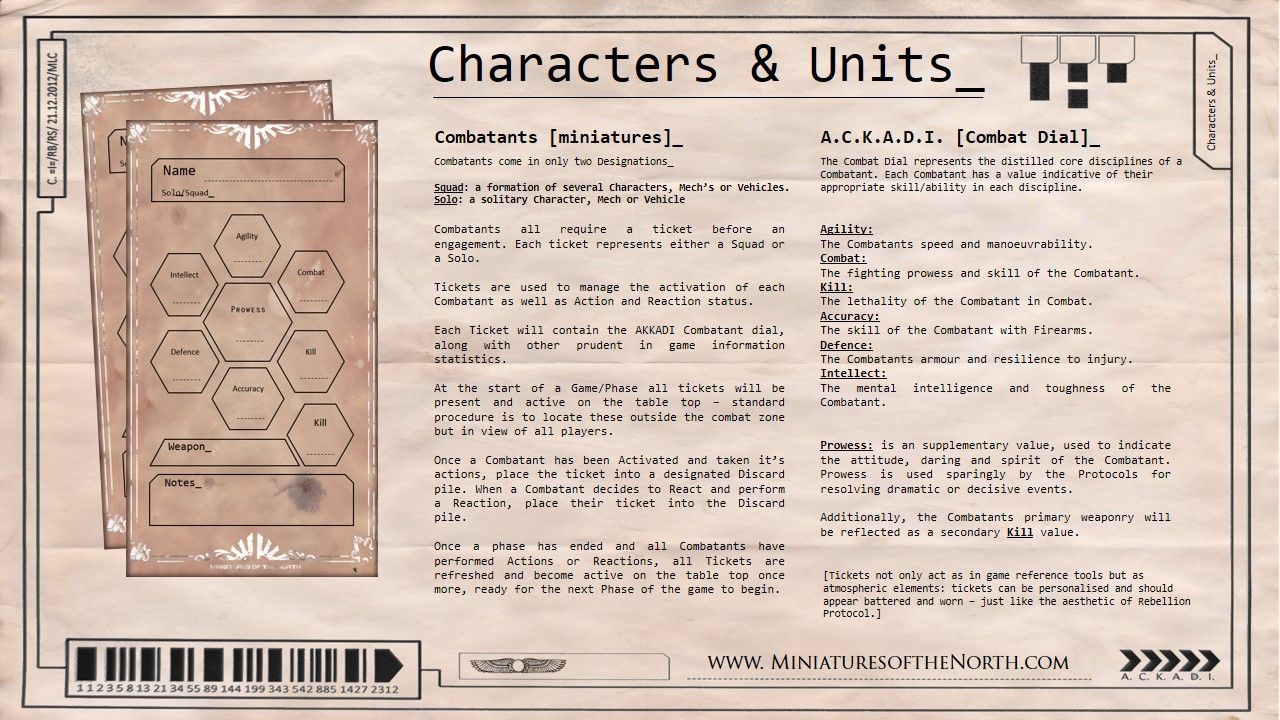
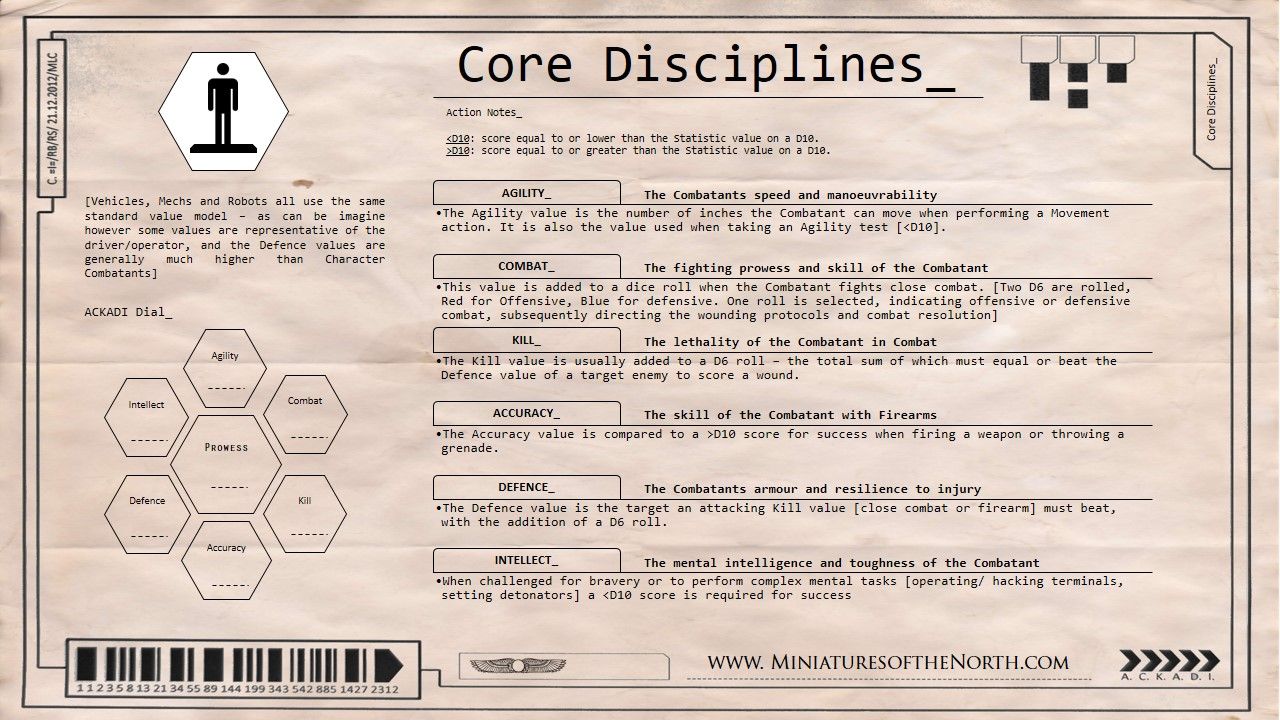
At the core of everything are the Tickets and the A.C.K.A.D.I Core Disciplines – these are the characteristics and respective values of units and characters. Around this orbit the Action & Reaction mechanics (like shooting, close combat, movement, etc.) which are all mutable – you can use the same characteristics for a unit in a 6mm scaled massive battle, a super detailed single character adventure (where dice pools track your bullet/ammo count) or a squad level skirmish game: which is what I'll be presenting first.

To reiterate, the characteristics stay the same but the mechanics change how they are used.

Shooting example:
  • In super detailed adventure mode – the required dice score to hit is determined by your ACCURACY versus the targets AGILITY.
  • In 6mm battle mode – you simply need to roll equal to or higher than your ACCURACY.

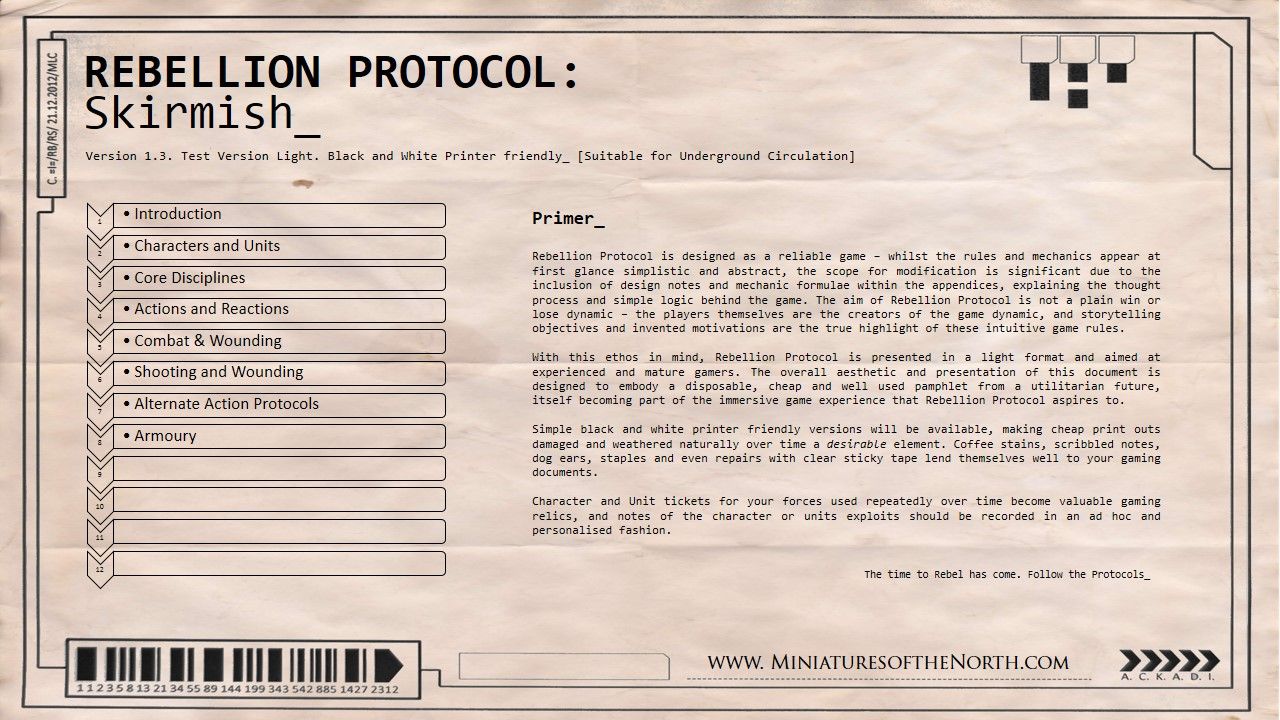
Here are a couple of choice exerts to give a flavour of what the Protocols are all about. This is a very early cut so liable to future editing and restructure, only the basic aesthetic and rules are locked in.


I'm aiming for 12 pages max on this edit... wish me luck.